Showing posts with label Whimsy Stamps. Show all posts

Monday, December 6, 2021

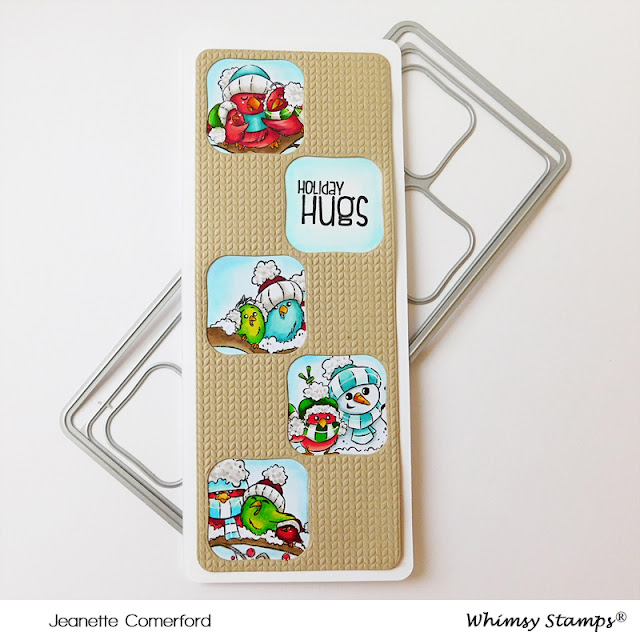
Cozy Holiday Hugs

 Happy Monday!  We had a bit of a storm last night with freezing rain and snow.  So now it looks like a real Winter Wonderland outside!  


I have this cozy looking card to share with you today.  Here is how I made it!

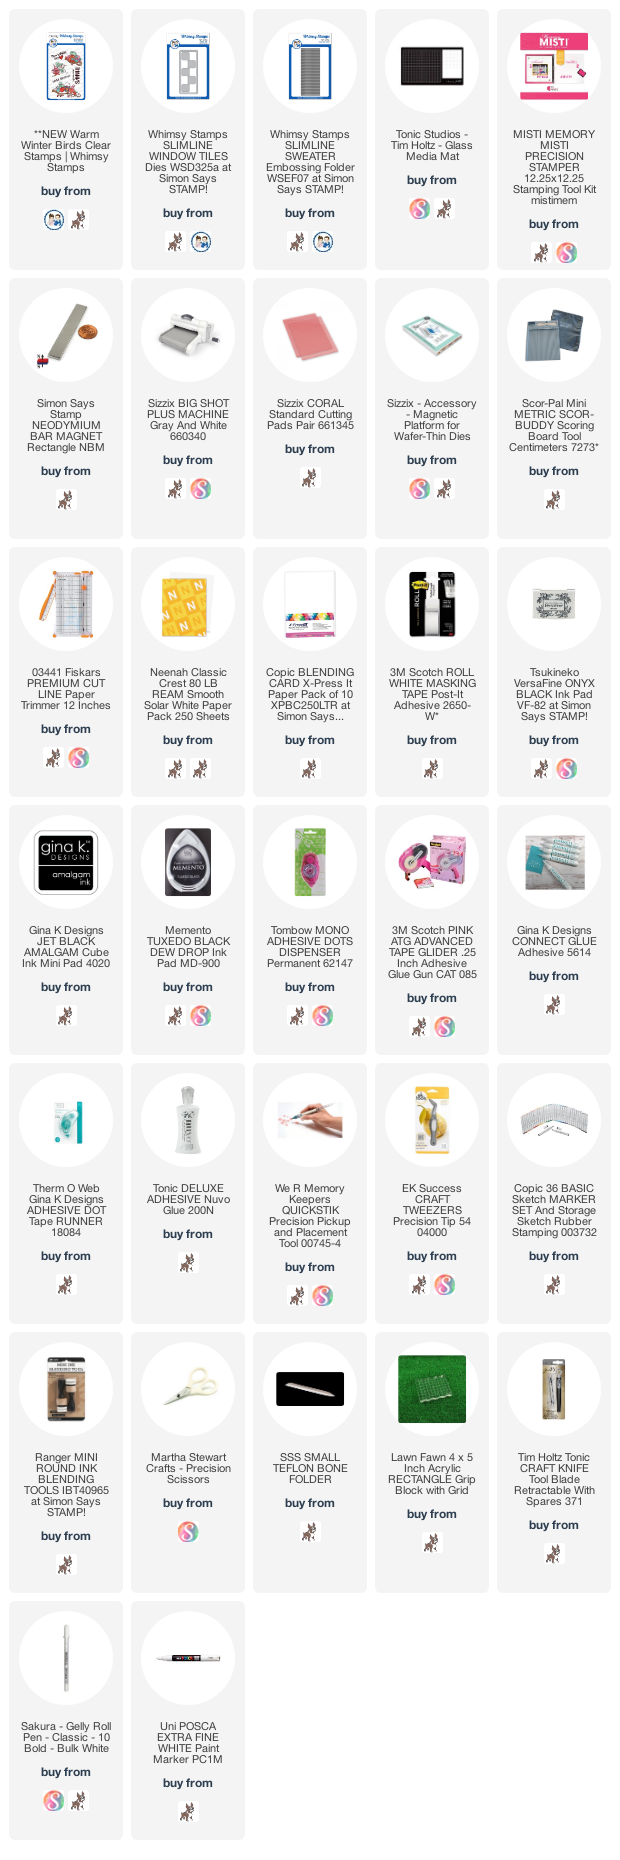
I embossed a piece of kraft cardstock with the Slimline Sweater Embossing Folder and then die cut it with the smaller of the die in the Slimline Window Tiles Die Set.  I then used the bigger die in the set to die cut a mat for my card out of some white cardstock.

I stamped the images from the Warm Winter Birds Clear Stamp Set onto some Copic X-Pressit Paper using some copic friendly black ink and then colored the images using these Copic Markers:

R05, R24, R46, R59, YR23, Yr31, YR07, YG21, G24, G28, BG70, BG72, BG11, B00, E43, E44, C00, C1, C3, 0

I then carefully cut the images out using the square outlines on the die as my guide.  I then assembled the card and adhered all the pieces to my cardbase.


Thanks for stopping by! I hope this card made you smile!

Hugs Jeanette xxo

Wednesday, December 1, 2021

Believe

 Happy Wednesday and Happy December!  I CANNOT believe we are in the last month of this year....and what a year it has been.

A new release from Whimsy Stamps launches today and here is one of the cards that I made:


The background of my card is a paper from the Champagne Slimline Paper Pack.

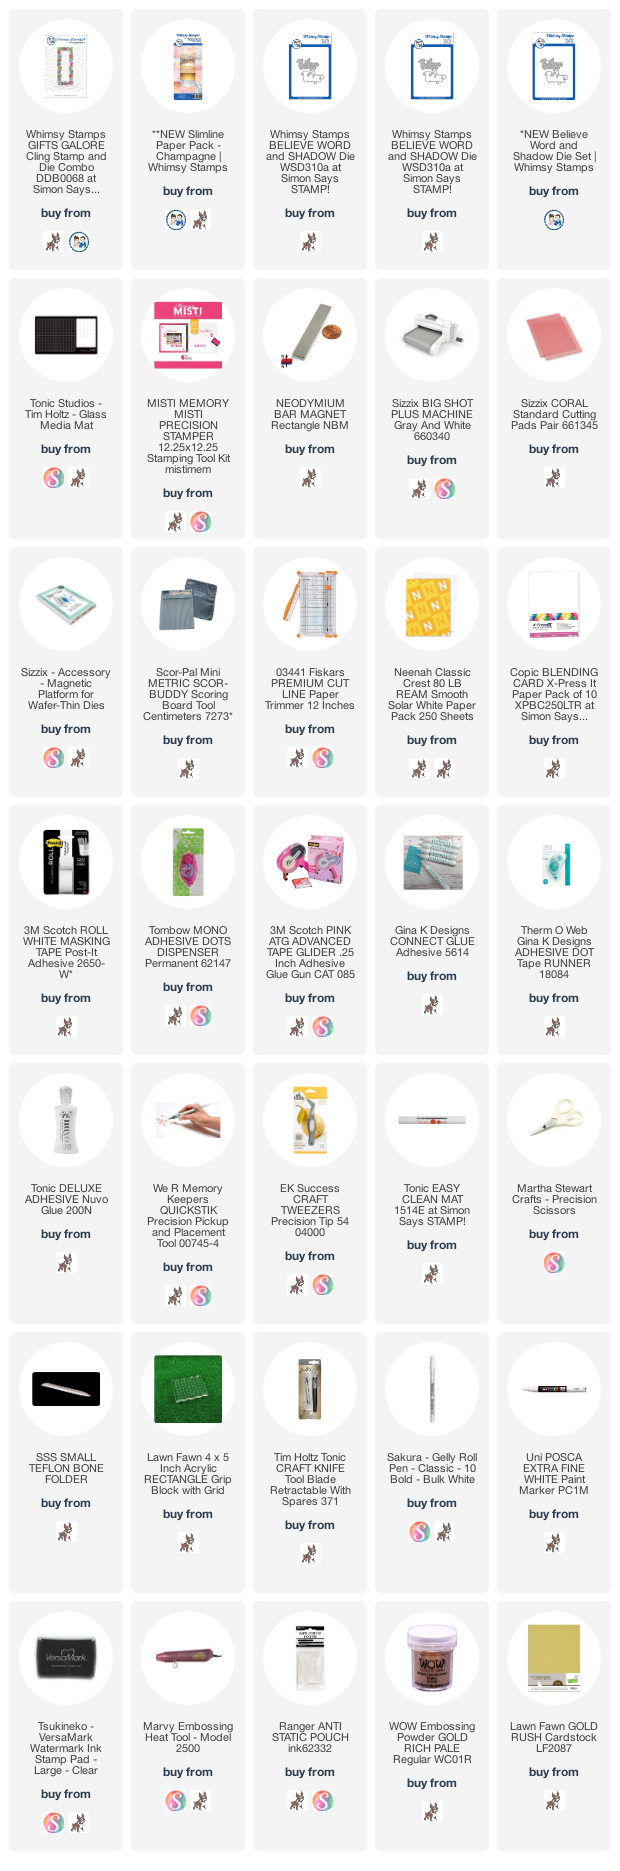
I then stamped the Gifts Galore Stamp onto some vellum with Versamark ink and then heat embossed using Gold Powder.  I then fussy cut out the center all around the presents.

*** For a limited time, when purchasing the Gifts Galore Stamp, FREE IRREGULAR DIE INCLUDED. This outline die does not perfectly line up with the stamp and therefore we are including it for free. You can use a partial die cutting technique to line up the die better or die cut and then fussy cut the excess or just use the stamp without the die***

I then die cut out the Believe Word die out of some gold matt cardstock.

Another festive card made!

Thanks for stopping by!

Hugs Jeanette xxo

Tuesday, November 30, 2021

O Holy Night


Happy Tuesday my lovelies! I have another Christmas card to share with you and this one is all created using die-cuts!

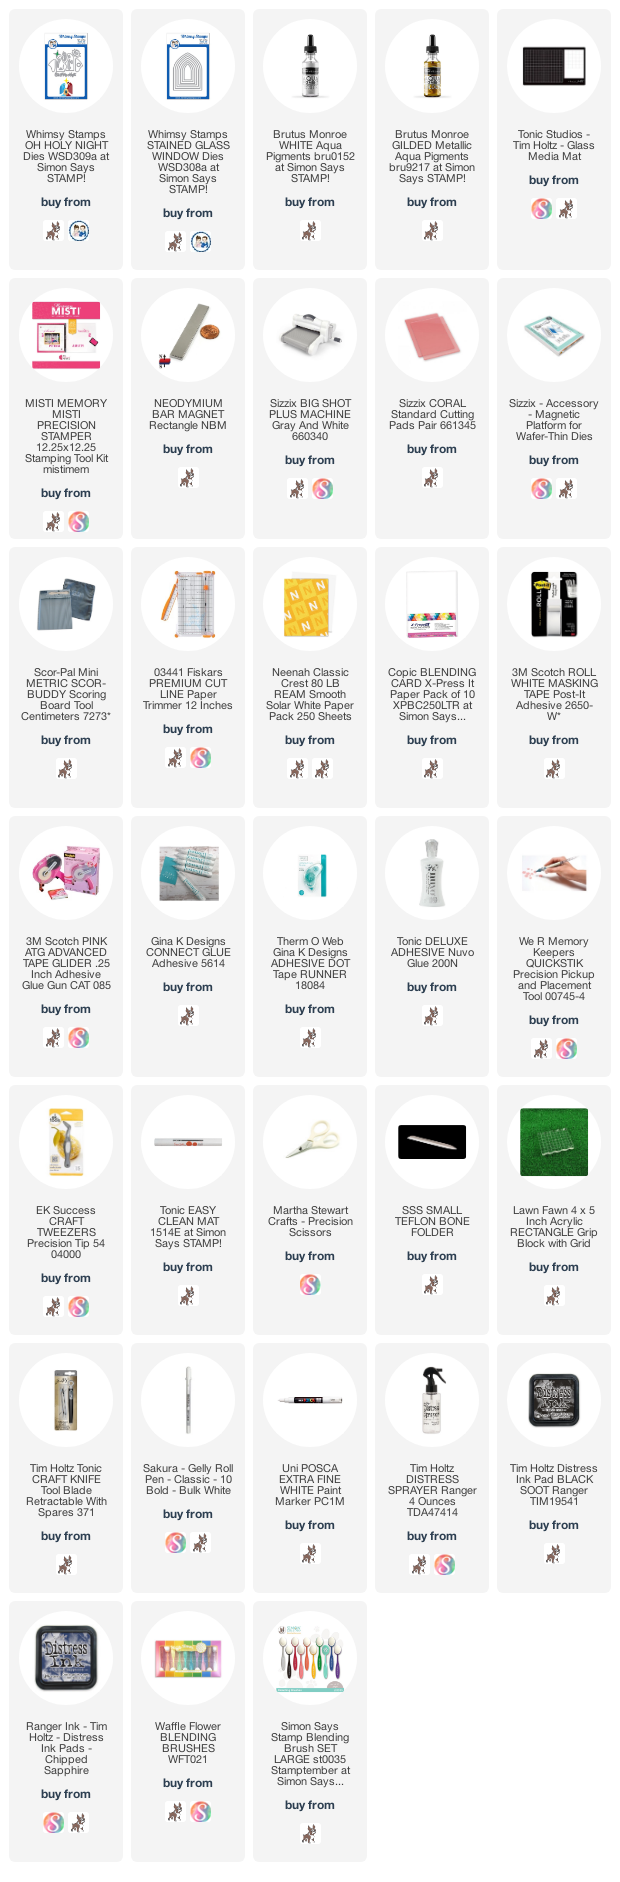
I used two die sets.  The background was created using the Stained Glass Window Die Set.  The components were die cut out of some grey cardstock and then I used Black Soot Distress ink and a blending brush to create some darkness which I focused mostly around the edges.
I also cut out some blue cardstock with the same dies and used Black Soot and Chipped Sapphire to create the night sky.  Once dry, I used some Brutus Monroe White Aqua Pigment, Gilded Aqua Pigment and some Pearl Chroma Glaze to splatter onto the cardstock.

I then used the O Holy Night Die Set to cut out various colors of cardstock.  I then used Distress inks to blend around the edges.  This keeps the die cut from looking so flat and lends some dimension to it.
The sentiment is also die cut from a die that comes in the same set.

It is always a change of pace for me to create a card made solely from die cuts.  This was a fun one to make!  I think it could also very easily lend itself to being mass produced which is what I intend to do!!

Thanks for stopping by!
Hugs Jeanette xxo
 

Monday, November 29, 2021

Christmas Mice

Happy Monday!  I am hoping that you all had a good weekend.  We are in full Christmas mode here. My main tree is up and decorated and each room has a wee bit of Christmas decor in it.  Now to clean up the aftermath of all that decorating and get to the piles of laundry!


I love using patterned paper as a background for my images to create little scenes.  This paper is from the SurReally Cool Slimline Paper Pack and was absolutely perfect paired up with this image from the Very Mice Christmas Clear Stamp Set.

The image was stamped onto Copic friendly paper using Ink on 3 Fadeout ink.  This is a very helpful tool if you want to do some "no-line" coloring.  The ink lines blend into your coloring.  I used these Copic Markers for the coloring:

0, C00, C1, C3, R05, R24, R27, R59, G21, G24, G28

To create a frame for the scene, I used the Slimline Twisty Frame Die cut out of white cardstock.  I then cut strips of red cardstock and adhered them to the back of the die cut.

The sentiment is from Vintage Poinsettia Clear Stamp set and was heat embossed with silver powder.

I am a little bit in love with these cute mice.  They are cheeky, festive and look oh so happy to be bringing this candy cane to a favorite friend.  Or.....maybe they are stealing it away to nibble on for themselves!!!

Happy Day! Thanks for stopping by!

Hugs Jeanette xxo

Wednesday, November 24, 2021

Believe

 Happy Wednesday my crafty friends! Hope all is well with all of you.  I have quite a few Christmas cards made that I have not as yet had a chance to share with you so I had better get cracking!


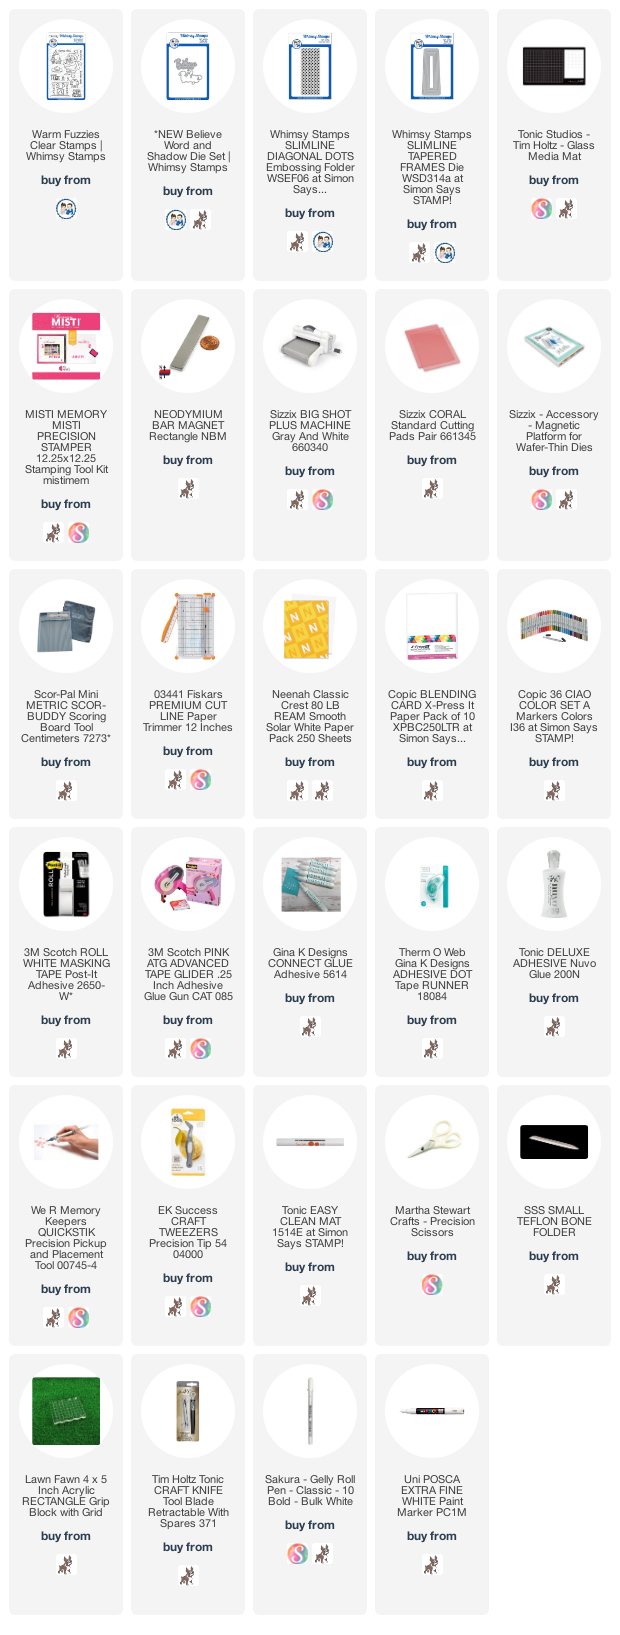
To create this classic red & white Christmas card, I die cut both white and red cardstock using dies from the Slimline Tapered Frames Die Set.  I created the background by embossing white cardstock with the Slimline Diagonal Dots Embossing Folder and this was adhered to my slimline cardbase.  Then, I adhered the frames, alternating the red and white cardstock.

The sentiment was die cut from red cardstock using the Believe Word Die and I added some highlights to the lettering with a white pen.

I stamped and colored the Santa from the Warm Fuzzies Clear Stamp Set.  I only used a portion of the image as I just wanted it to fill the right hand side of my card.

Copic Markers used were:

E000, E00, E11, R20, C00, C1, C3, C7, C9, W00, W1, W3, R05, R14, R46, E43, E44, E47, BG72, BG75, YG23, YG63, G28


I love a clean and crisp classic card! Thanks for stopping by!

Hugs Jeanette xxo

Saturday, November 20, 2021

Peaceful Christmas

Happy Saturday!  Hope you are all doing well.  What are you up to this fine weekend?  Right now, I am surrounded my allllll my Christmas decor.  It looks like an explosion of festive red, green and gold right now.  I think my weekend is pretty much going to be decorating and getting this all tidied up!


Whilst I may use very traditional colors in my holiday decor, I do love a blue and white Christmas Card.  This card started out as something quite different and then inspiration hit and it took me in another direction altogether!

The card base was made my using blue cardstock and embossing it with the new Diagonal Dots Slimline Embossing Folder.  I then blended some ink to the side (Prize Ribbon) and a little onto the center (Lawn Fawn White).

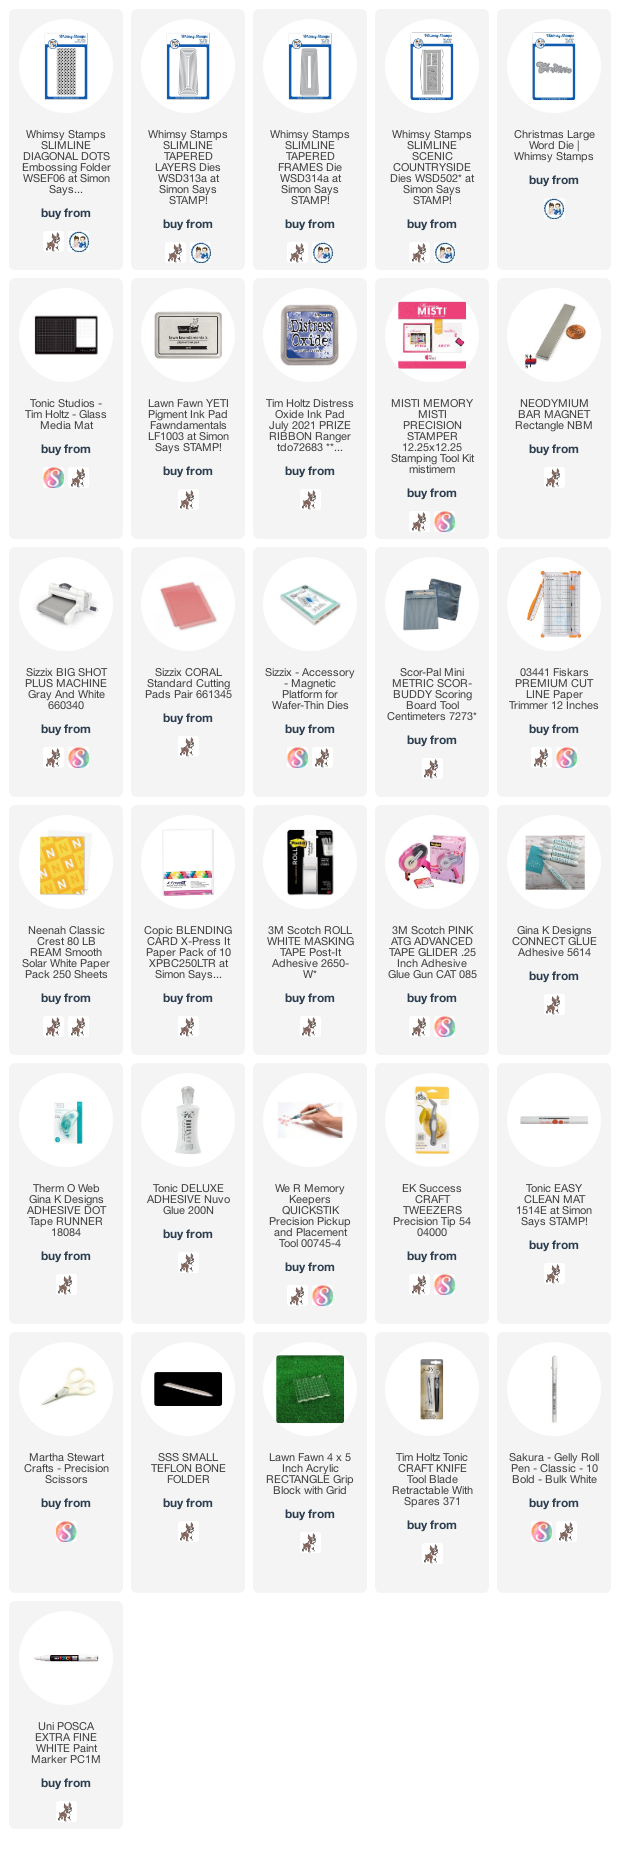
I used both the Slimline Tapered Frames Die Set and the Slimline Tapered Layers Die Set to cut out white cardstock.  The same white cardstock was used to die cut the wee houses from the Slimline Scenic Countryside Die Set and the sentiment from the Christmas Word Die.

Couldn't be easier!  I am just in love with the card!
Have a great weekend and I hope you get the chance to get a little crafty!

Hugs Jeanette xxo


Monday, November 15, 2021

Christmas Magic - Brutus Monroe/Whimsy Stamps Collaboration

 Happy Monday my dear friends! It is getting quite nippy around these parts and this past weekend we finally put all the gardens to bed, covered up the roses, raked the leaves and bought my youngest a new pair of winter boots.  I am now, quite ready to say that it can snow if it so wishes!  We are READY!

I was really happy to be part of a collaboration between Whimsy Stamps and Brutus Monroe.  There is a Instagram Hop that you can go visit. I have the whole hop list over on my account @inkspots

I had never tried any Brutus Monroe products and I had fun playing with some of their wonderful products. I was really happy with how my cards turned out!  I had forgotten how fun creating my own backgrounds can be!


For this first card, I used the Santa image from the Warm Fuzzies Clear Stamp Set. It was stamped with Gina K Black ink onto some Copic X-Pressit paper.  I then colored it with Copic Markers:

E000, E00, E11, R20, C00, C1, C3, C5, C7, C9, W00, W1, W3, R35, R37, R39, R59, BG72, BG75, BG78, B63, B66, B69, E40, E43, E44, E47

I fussy cut my image out and then die-cut the sentiment from silver glitter cardstock using the Believe Word and Shadow Die Set.

For the background, I started with some dark purple cardstock that was cut to an A2 size.  I lightly blended some white ink onto the center, and then distress inks in Prize Ribbon and Black Soot.

Once that was all dry,  it was time to add the pretty starry background.  I used my palette knife to blend Galaxy Gold Galaxy Powder with Pearl Chroma Glaze.  I then spread it over the Galaxy Star Stencil which was placed over my cardstock.  I carefully removed it and let it dry completely before adding all the card components.

The snow hills were created using dies from the Stitched Border Trio Die Set and white cardstock. Once they were cut, I blended some Tumbled Glass Distress Ink over top.


For this card, I stamped the Mistletoe Fairy using the same ink and paper that I used on the first card and colored the image with Copic Markers:

E000, E00, E11, R20, E40, E42, E43, E44, C00, C1, C3, 0, BG70, BG72, BG75, YR31, YG61, YG63, YG67, R35, R37, R59

Once again, I fussy cut the image and created the sentiment using silver glitter paper and this time, the Christmas Word Die.

I cut 3 pieces of dark purple cardstock to an A2 size (4.25" x 5.5").  Two of these were then die cut with one of the dies in the Stained Glass Window Die Set and then were adhered together.  These will create my "window" on the card.

With the third piece of cardstock, I blended white ink onto the center and again used distress inks in Prize Ribbon and Black Soot.

Once completely dry, I used an old paint brush to spray tiny drops of White Aqua Pigment and then Gilded Aqua Pigment all over the cardstock.  Once completely dry, I assembled and adhered all the components for my card!

Supplies

Thanks for stopping by! I hope my cards inspired you and don't forget to visit the hop!

Hugs Jeanette xxo


Wednesday, November 10, 2021

Believe

Happy Wednesday! Hope all is going well with you all.  Are you getting your holiday cards done?  I had hoped to have more done by now......hoping to get more done this week!

I do have a new one to share with you today and I have used new goodies from the newest mini release from Whimsy Stamps!


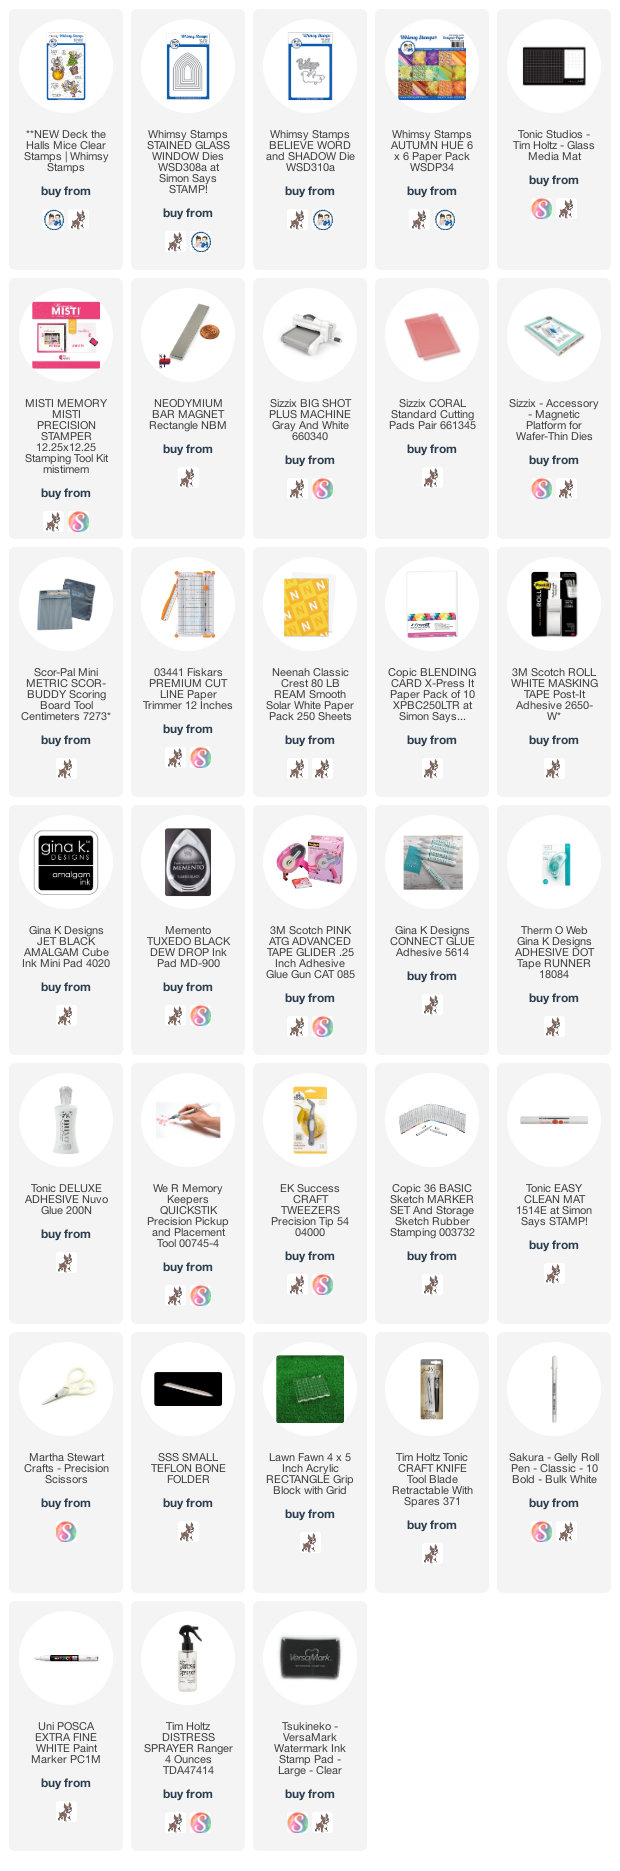
This cute (and somewhat intense mouse - has he been eating all the candy canes?) is from the new Deck the Halls Mice Clear Stamp Set.  I colored him with copic markers and then cut out the image using one of the smaller dies in the new Stained Glass Window Die Set.  I colored the background to match the patterned paper that I used for the mat for my card.  The pack is the Autumn Hues one.  Even though this is an autumn themed pack, I thought that this particular paper looked like what a close up of a Christmas tree looks like - diffuse and lit up.

I used the Believe Word and Shadow Die Set to cut out the sentiment from both vellum and the left-over patterned paper.  I then adhered all the components to my card and added some white dot detail to the frame using a white gel pen.


Thanks for joining me today! Have a good one!

Hugs Jeanette xxo

Tuesday, November 2, 2021

Rockin' Christmas Trees

Happy Tuesday! I hope you are all doing great! I have a new Christmas card to share with you today!


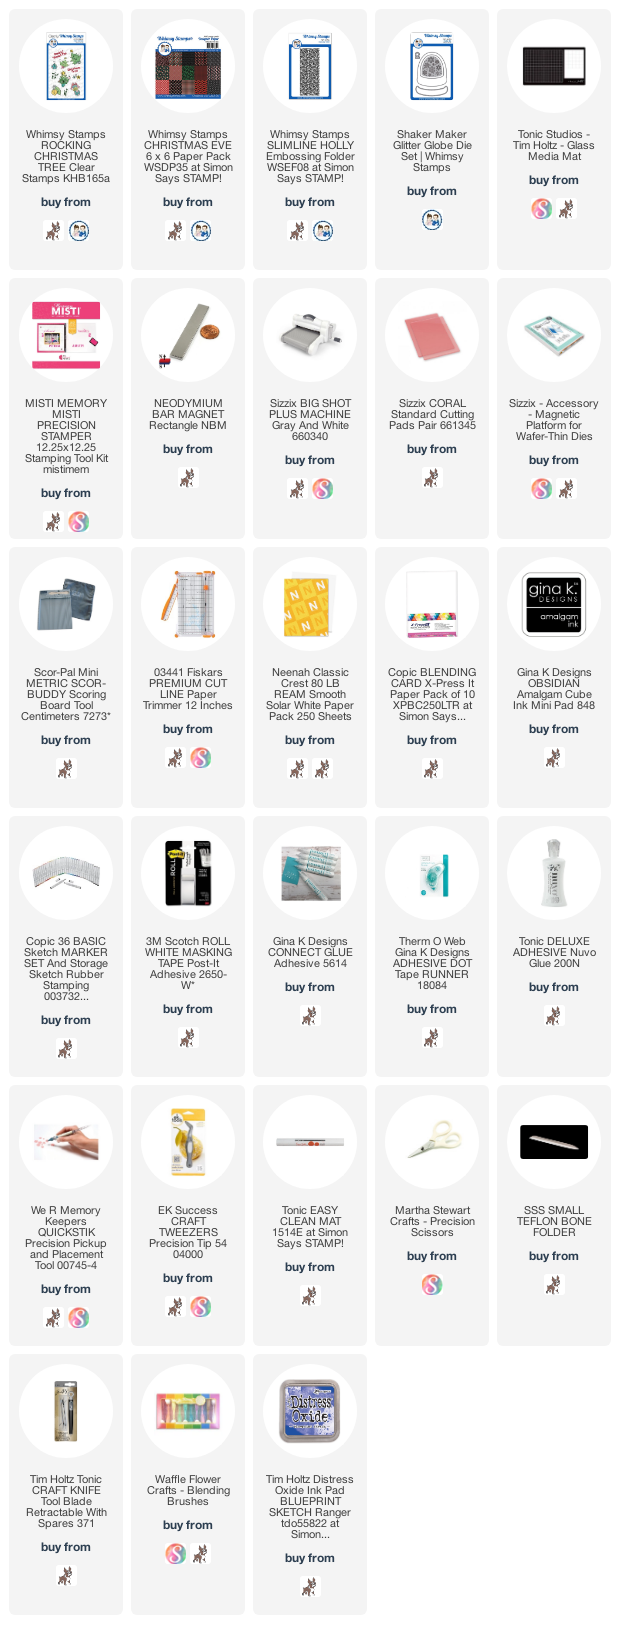
 The trees in the new Rockin' Christmas Trees Clear Stamp Set are so cheerful and festive and I thought they would look great paired with the Shaker Maker Globe Die Set.

I used the dies in the Globe set to cut out various colors of cardstock.  The frame was cut with light grey, the background out of light blue, and the base out of white.

The base was embossed using the new Holly Embossing Folder and the blue background had some blue ink sponged onto the edges.

The images were stamped with Gina K black ink onto some Copic X-Pressit paper and colored with these copic markers:

YG61, YG63, YG67, YR31, YR23, YR24

My cardbase measures 4.25"x 5.5" and I cut a mat out of paper from the new Christmas Eve Paper Pack that measures 4.0"x 5.25".

I then adhered everything together.  I added a few of the snowflakes that were diecut from the globe background and added some white detail to the frame of the globe using a white gel pen.

Thanks for stopping by. I hope these festive little Christmas trees made you smile!

Hugs Jeanette xxo

Monday, November 1, 2021

Believe

 Happy Monday, Happy November and Happy Release Day!

I am fully embracing November as it is my month where I get prepared for Christmas! Lots to do this month and a lot of it involves papercrafting, decorating, shopping and baking! My favorite things. Well, actually I don't like to shop in general BUT I do love holiday shopping for others!!!


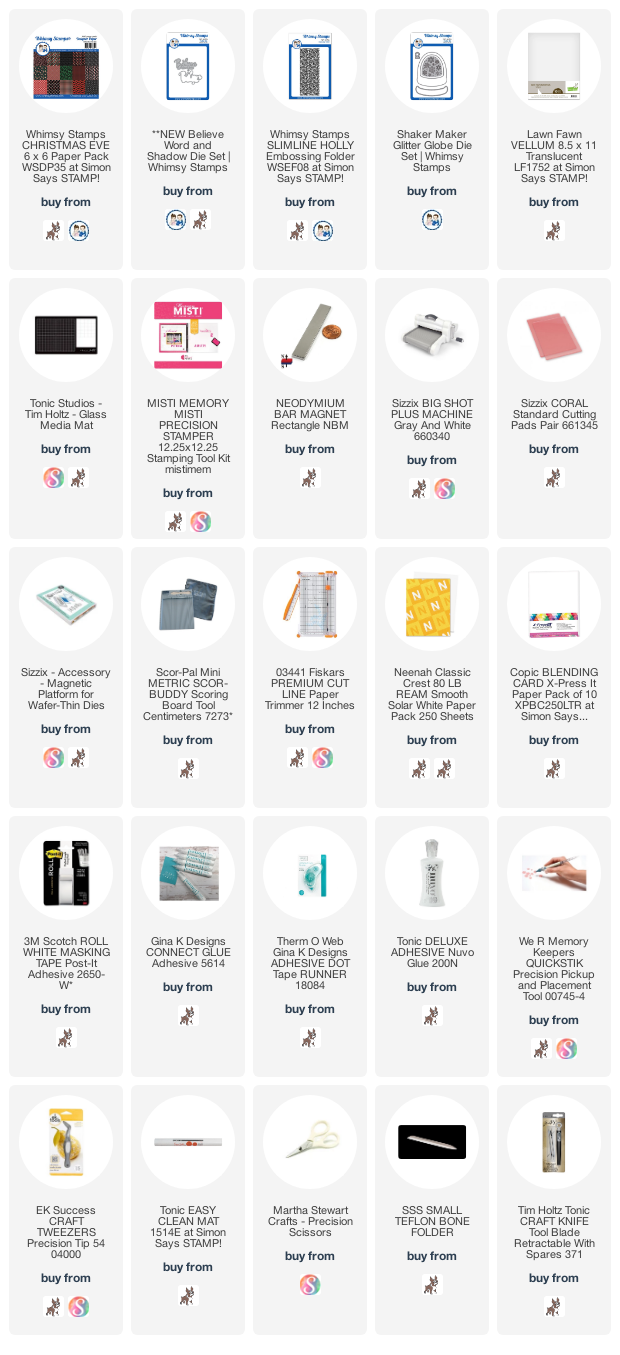
This is a simple card to make (hella difficult to photograph though).  I started with an A2 base and used one of the papers in the new 6'x6" Christmas Eve Paper Pack  as the background.

I embossed some white cardstock using the new Holly Slimline Embossing folder and cut that into a band for the card.

I die cut the components for my sentiment from vellum as well as some glittered silver paper using the new Believe Word and Shadow Die.

I added thin bands of the same glittered silver paper to the top and bottom of the embossed band and added some snowflakes made using the Shaker Maker Glitter Globe Die set (which I had out to use for another card - stay tuned - I am posting that one tomorrow).

All done. Simple and festive!

Thanks for stopping by. Enjoy your day!

Hugs Jeanette xxo
Sunday, October 31, 2021

Happy Halloween!!

Happy Halloween friends!
Whether you are going out trick or treating or staying home watching some scary movies, have fun and be safe!


My last Halloween creation features papers from the Slimline SurReally Cool Halloween Paper pack that were die cut using dies in the Slimline ATC Windows Die Set.

Hugs Jeanette xxo 
 

Friday, October 29, 2021

Old Fashioned Christmas

 Happy Friday my friends! I have one last Halloween themed card to share with you but I think that I will keep that for Sunday which is the actual Spooky Day!

Today I will share a set of two cards that I created and know that I will be doing a mass produced run of these very soon so that I boost up my made Christmas card numbers!  They are simple and festive and such fun to make!


Both cards use the same ATC Sleigh Ride Clear Stamp Set and both cards have the elements heat embossed with gold.  I paired them up with red cardstock but green, blue, or black would look equally beautiful.  In fact, chane the embossing powder color to white or silver and you have created another look!


Once I has embossed the stamps on red cardstock, I cut them out using the dies in the Antique ATC Frames Die Set.  I love the fact that they pair together so well!


Thanks for stopping by. I hope that I have inspired you to create some classic, old fashioned Christmas cards for sharing with family and friends!

Hugs Jeanette xxo


Thursday, October 28, 2021

Gargoyle Duty

Happy Thursday! How has your week been?  Mine just whizzed by and I am shocked that we are already nearing the end of the week.

Halloween is almost here and although my kids are too old to be going out, I am not even sure if we will get any trick or treaters at the door this year.  We debated back and forth about what to do and the consensus was that we buy a big box of chocolate bars, put them in a bowl and let anyone who shows up take some.  Honor System all the way!

My card today of course is Halloween themed and I paired up this absurd wee gargoyle from the Gargoyle and Friends Clear Stamp Set with some of the castle components in the Build A Castle Die Set.  I think it is quite cute.

The background paper is from the Slimline Nebula Paper pack and the sentiments was made using the EEK Word and Shadow Die Set.

Image was colored with copic markers:
C00, C1, C3, C5, C7, YR31, B60, B63, B66

Thanks for stopping by! What are you planning for Halloween?
Hugs Jeanette xxo


Friday, October 22, 2021

Watercolor Christmas Card

 Happy Friday and Happy Weekend my friends! I have another watercolored card to share with you! I have been on a watercoloring kick as of late and I am loving it!  It is a really relaxing process.


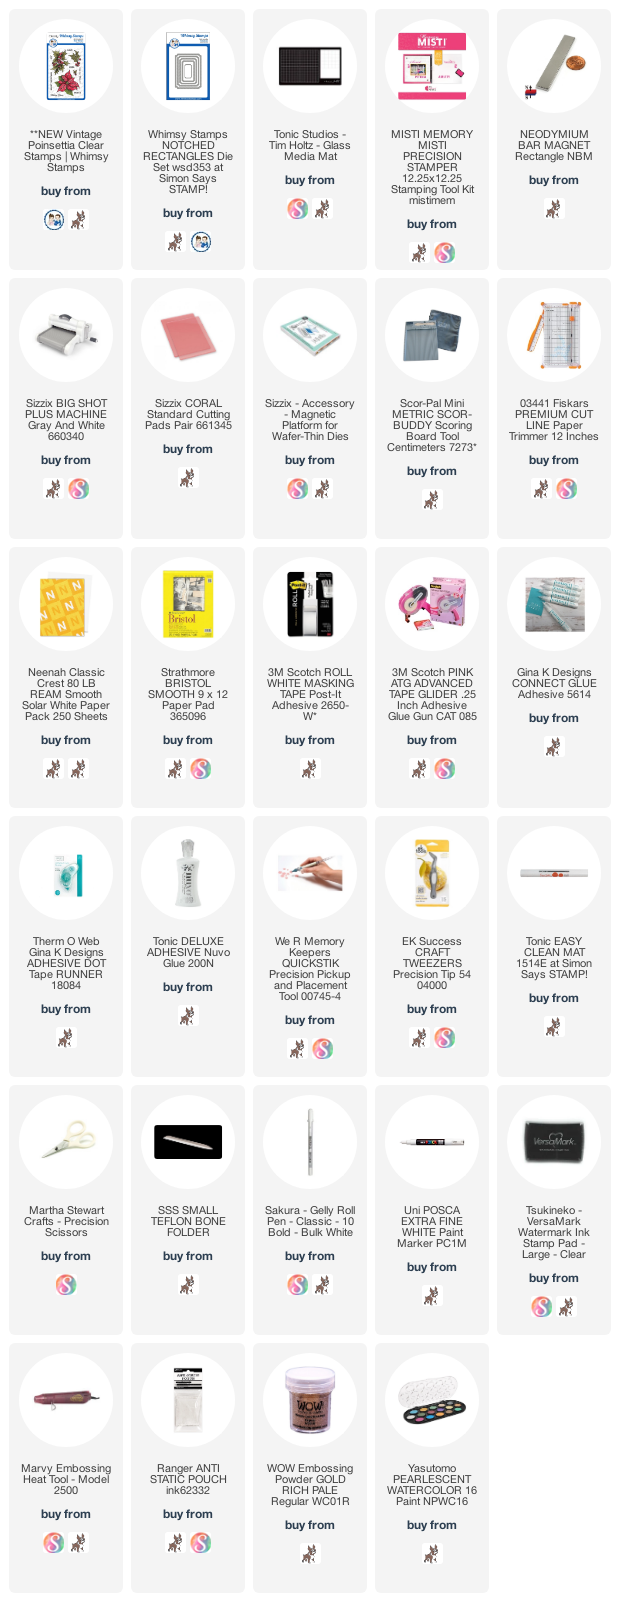
As in the last card that I posted, this image is from the Vintage Poinsettia Clear Stamp Set.  It was embossed with gold onto Bristol Smooth Cardstock and then colored with Luminarte Twinkling H20s.  I have had been for a long, long time.  In fact, since I first started cardmaking (13 years ago!)  They are not as easy to get these days but it is possible.  However, there are very similar products out there like these palettes from Yasutomo.  

The sweet sentiment comes with the same stamp set and was also embossed in gold. I then cut out the image using the largest die in the Notched Rectangles Die Set. I created a red mat for some contrast, added some red adhesive gems from my stash and then adhered the whole lot onto an A2 sized cardbase.

Here you can see these two cards together.  I think they would be awesome for a mass production session!!


< p style="text-align: center;">Have a great rest of the day and a great weekend!

Hugs Jeanette xxo

Wednesday, October 20, 2021

Noel - Watercolor Poinsettia

 Happy Wednesday! Hope that the week is going well for you all.  The last mini release for October is live over at Whimsy Stamps and I have a new card to share with you all!


This beautiful poinsettia is one of the images in the new Vintage Poinsettia Clear Stamp Set.  I knew right away that I wanted to emboss it with gold and then watercolor it.  I love how it looks!

I pulled out my Luminarte Twinkling H20s and spent a lovely afternoon watercoloring.  When you emboss the image first, it makes it so much easier to keep the colors running into one another as the embossing serves as a barrier.  After the coloring was completely dry, I went in with a white gel pen to add some highlights to the background as well as to the center of the flower.

The sweet sentiment comes with the same stamp set and was also embossed in gold. I then cut out the image using the largest die in the Notched Rectangles Die Set.  I created a red mat for it.  This makes it pop against the all-white cardbase.  I found a few red adhesive gems in my stash and popped them onto each corner and then, my card was DONE!

Thanks for stopping by. I hope that you enjoy the rest of your day and that you get a chance to get creative today!

Hugs Jeanette xxo


Thursday, October 14, 2021

Spooky Hourglass - 31 Nights of Halloween

Happy Thursday Crafty Friends! This is Jeanette and it is my turn to share a spooky project with you.  This is such a fun event - full of fun and inspiring projects and with some spooktacular prizes to boot!


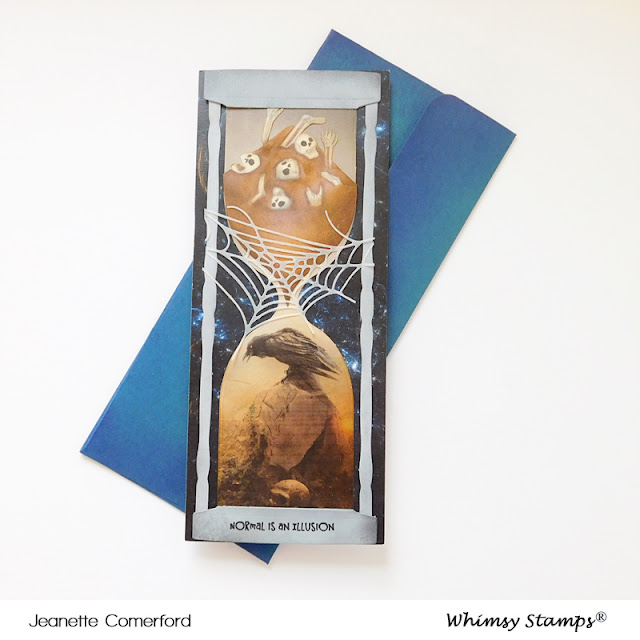
For my card, I created a Slimline card that measures 3.5" x 8.75".  I adhered one of the papers from the Nebula Slimline Paper Pack to serve as the background.  I made sure to choose a paper with a color palette that contrasted with what I was going to choose to put in my hourglass.

For the hourglass, I used one of the papers from the Nevermore 6x6 Paper Pack and the die in the Slimline Hourglass Die Set.  Making sure that the crow was well centered, I die cut it using the bottom portion of the Slimline Hourglass Die.  Then I cut the leftover paper using the upper portion of the die.  My leftover paper didn't completely fill in the upper portion but that is okay since I was going to be covering it up!  Just make sure that the upper part if fully there!

To create the top, base and sides, I used the corresponding dies in the Hourglass die set and cut them all out of grey cardstock.  I then blended on Distress Inks in Weathered Wood and Black Soot to give some dimension.  I used one of the sentiments in the Morticia Clear Stamp Set and stamped it with Versafine Black Onyx onto the base.


I then stamped the skull using one of the stamps in the Scream Time Clear Stamp Set onto some white Neenah Solar Crest paper using Inkon3 Fadeout ink. I didn't want any of the lines to show once my coloring was finished.

I used these Copic Markers:
0, W00, W1,W3, W7, E70, E71, E74, E77

Once I had finished coloring, I blended on some Brushed Corduroy ink onto it so that it would better match the bottom portion of the hourglass with the patterned paper.  I then cut out the top portion with scissors and then used the die in the hourglass set to die cut out the bottom portion.  It took a little finessing but it really it worth it for the final look!

I die cut one of the webs in the Spiders & Webs Die set out of vellum and then I adhered all these elements into place onto my card.

I used some dark blue cardstock and the Slimline Envelope Builder Die Set to create a coordinating envelope.  I sponged the edges with some Wilted Violet Distress ink.

Supplies:

Thanks so much for stopping by today.  I had a lot of fun creating this card and I hope it inspires you to create your own spooky hourglass card!  This was a card that I posted today as part of Whimsy Stamps 31 Nights of Halloween.  Please visit the blog all this month for daily inspiration!

Hugs Jeanette xxo

Tuesday, October 12, 2021

Lovely Autumnal Card

 Happy Tuesday! It was the Canadian Thanksgiving this weekend and I am trying to recover from having all that yummy food and an extra day off! It has thrown me way off course!


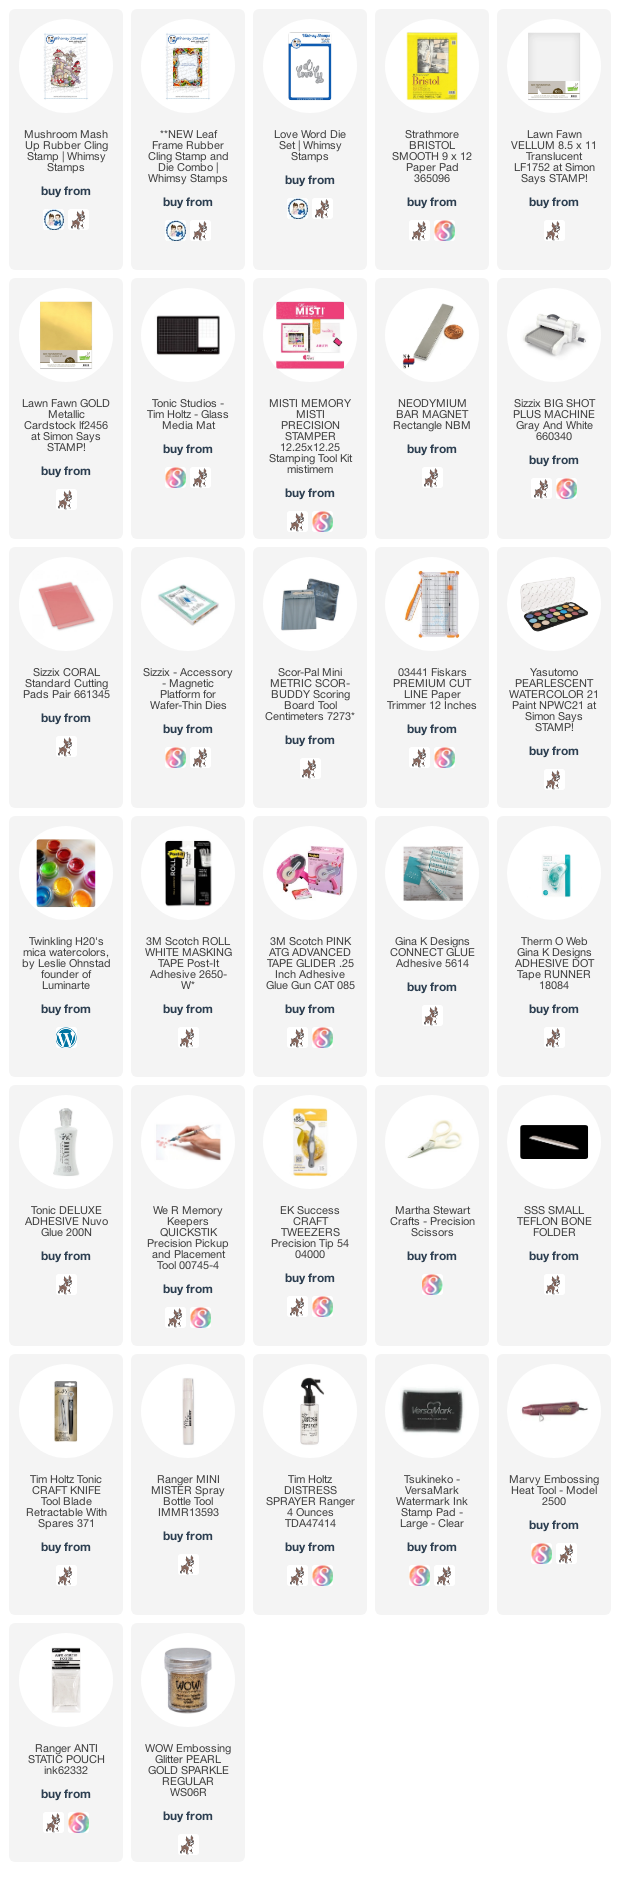
Today's card has a beautiful autumnal feel and it was really rather lovely to create! I stamped the  Mushroom Mashup Stamp with Versamark onto some vellum and then heat embossed it with gold embossing powder.

To frame the mushrooms, I used the new Leaf Frame and stamped it onto Bristol Smooth cardstock.  I also embossed this with gold and I really love how it looks once it is all colored. The gold veining really makes it look rich and warm.  I used the coordinating die that comes with the set to die cut it out.

To color, I pulled out my Twinkling H20s.  I have had these since I first started cardmaking and they have been very neglected.  It was so nice to play with them again. Any watercolor media can replace these.  I think using the Yasutomo palette would give the same effect and also be very pretty.

My sentiment was die cut from some metallic gold paper using the Love Word Die Set.

Affiliate links are used at no extra cost to you.  Thank you  - this helps me create cards to share with you.

Thanks for stopping by and have a great rest of the day!

Hugs Jeanette xxo

Sunday, October 10, 2021

Autumnal Card

Happy Sunday and Happy Thanksgiving to all my fellow Canandian Crafters!!

It is a new mini release day over at Whimsy Stamps and I have created a warm and cozy autumnal card to share with you today!

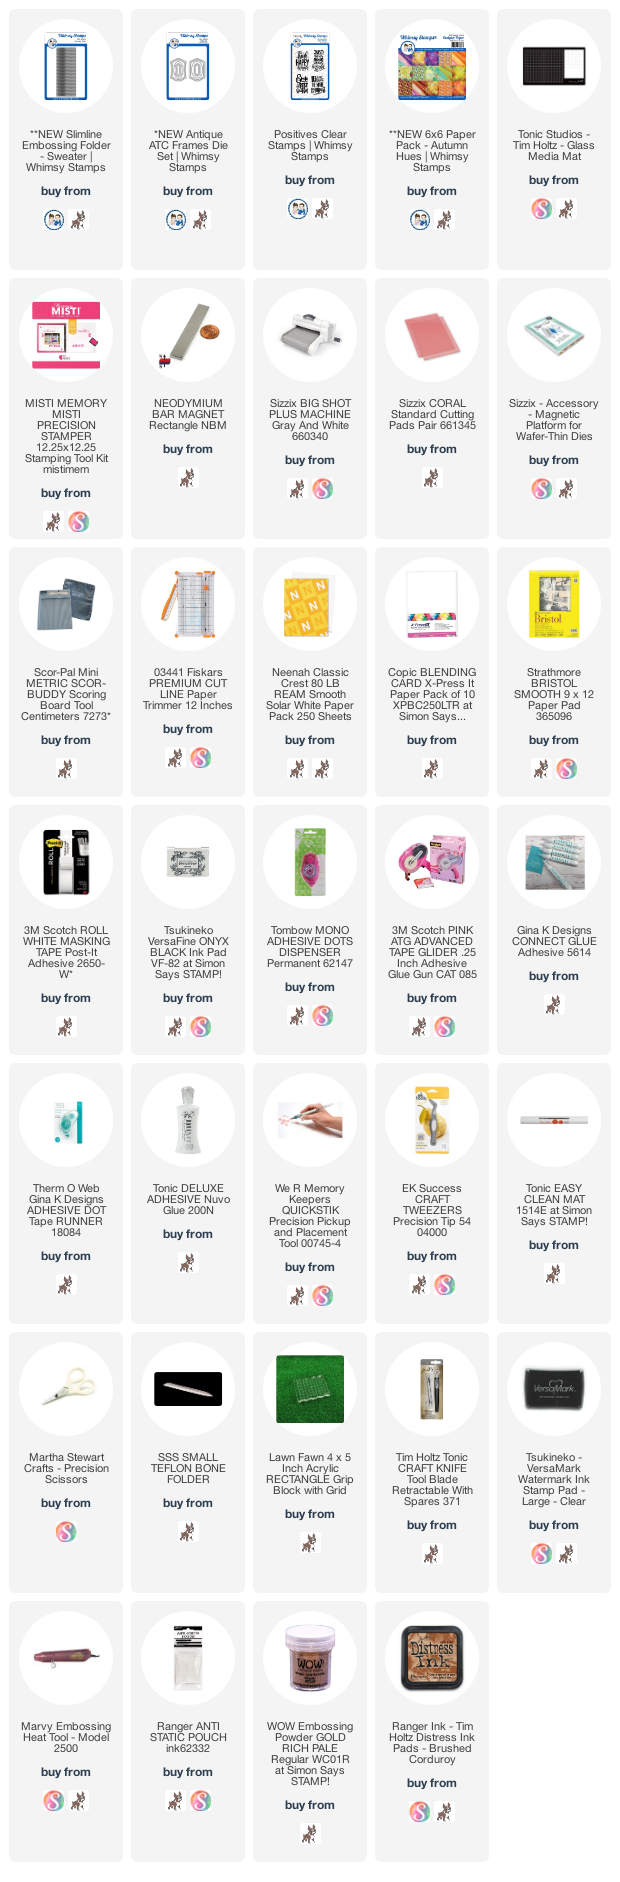
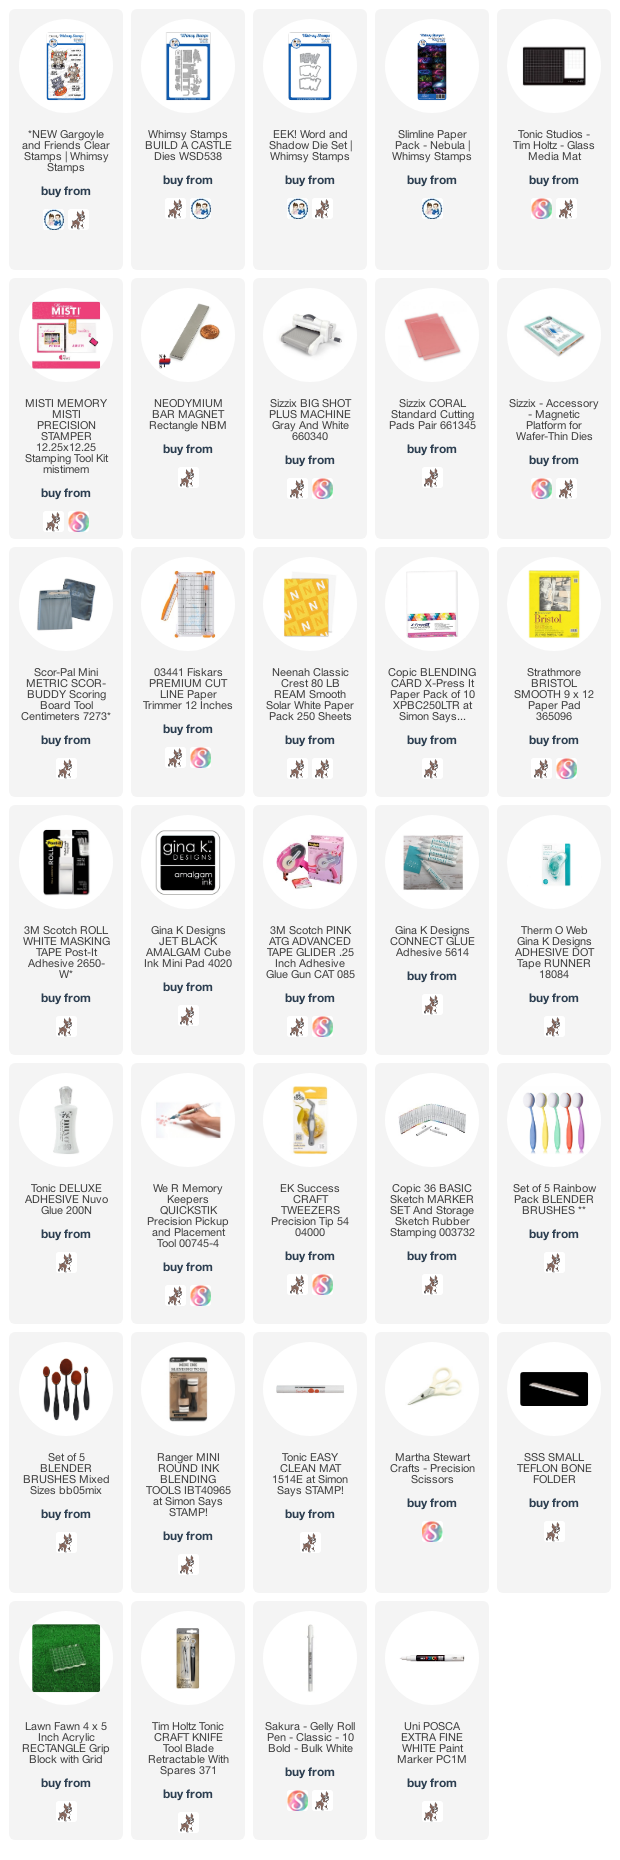
I created my A2 sized card base out of some Kraft Cardstock.  I prefer using the one from Neenah.  It is a good weight and finish.  I used one of the papers from the Autumn Hues Paper Pack to create that lovely fall leaves mat for the card.  I used the same Kraft paper and embossed it with the new Sweater Slimline Embossing Folder.  Before running it through my Big Shot, I inked up one side of the embossing folder with Brushed Corduroy Distress Ink.  It created a lovely, dimensional look to the cardstock.  I cut it into a strip that I adhered to the center of the card.

The sentiment is from the Positives Clear Stamp Set and was heat embossed with gold powder.  This one from WoW is my favorite because of the richness of the gold.  I cut it out using a die from the Antique ATC Frames Die Set and cut a larger one out of some gold cardstock.  I also cut thin strips of the same gold cardstock to add to the top and bottom of my embossed kraft strip.

Thanks for stopping by today! I hope I have put you in the mood to create some Fall cards!
Hugs Jeanette xxo


Saturday, October 2, 2021

World Cardmaking Day ~ Whimsy Stamps

Happy Saturday and Happy World Cardmaking Day, friends!  In honor of this special day, Whimsy Stamps is having a two-day, FREE event in their Facebook group.  There will be videos, tutorials, games, prizes and freebies!  To participate in this awesome event, visit the Whimsy Stamps Inspiration Facebook Group.


Today's card features a free digital image from Whimsy Stamps.  It will be free only for this weekend. You can find out how to get it and how to join in on all the fun by going to Facebook.  Here is the link: https://fb.me/e/1OhGDMKS5


I printed the digi "Tia" onto some Neenah cardstock and colored here with Copic Markers:

E000, E00, E11, R02, R20, R24, R24, G12, BG53, BG57, C00, C1, C3, C5, C7, C9, 0, E40, E43, E44, E47, E49

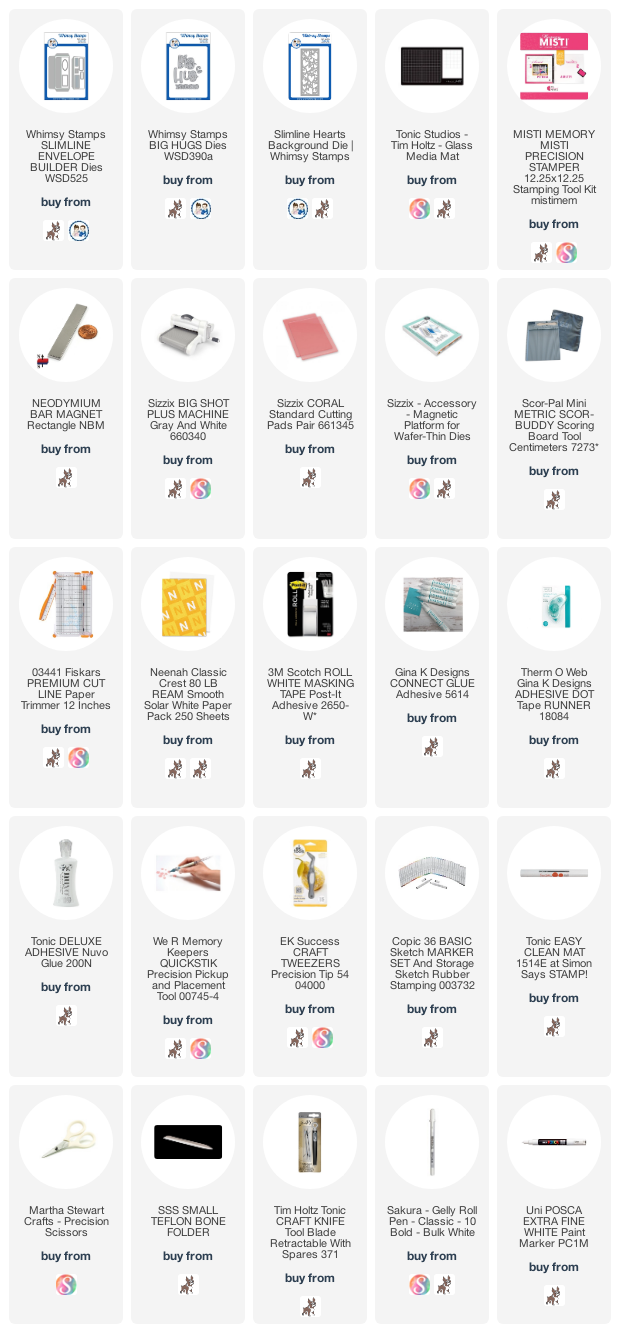
I fussy cut the image out and adhered it to the cardbase that I had created.  I used the Slimline Hearts Background Die to cut out some silver glitter cardstock.  I laid this over a base that , folded, measured 3.5 x 8.25".  It was made using aqua cardstock which is one of my favorite colors to use for winter cards.  Any card actually :)

The sentiment was made by using the dies in the Big Hugs Word Die Set and cutting them out of red metallic cardstock.  I created a matching envelope using red cardstock and the die elements from the Slimline Envelope Builder Die Set.

Happy Cardmaking Day!
Hugs Jeanette xxo 

Friday, October 1, 2021

Thanks - Whimsy Stamps New Release and Instagram Hop

Happy Friday and Happy October!  I hope that you are having a great day so far!  The weekend is almost here!

As it is the first of the month, Whimsy Stamps has a new mini release to share with you all.  It is filled with autumnal goodness and spooky Halloween treats!  My card today is of the non-spooky nature!


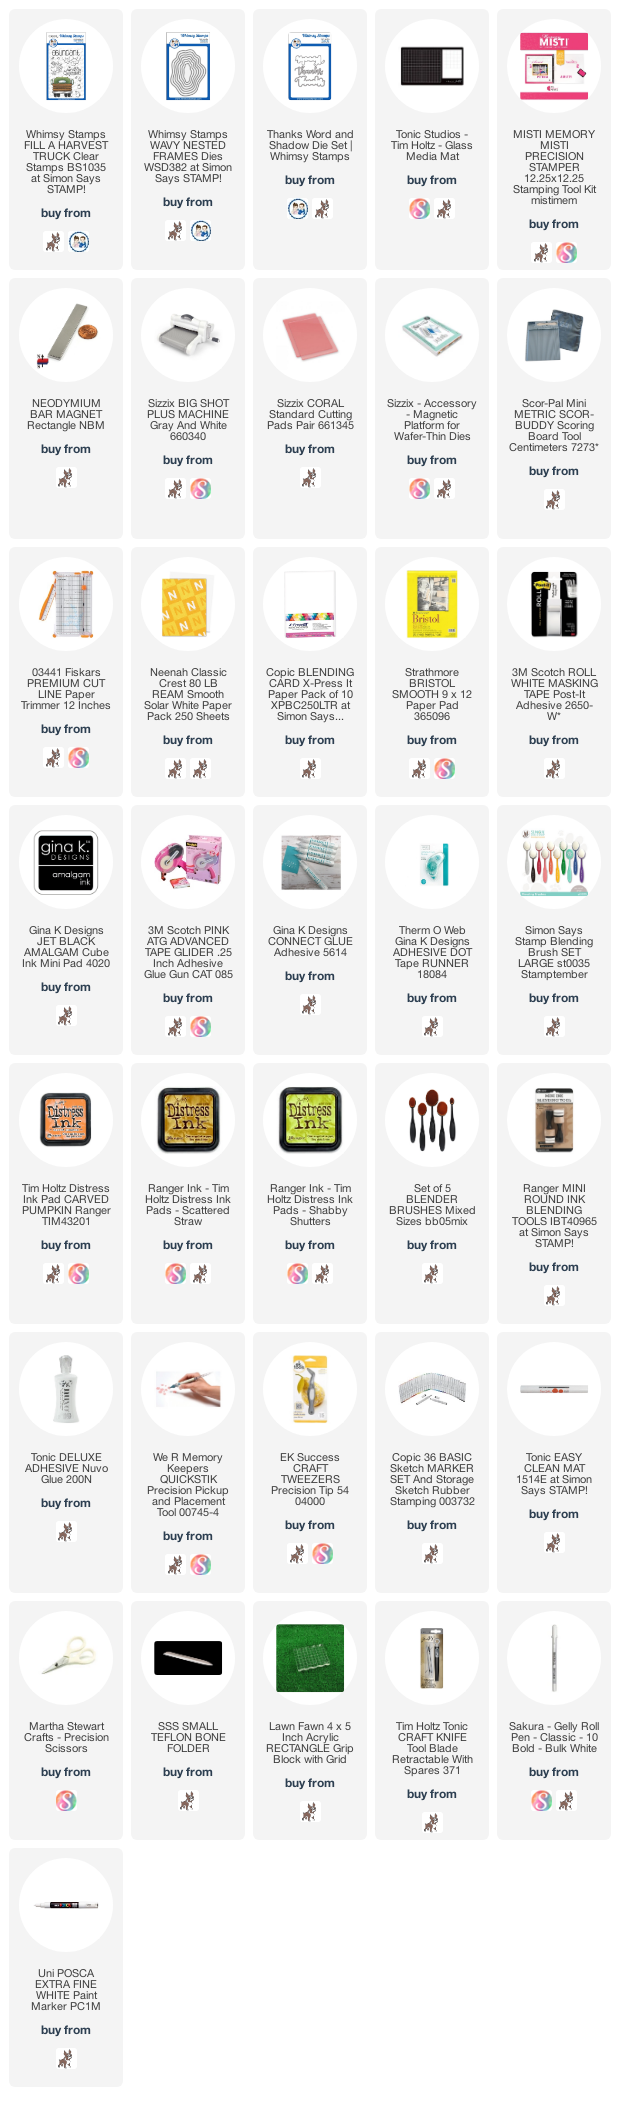
This is a relatively clean and simple card.  To start, I made an A2 sized cardbase with some orange cardstock.  I cut a piece of Neenah cardstock to measure 4.0 x 5.25" and adhered it to my cardbase.

I blended some Distress inks in Scattered Straw, Carved Pumpkin and Shabby shutters over a piece of Bristol Smooth cardstock and then die cut it out using one of the dies in the Wavy Nested Frames Die Set.

I stamped the truck and the apples from the new Fill a Harvest Clear Stamp set onto some Neenah cardstock using Gina K black ink and then colored everything with copics.

Copic Markers:
0, C00, C1, C3, C5, C7, C9, YG21, R22, R24, R08, R27, G12, G14, GG11, BG01, BG53, BG57, E30, E31, E33

The sentiment was die cut using one of the dies in the Thanks Word Die Set.  I cut it out using some shiny, gold cardstock.

Thanks for joining me today! There is also a blog hop that is going to start today (October 1, 2021 at 10:00 am EST). It starts over @whimsystamps and there are prizes up for grabs!!!

Take Care and enjoy the rest of your day. I hope you have the chance to get a little crafty!

Hugs Jeanette xxo
LinkWithin

Related Posts with Thumbnails