Happy Thursday and Happy Valentine’s day! We had a special time yesterday as we received 40 cm of snow which resulted in ALL the kids having a snow day! Yes, even the universities and colleges closed yesterday! For some reason, snow day equals a baking day for me and I made a ton of their favorites! Last night I decorated the kitchen (as per my tradition) and laid out some lovely chocolate marshmallow treats for my guys! I made each a little tag so that they would know whose pile was whose! Here are the tags:
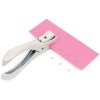
These were quickly made the other day. I cut out the heart shapes with an old Whiff of Joy die and then used a paper crimper to crimp them up. I love the texture and dimension this gives without too much fuss! I used a very sweet MFT set and fussy cut each little birdie out after having colored them with copic markers. The sentiments were heat embossed with white and then cut out to size! I added an eyelet and some twine so that they can be hung. They used hang them up in their rooms or on the door knobs to their rooms!
Happy Wednesday Everyone! Can you believe that we are already at the very end of May? Time is just flying! The gardens are all planted and now I just have to keep everything hydrated and fend off the squirrels. Have I ever mentioned my on-going battle with these pesky rodents? They love to destroy my garden. They eat the tops of all my tulips, dig up my potted plants and steal all my strawberry flowers. We were able to fend of the gopher that was eating all our vegetables by adding sound repellent devices (they emit high-frequency sound waves and are triggered by motion). They worked well last year and so far so good this year. I like that they don’t harm the animals but keep they out of my beloved garden. They don’y seem to be working well for the squirrels this year. I bought some cayenne pepper and I have been sprinkling that in my pots and several days in, it seems to have worked. We’ll see. If any of you have any tips or tricks…..leave a comment below!
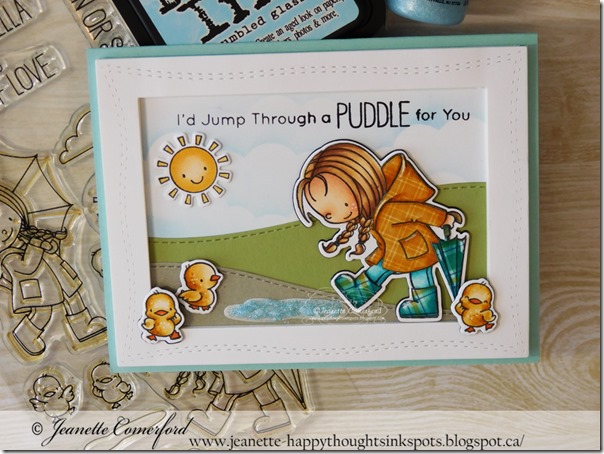
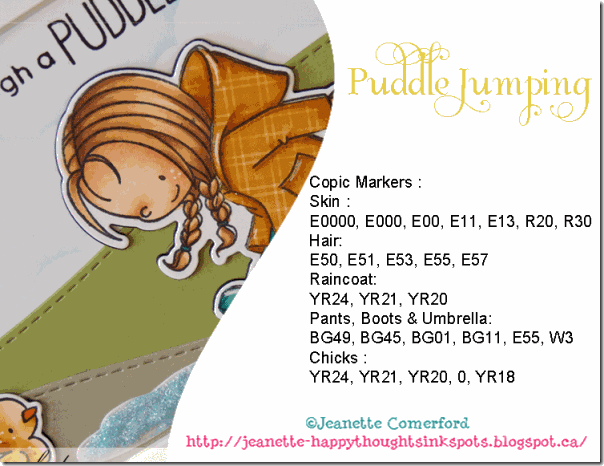
I have a new card and a how-to video tutorial to share with you today. It features some of the sweet images in MFT Stamps Rain or Shine. I just love all their Birdie Brown images. They are just the sweetest! I did some paper piecing (you will see how easy it really is) as well as a little trick to give some added dimension to your colored images!
I created the sky background using the MFT Cloud stencil which makes the whole process effortless and guarantees a beautiful outcome every time! The grass and the road were created using two of the dies in the Mama Elephant Landscape trio die set. Again, effortless and always created a lovely backdrop for you images. The puddle gave me some trouble. It took a few different attempts before I got it looking the way I wanted. You’ll see it all in the video!
Happy Monday! Hope you all had a fabulous weekend! Lately our weekends have been jam packed with things! Hockey tornaments and concerts, oh my! I have started to look forward to the “week” rather than the “week-end”…. at least in terms of relaxation! Anyone else the same? Add to the mix that I am slightly addicted to watching the Olympics and that means that I am WAY behind once again.
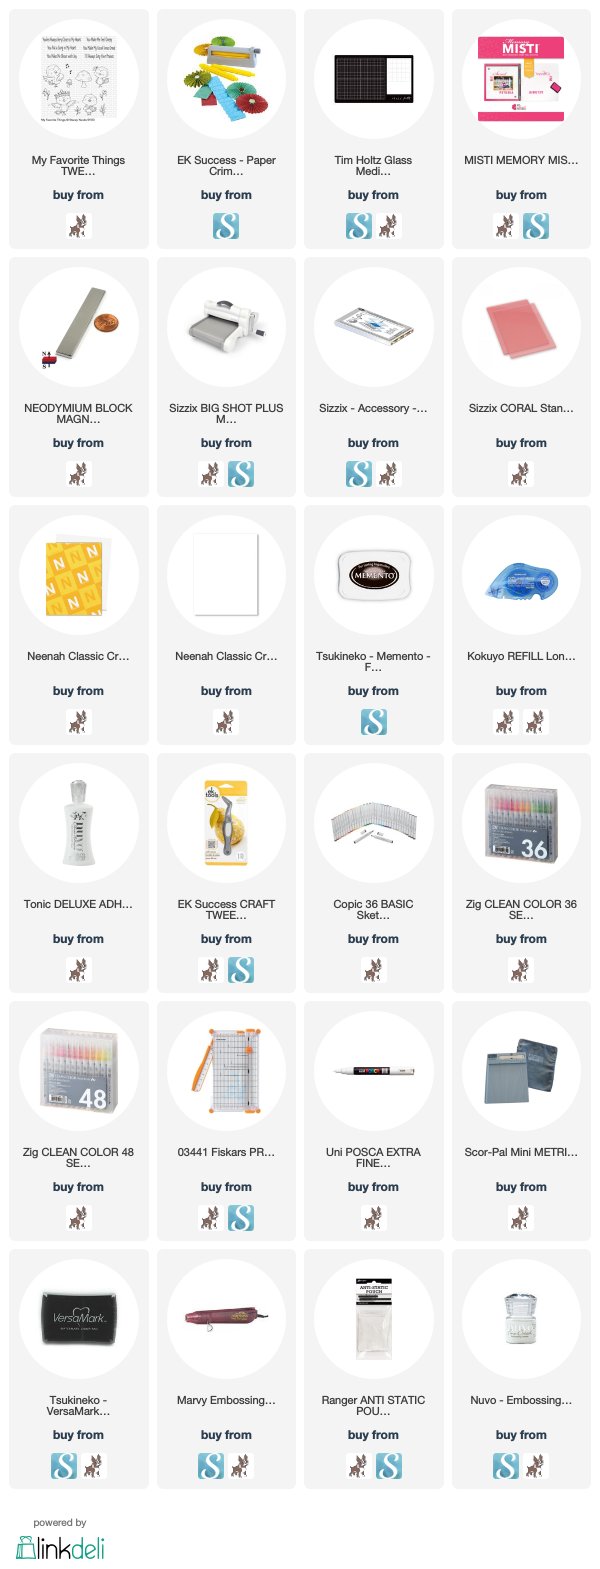
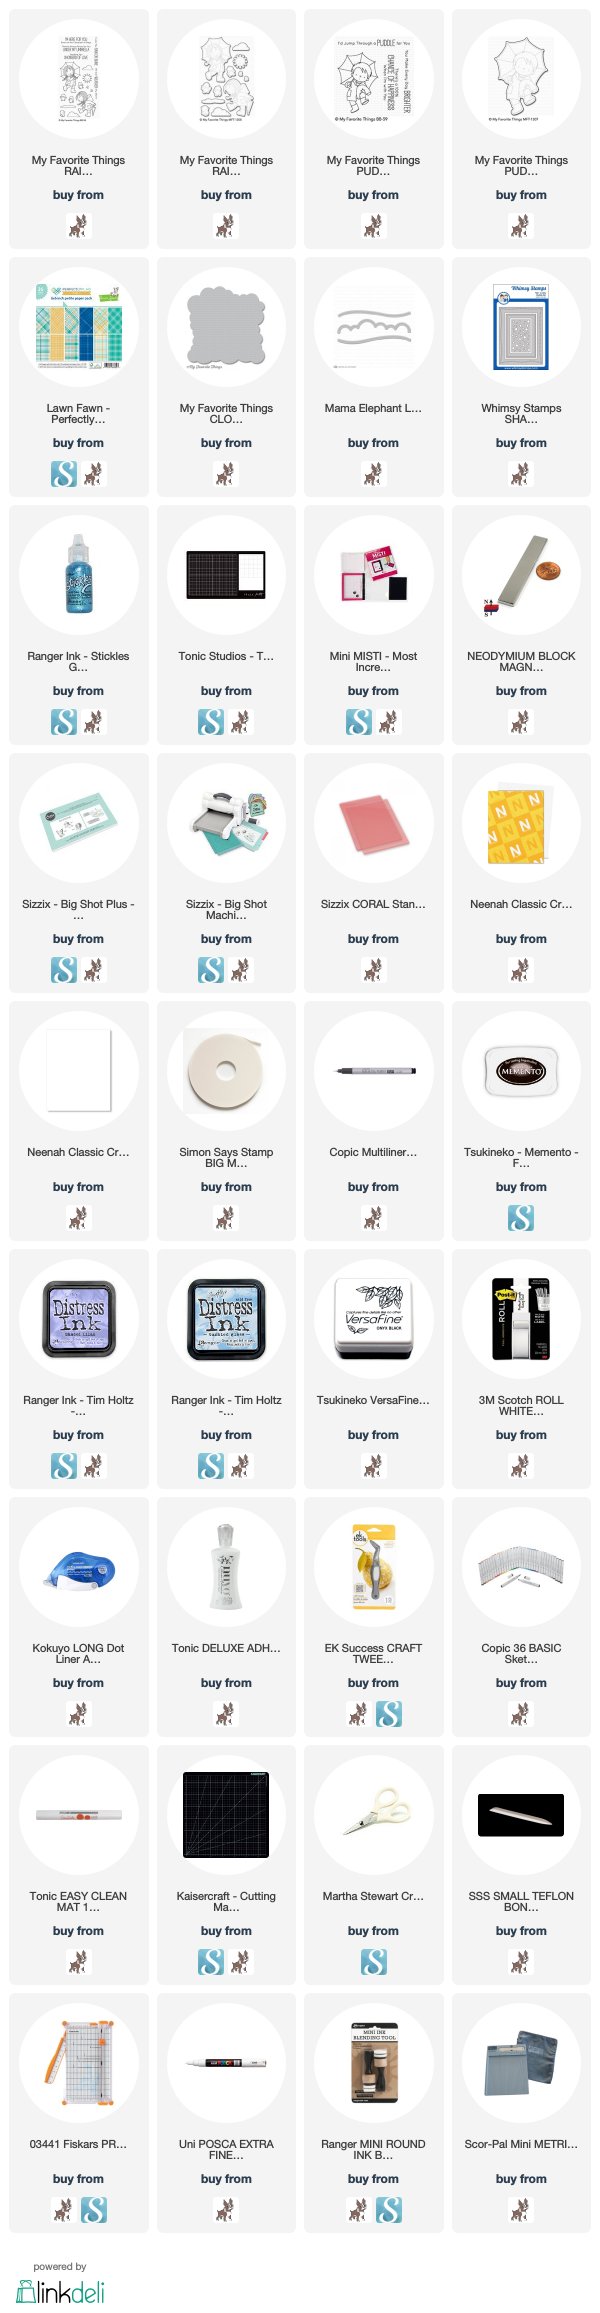
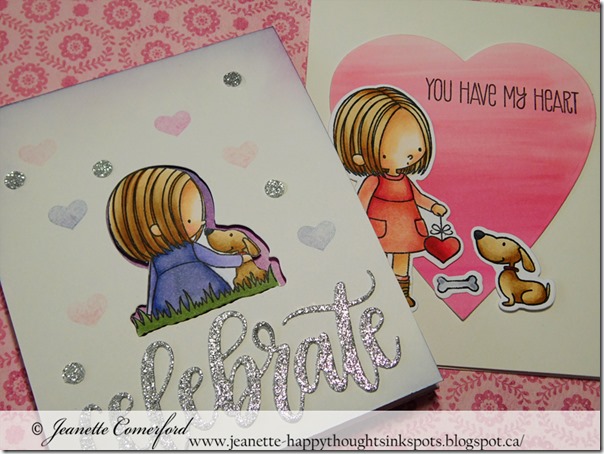
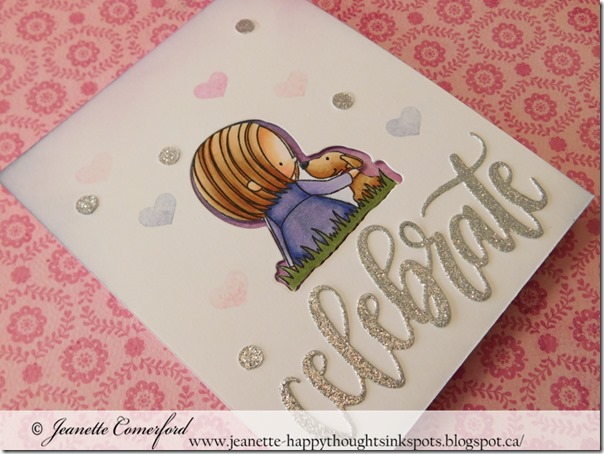
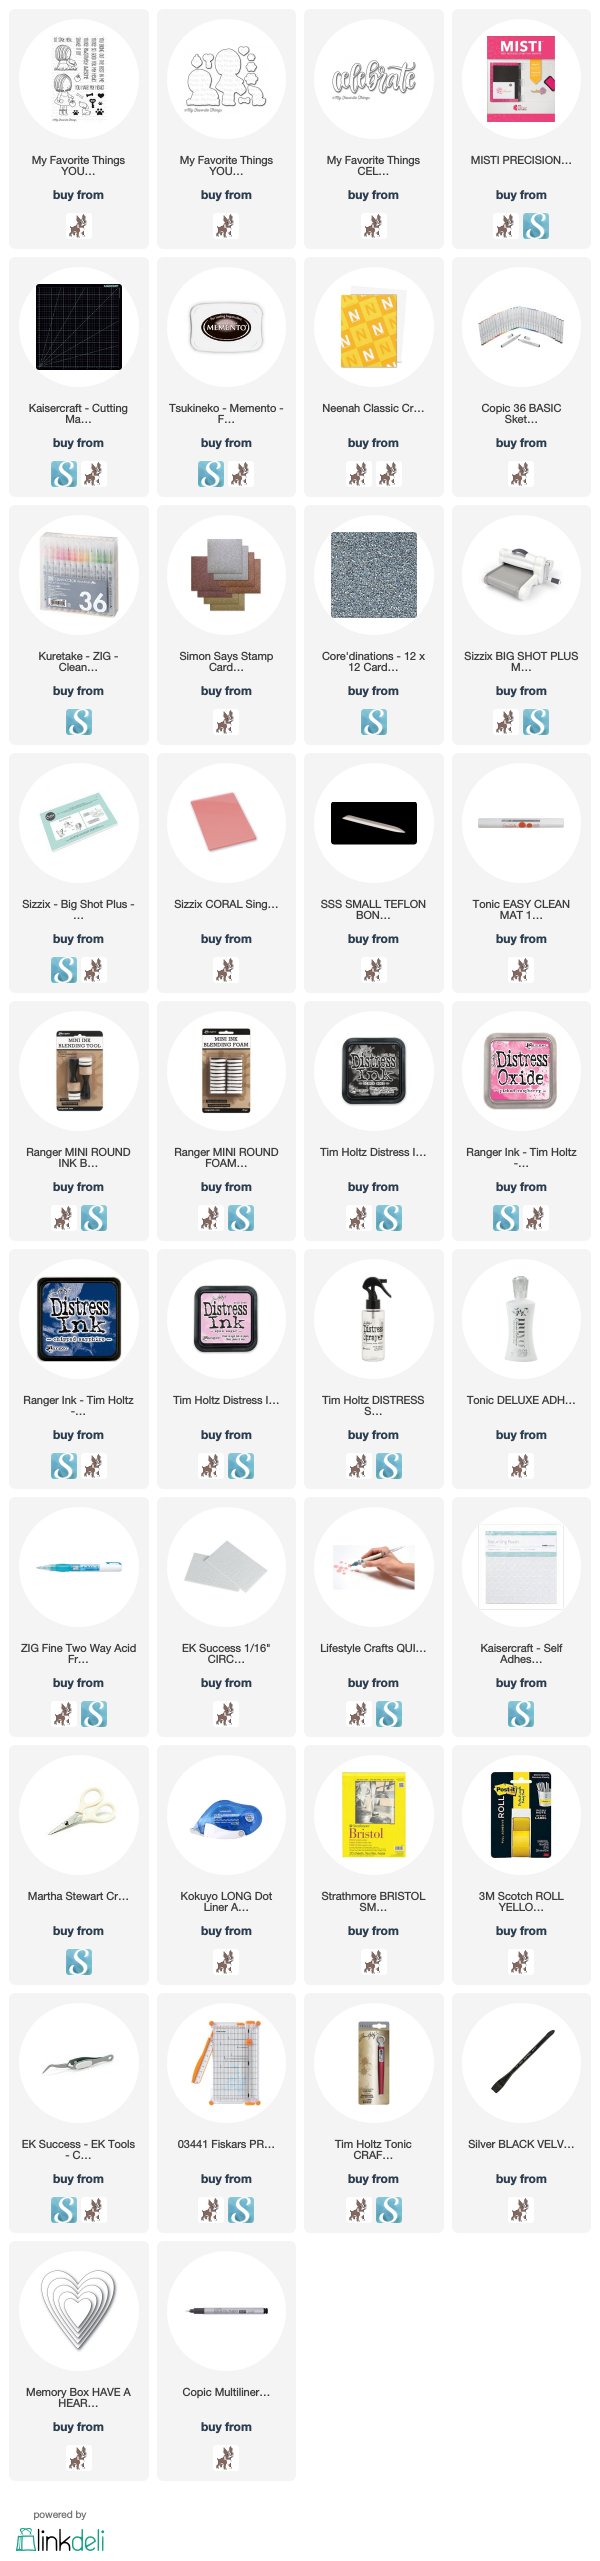
SO, this video was filmed prior to Valentines day and does feature a Valentine themed card….I didn’t get it edited in time though. I think that it could still be used as a birthday card for a loved one! Without furthur ado, here are the photo stills, linked supply list, along with the how-to video below!
Happy Monday! I hope that it has been a good start to the week for you. Even while on Summer vacation, I have a hard time with Mondays!
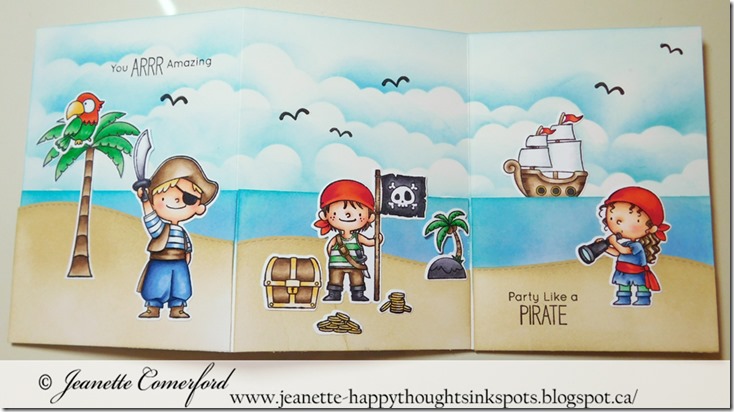
I have a fun trifold card to share with you. Recently, I have seen these popping up on my instagram feed and I really like the fact that you can create quite an intricate scene as you have 3x the usual amount of space. I enjoy the fact that they can also be folded up neatly and mailed off in a standard A2 size enveope! However, this particular card was not mailed as it was made for my youngest boy’s recent birthday!
I used MFT stamps Party Like a Pirate Stamp and coordinating Die set to create this card. I also used some landscape dies from Mama Elephant as well as the nifty and quite amazing new Mini Cloud stencil from MFT. This thing makes creating fluffly clouds an absolute breeze (sorry about the pun)!
Due to the sheer volume of time it took to color all these images, I did not show all of them in the video. So, as promised, I am listing each image panel by panel along with the copic markers I used for each one:
Although this card took more time to complete than a standard one panel card, it truly was worth the extra time and the mile long smile of the recipient :)
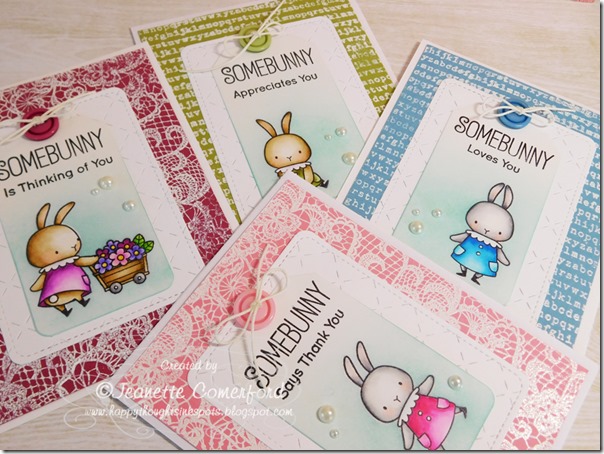
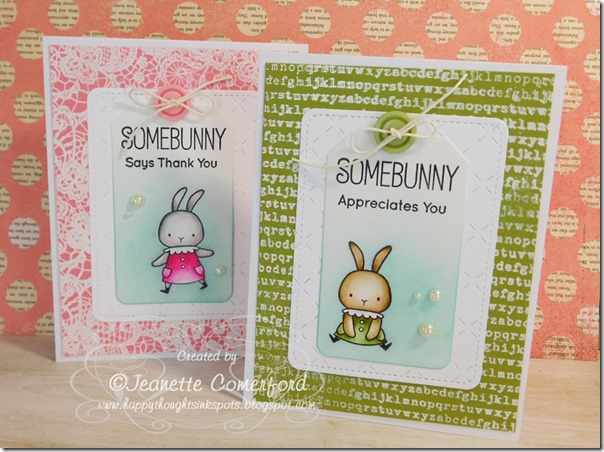
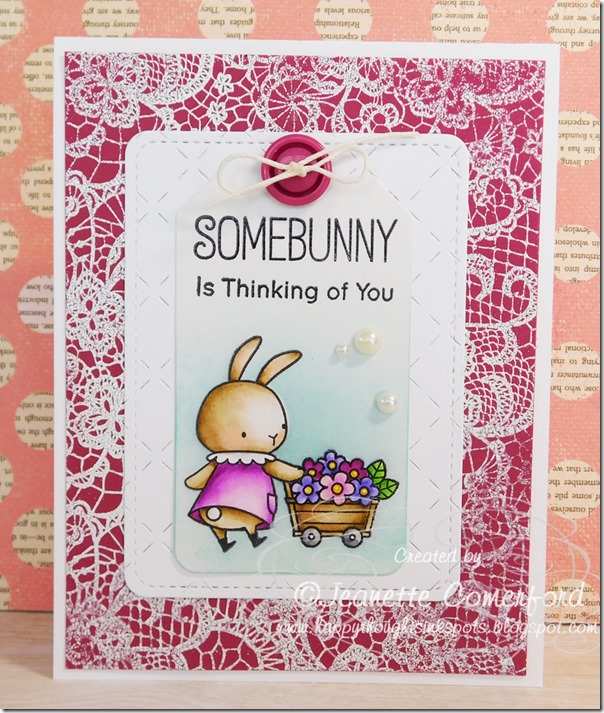
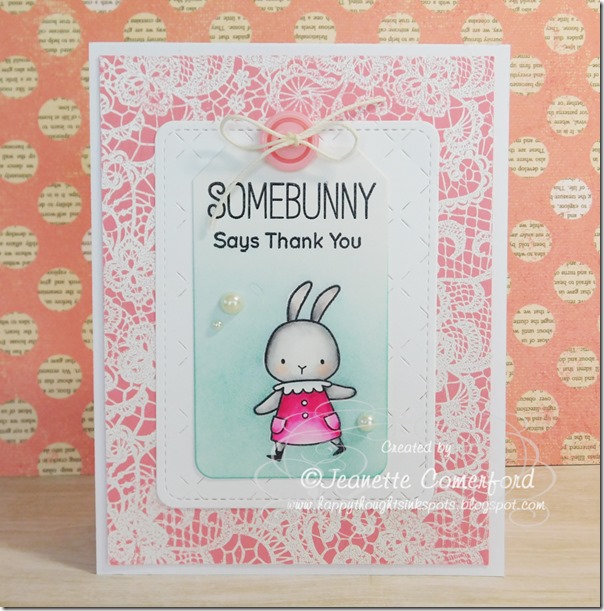
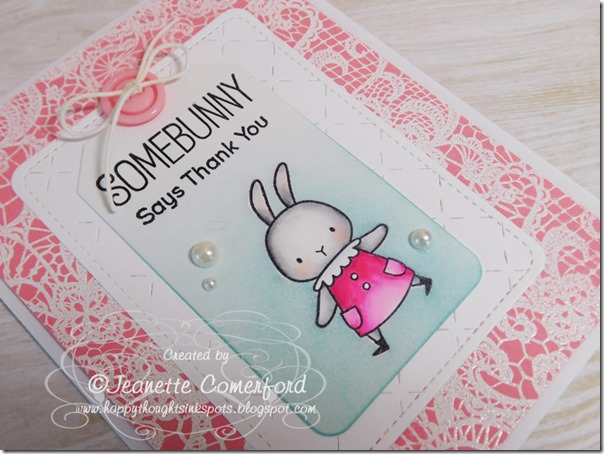
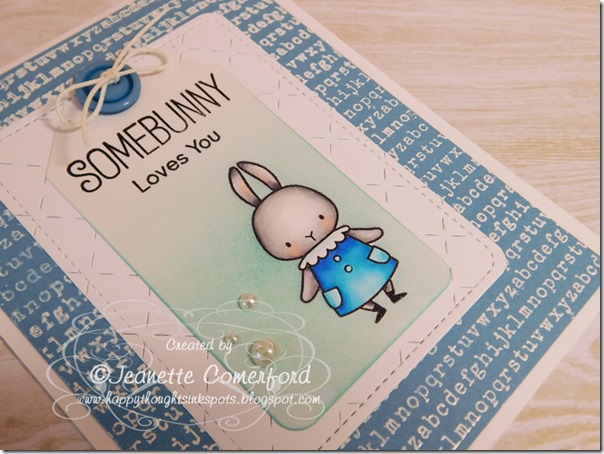
Happy Friday! The sun is finally shining (although they are calling for more rain tomorrow) so I am planning to profit from the nice weather and start tackling the yard-work. I have a sweet set of cards to share with you as well as a how-to video. This is a set from My Favorite Things. It is not a new release but I think it may have been released last year? It caught my eye earlier this month and it just fell into my on-line shopping cart. Funny how these things happen! I didn;t know what type of card I was going to make but I knew that I wanted to color these up with Zig Real Brush Clean color makers (honestly – couldn’t these have a shorter name?). These cards evolved as I was making them and it was a funny and relaxing project!
I really like how these turned out. I used the same techniques on each card but by changing up the colors, they look unique. I do like how they still “read” as a set. I could send these out individually or gift them as a little notecard set.
I created the sentiments by stamping that same word “Somebunny” onto each card, but then I switched up the second line for each of the cards so they all say something different. I also used two different background stamps to create the embossed mat. I really love the instant pop the white embsoosed design lends to the cards.
There were a lot of steps to these cards but because I created them assembly line style, it didn’t take an unreasonable amount of time.
You will find the how-to video and the linked supply list after all these photos :)