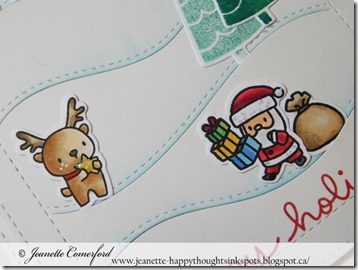
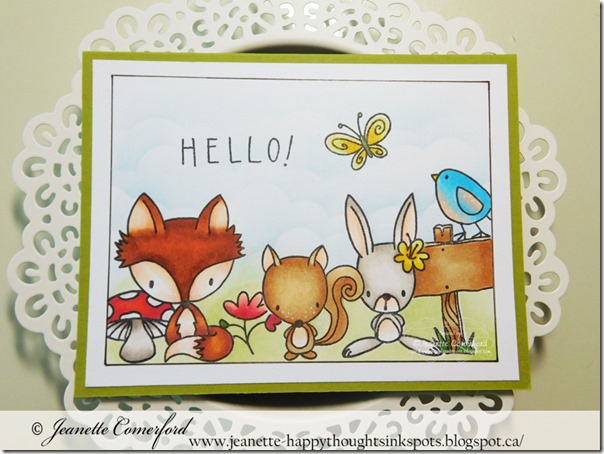
Happy Sunday! I am back with a brand new card and a copic coloration video for you today!

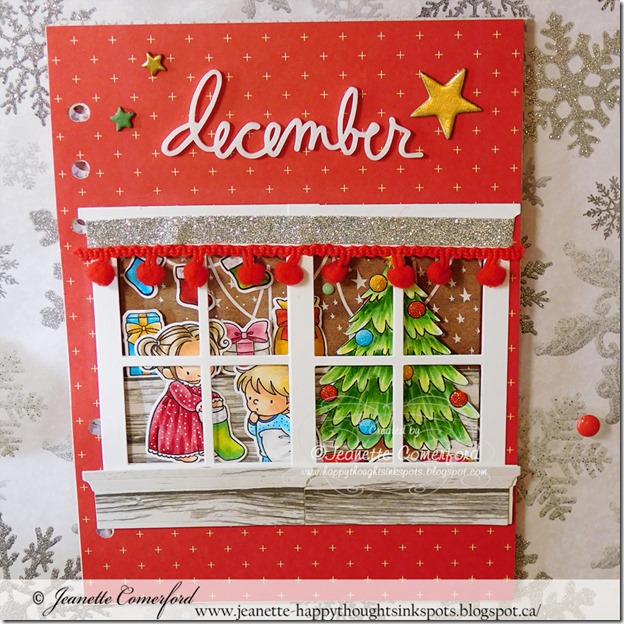
I absolutely fell in love with the new Floral Impressions 6x6 Paper Pack but it was hard to think about cutting into them. I know that you know what I mean! So, I thought that I could use a digital image and size it so that it would fit into the paper as part of an overall scene. I didn't take too long for me to decide to use this beauty: Crown of Daisies. What a gorgeous, sweet image. I think she looks so lovely nestled amongst all those beautiful flowers and greenery. I chose all my copic markers based on the colors in the paper.
Copic Markers
Skin: E000, E00, E11, R30, R20
Lips: R20, R32, R24
Eyes: YG13, YG17
Hair: E50, E53, E55, E57
Dress: R01, R20, R32, R35, R37
Flowers: Y000, YR31, TR23, YG13, YG17
The sentiment was created using the Thanks Word and Shadow Die set. I cut the word out of some foiled paper.
I did record myself coloring the image. There is no voice-over because, to be perfectly honest, my house is sooo noisy all the time with all of us here. We are still under curfew and at home schooling. So, I am sparing you the noise of my 3 boys and instead added some easy-listening music!
To view the video in HD format please click HERE
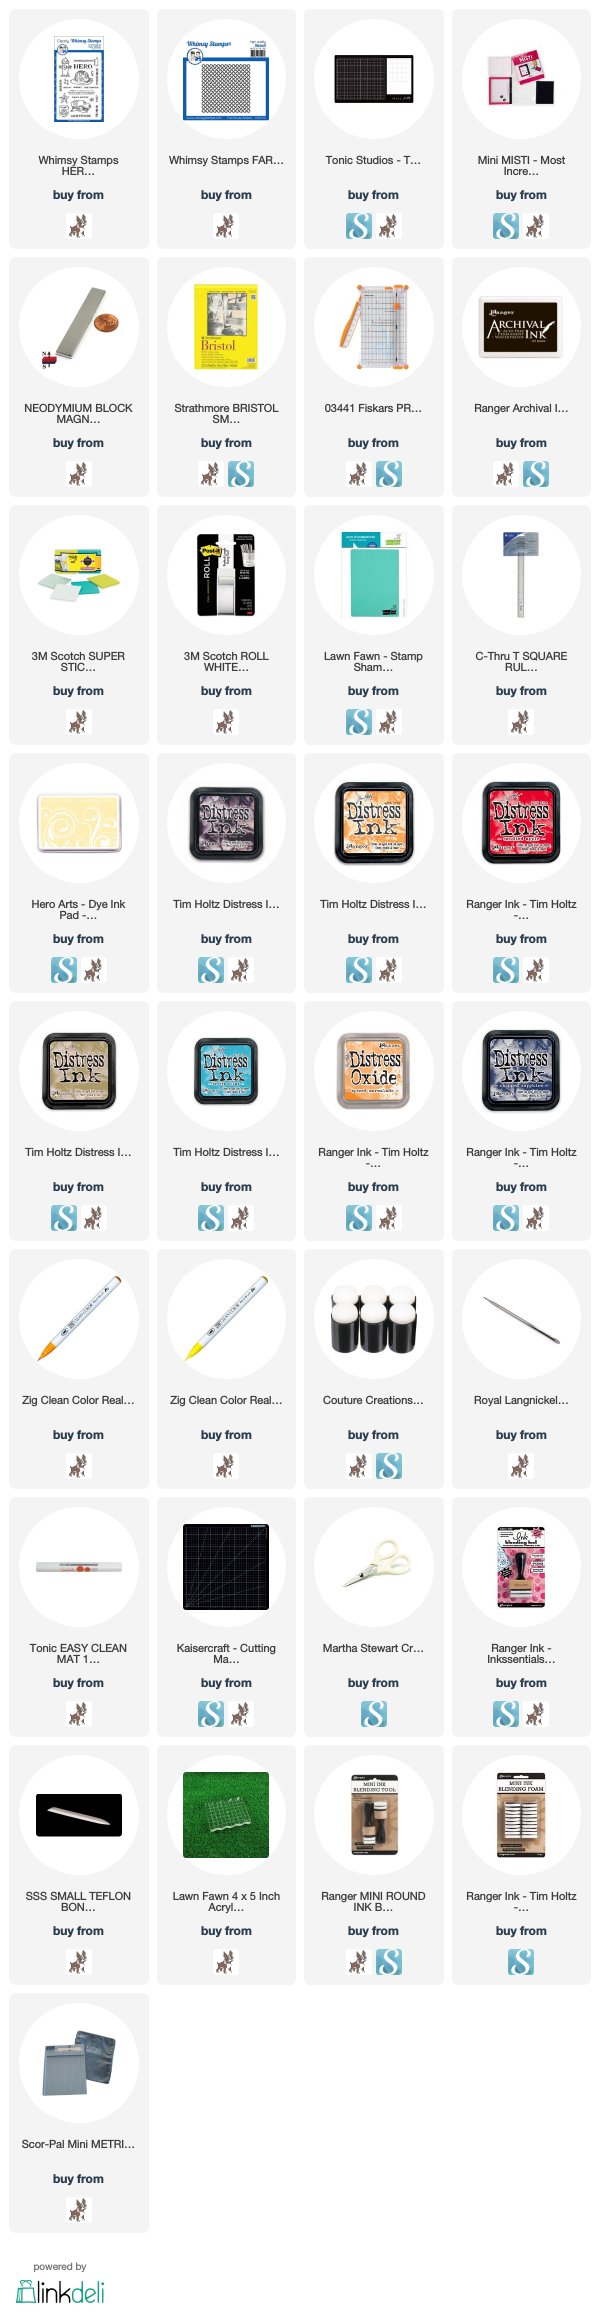
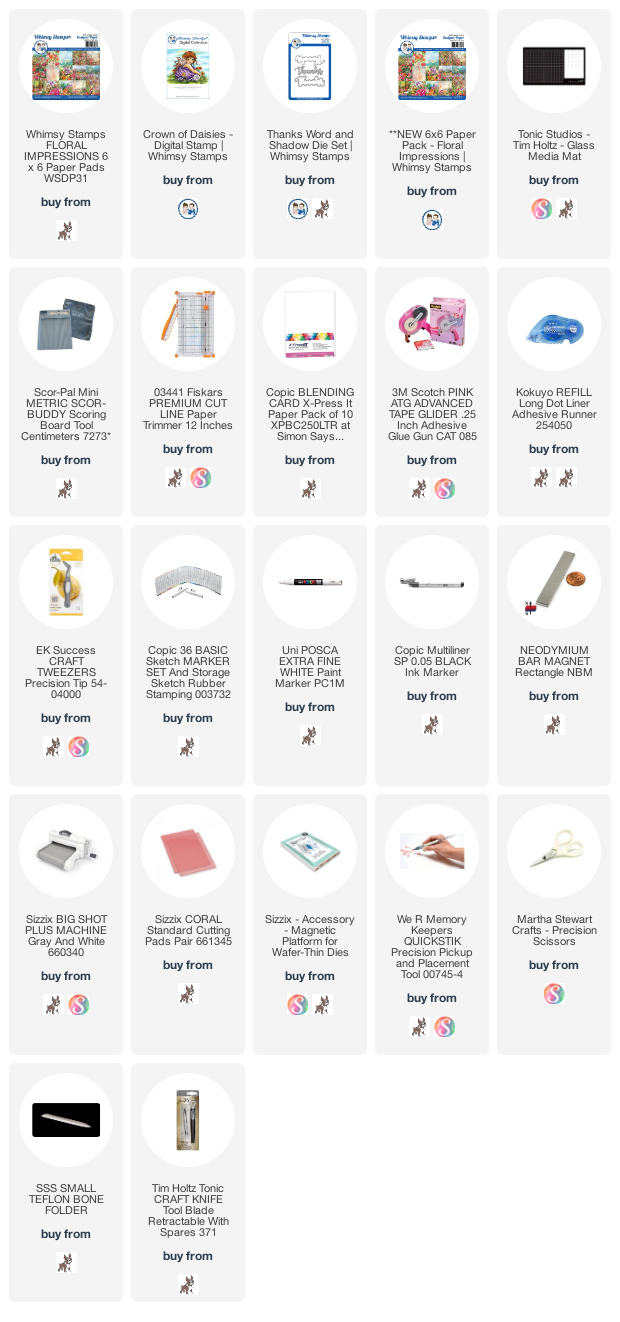
Supplies:

Thanks for stopping by! I hope you are inspired by this card. I am so happy with how it turned out.
Stay Safe
Hugs Jeanette xxo