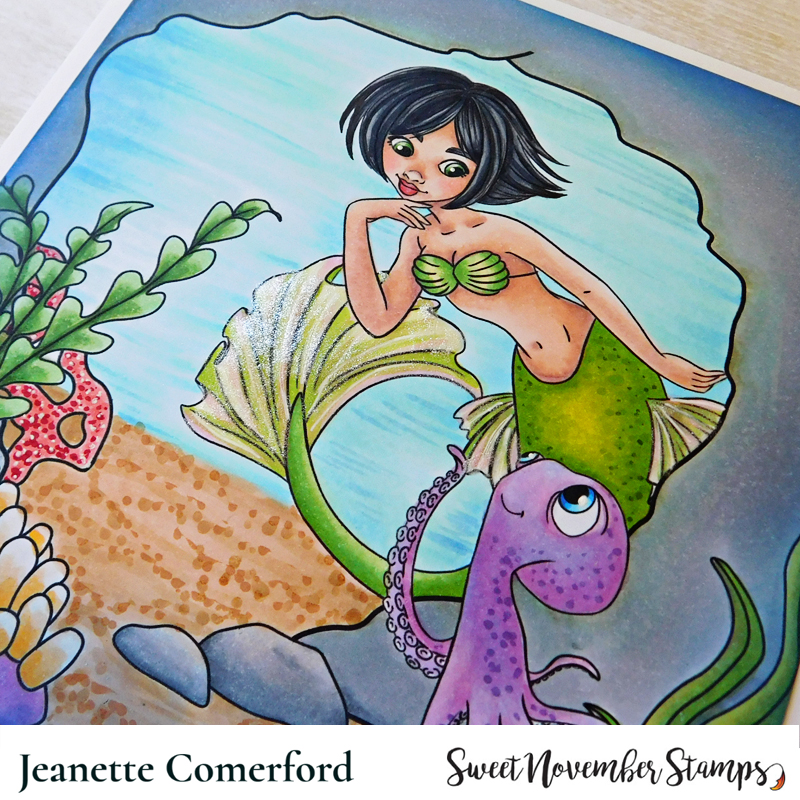
Happy Sunday my lovely crafting friends! I am back again today to share another card I made as a guest designer for the new Sweet November digital Mermaid release! They are "mer-mazing"!

These are Asherah and Inky and I think that they are playing a fabulous game of hide and seek! From Asherah's face, I think that Inky thinks he is a better hider than he actually is!
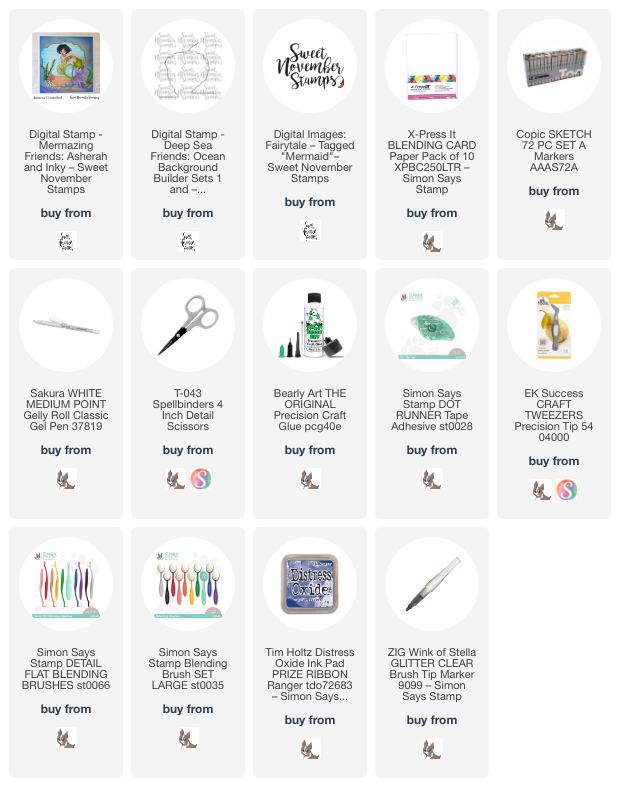
I used several older Sweet November digital images to "build" my scene. I just resized them and arranged them until I had the scene that I wanted. I thought it would be so cute to have Inky hiding in the cave and Asherah finding him! I will list everything I used below.
Image was printed onto Copic paper and then colored with copics. When the coloration was all done, I added some Blue Ribbon Distress ink to the edges to create some depth.
Copic Markers Used:
Skin: E000, E00, E11, R20, R22
Eyes: YG00, YG17
Hair: B00, C3, C5, C7 C9
Tail: YG00, YG13, YG25, YG17, YG67
Top: YG00, YG13, YG25
Octopus: BV02, V12, V15, V17
Cave: Y21, C3, C5, C7
Sea Weed: YG13, YG25, YG17
Anemone: YR30, Y32, BV02, V15
Coral: R20, R22, R24
Sand: E30, E31, E33
Water: B000, B00, BG11, BG13, B02
Some of these links are affiliate links which have no extra cost to you but allows me to bring you this content. Almost all supplies were personally purchased.
Thank you so much for your support.
Thanks for stopping by! Hope this card made you smile.