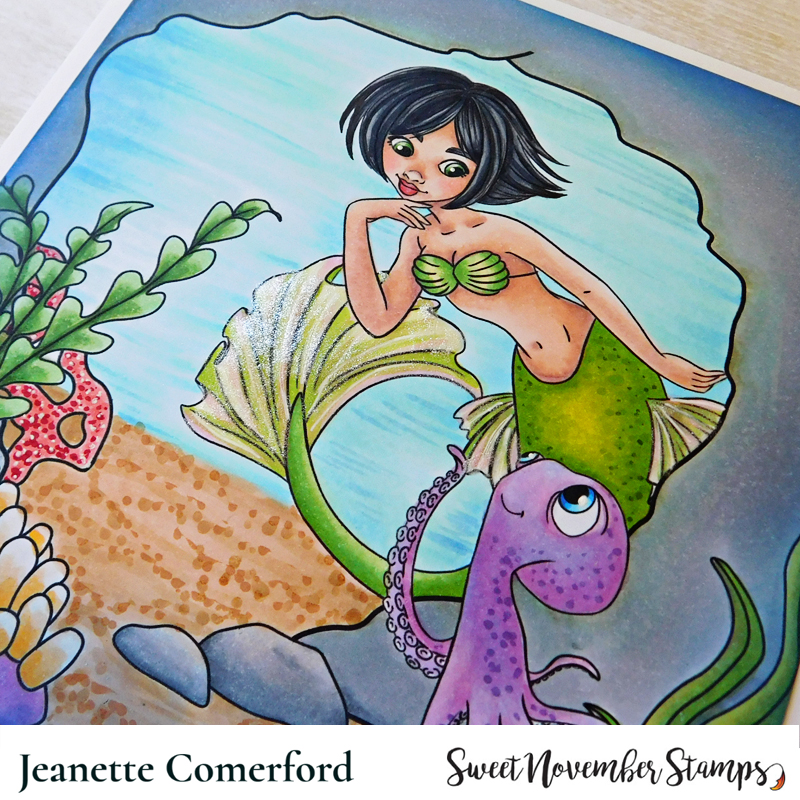
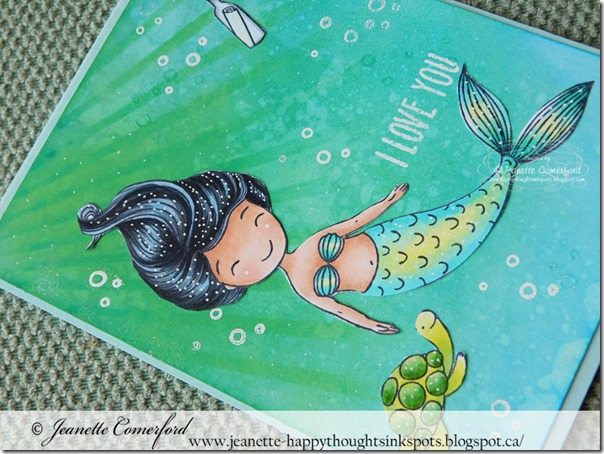
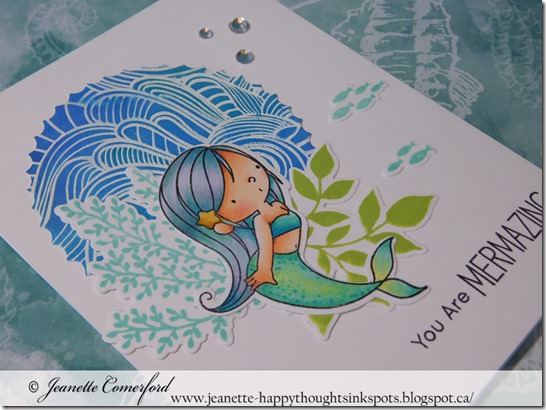
Happy Sunday my lovely crafting friends! I am back again today to share another card I made as a guest designer for the new Sweet November digital Mermaid release! They are "mer-mazing"!
Thanks for stopping by! Hope this card made you smile.
Happy Sunday my lovely crafting friends! I am back again today to share another card I made as a guest designer for the new Sweet November digital Mermaid release! They are "mer-mazing"!
Thanks for stopping by! Hope this card made you smile.
Hello my lovelies,
Yes, I am back. When I first decided to take a break, I did not intend for it to last this long. I thought that I would take a few months off and then I would be back but life was so busy that I just kept putting it off. Finally, it was MerMay and more specifically this new Sweet November digital image from the May newsletter that spurred me into action. Now I am endeavoring to remember how to post this to blogger, tag and upload to my social media. If you are reading this then I guess I succeeded!
I absolutely had the best time coloring up this cutie. I didn't realize how much I had missed doing this.
The background is a patterned paper from Whimsy Stamps, it is actually supposed to be a sky but I turned it upside down and now it is the bottom of the ocean! The sentiment was heat embossed with white powder and is from a Sweet November clear stamp set and the "bubbles" are adhesive gems from my stash. I used a white gel pen to add highlights to her eyes and her hair.
Copic Markers Used:
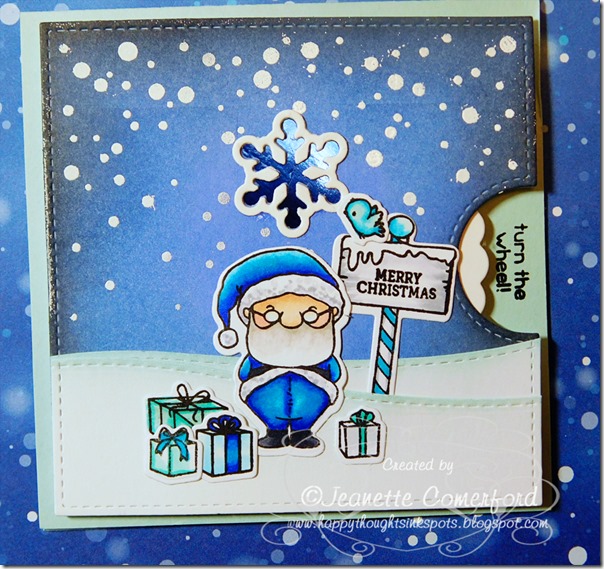
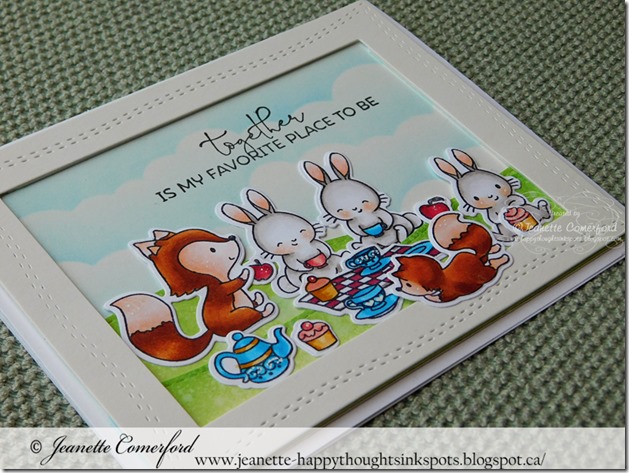
Using the same set but creating a different look. I added less images and switched up the backgroud inks colors and the appperature shape.
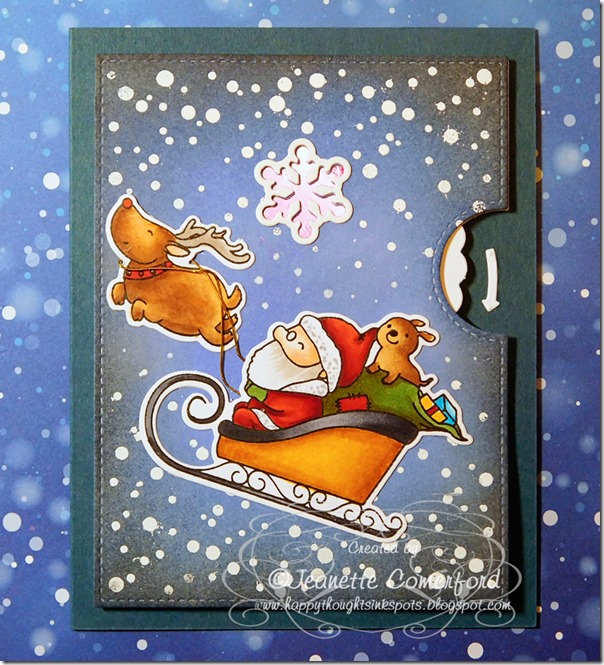
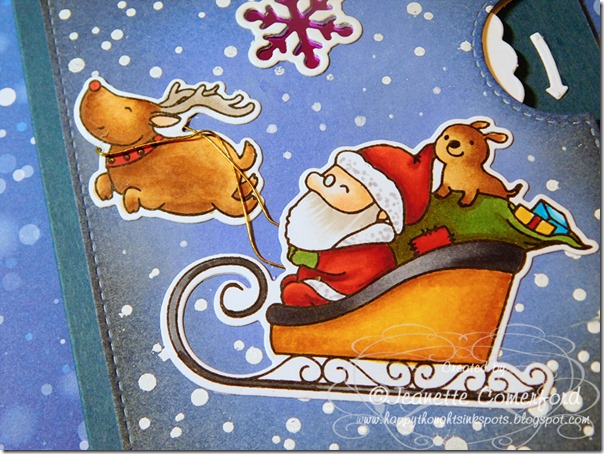
Did you see THIS POST? I used this set to create a totally different take on Santa, his sled and the reindeer. I mentioned in my video tutorial that I was planning on making one featuring an iconic night sleigh scene…..here it is! I am super happy with how it turned out!
Video Tutorial:
Click HERE to view in HD format
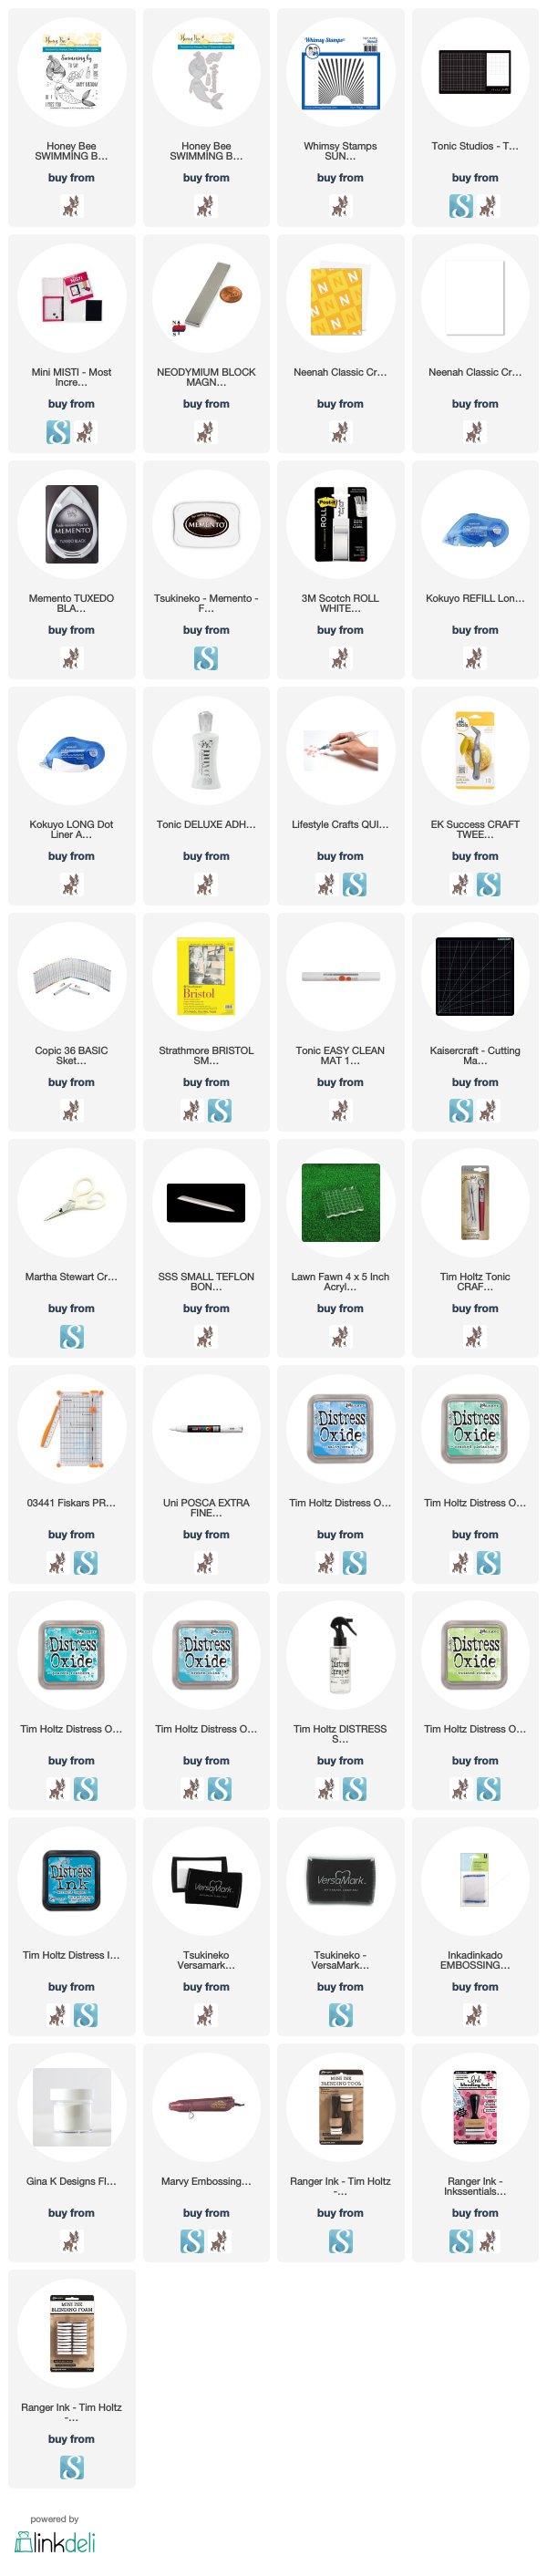
Supplies:
Thanks for stopping by! I hope you are enjoying the Christmas Series so far!!
Hugs Jeanette xxo
Happy Friday and since I live in a home with Star Wars fanatics; May the Fourth be with you. I have a brand new video to share with you today sharing a card that I made using the very sweet Honey Bee Mermaid stamp set. I love her peaceful expression. Icreated a simple one layer card using inks to create an underwater background for the mermaid and her little friend to float in. It was super easy to do and you will see each step in the video!
Video Tutorial:
Click HERE to view in HD format
Supplies:
Thanks for stopping by!
Hugs Jeanette xxo
Happy Wednesday everyone! Again, it has been a while since my last posting but I was actually pretty sick. Hopefully that is all behind me now and I can get on with crafting a little bit more.
I fell in LOVE with this set when I first saw it and I did’t even think twice about it….I knew that I needed the stamp and die set! I think that I am going to get a lot of use out of it because it lends itself so beautifully to scene card as well as little mini cards (I have an idea in the works). My how-to video as well as the supply list can be found right after these photo stills!
Video Tutorial:
Click HERE to view in HD format
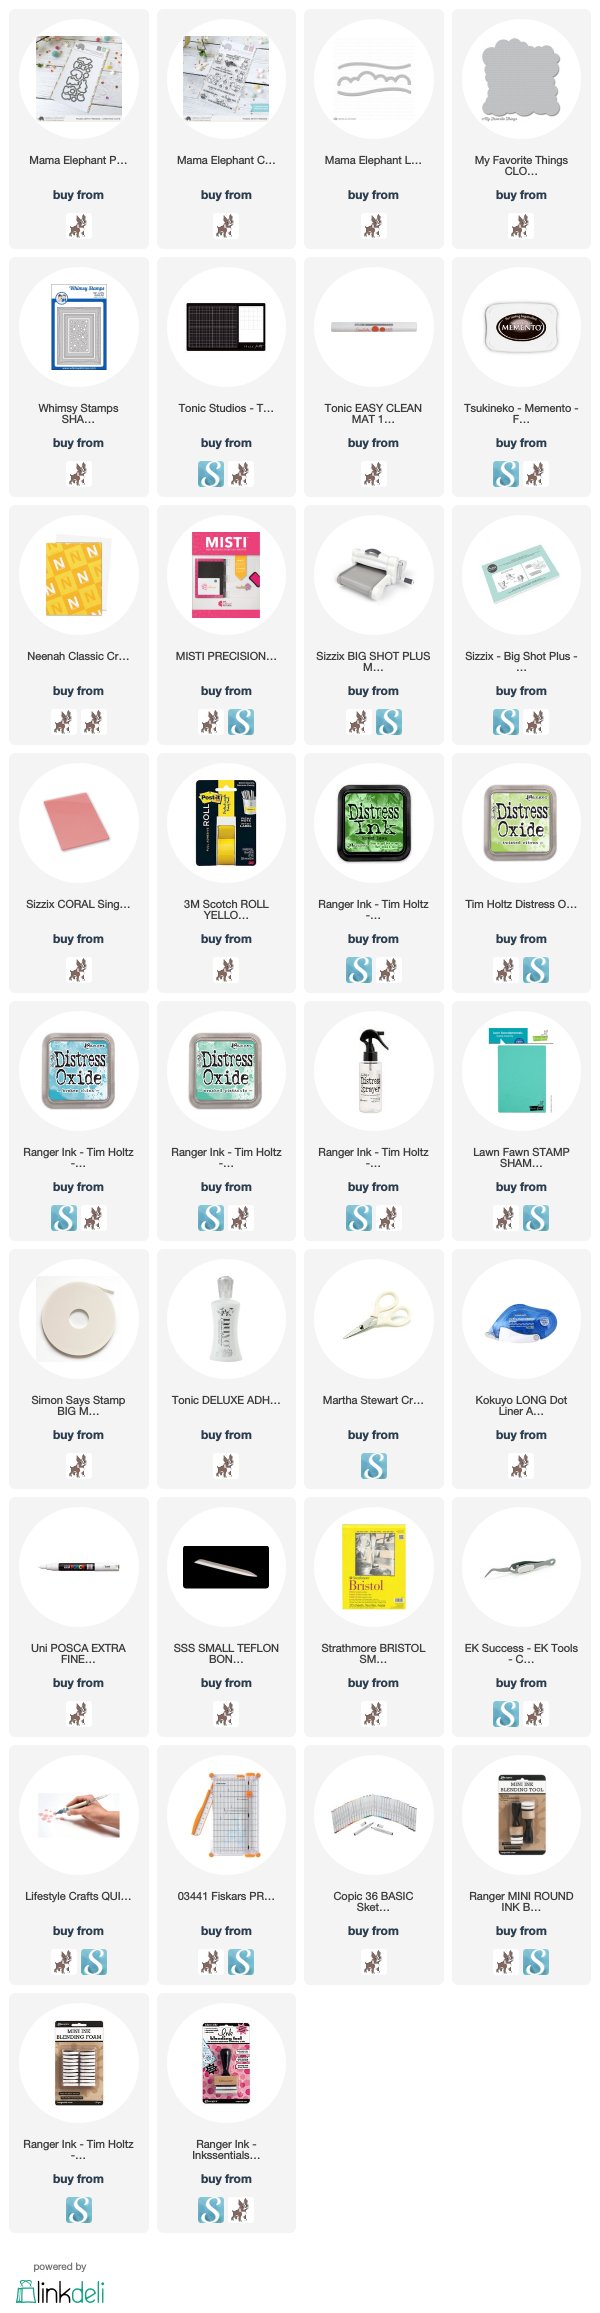
Supplies:
Thanks for stopping by!
Hugs Jeanette xxo
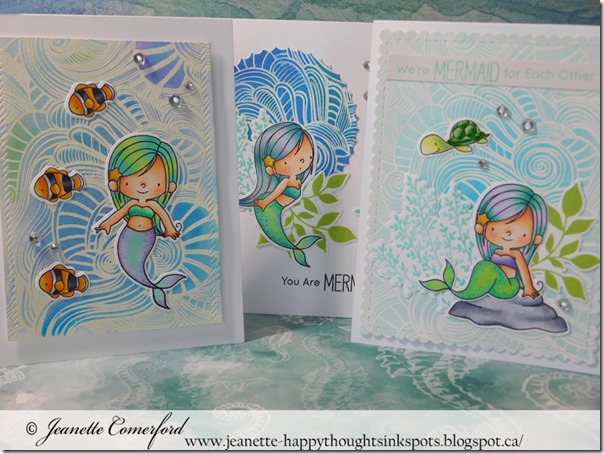
Happy Monday! I hope that you are having a great day and week so far! I have a new card set to share with you today that features some of the new May release from MFT Stamps! This project was so much fun to create! You will find a how-to video after the photos below and in it, I will take you through the coloration process for the images as well as show you how I created the backgrounds!
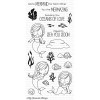
I am a HUGE fan of the Birdie Brown line from MFT Stamps and when I saw that there was a new Mermaid set, I just was giddy with excitement. I have paired up the Mermazing Set with the new Exquitiste Ocean set and I love how much versatility you get my changing up the different element combinations!
I have listed all the Copic markers that I used for each image below. Although the colors stayed roughly the same for each mermaid, a few change ups and different coloring orders made each mermaid unique!
Video Tutorial:
Click HERE to view in HD format
Supplies:
Mermazing Copic Colors Used :
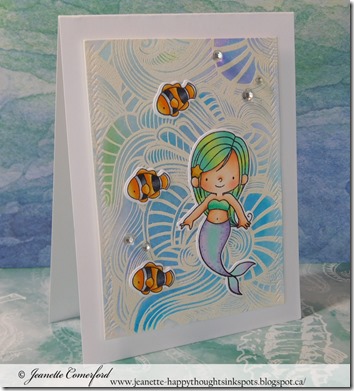
Mermaid #1
Skin: E000, E00, E02, E04, R20, R30
Hair: BV000, BG32, BG34, BV11, BG05
Bikini Top: BV000, BV11, BV13
Tail: YG00, BG11, BG32, BG05
Star: YR23, Y23
Mermaid #2
Skin: E000, E00, E02, E04, R20, R30
Hair: BV11, BG32, BV13, BG05, BG11
Bikini Top: BG11, YG000, BG32
Tail: BG11, YG00, 0, BG32, BG05(dots)
Star: YR23, Y23
Mermaid #3
Skin: E000, E00, E02, E04, R20, R30
Hair: YG00, BG32, YG000
Bikini Top: BG11, YG00, BG32
Tail: BG11, BV11, BV13
Star: YR23, Y23
Rock: C3, C1, C5
Turtle: YG000, YG00, YG11, YGI3
Fish: YR04, YR23, C7, C5, C3
Zig Markers Used:
Background #1: 031 Cobalt Blue, 036 Light Blue, 303 Shadow Mauve
Background #2: 031 Cobalt Blue, 036 Light Blue, 080 Violet, 041 Light Green
Background#3: 032 Persian Blue, 031 Cobalt Blue, 042 Turquoise Green, 036 Light Blue, 080 Violet
Inks Used:
Hero Arts Shadow Ink - Tide Pool
SSS Dye Ink - Jellybean
Thanks for stopping by!
Hugs Jeanette xxo