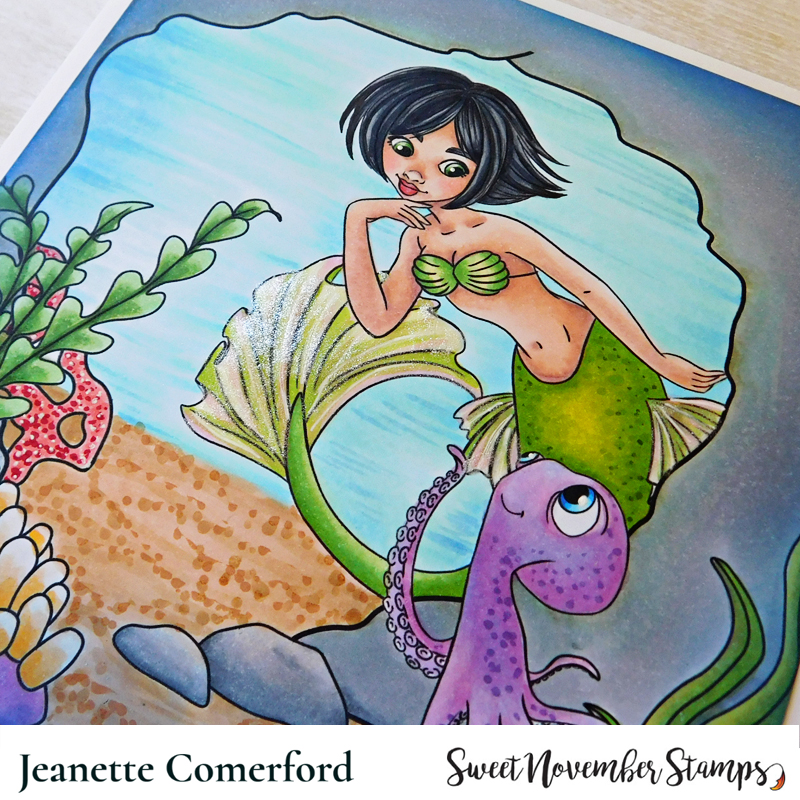
Happy Sunday my lovely crafting friends! I am back again today to share another card I made as a guest designer for the new Sweet November digital Mermaid release! They are "mer-mazing"!
Thanks for stopping by! Hope this card made you smile.
Happy Sunday my lovely crafting friends! I am back again today to share another card I made as a guest designer for the new Sweet November digital Mermaid release! They are "mer-mazing"!
Thanks for stopping by! Hope this card made you smile.
Happy Saturday my crafty friends! I hope that you can a wonderful weekend lined up for yourself!
I am very excited to have been asked to be a guest designer for Sweet November stamps as they release a fabulous new mermaid digital collection. There are 4 lovely new mermaids and each one comes with a sweet ocean friend!
Here is lovely Cari and her dolphin friend Nero! They look like they have a lot of fun together!
I printed the digital image out on Copic X-Pressit paper and then colored it using a variety of Copic Markers (listed below). I added a white dot highlight to the eyes using a white gel pen. After fussy cutting the image, I adhered it using Bear glue (loving this new-to-me glue) onto a piece of slimline sized paper from the Whimsy Ocean Paper pack. For the sentiment, I used one from the Whimsy Mermaid Set and heat embossed it using white embossing powder.
Thanks for stopping by special thanks to Tee and Amy for asking me to guest design. It is always so much fun to work with Sweet November images!
Hugs Jeanette
Hello my lovelies,
Yes, I am back. When I first decided to take a break, I did not intend for it to last this long. I thought that I would take a few months off and then I would be back but life was so busy that I just kept putting it off. Finally, it was MerMay and more specifically this new Sweet November digital image from the May newsletter that spurred me into action. Now I am endeavoring to remember how to post this to blogger, tag and upload to my social media. If you are reading this then I guess I succeeded!
I absolutely had the best time coloring up this cutie. I didn't realize how much I had missed doing this.
The background is a patterned paper from Whimsy Stamps, it is actually supposed to be a sky but I turned it upside down and now it is the bottom of the ocean! The sentiment was heat embossed with white powder and is from a Sweet November clear stamp set and the "bubbles" are adhesive gems from my stash. I used a white gel pen to add highlights to her eyes and her hair.
Copic Markers Used:
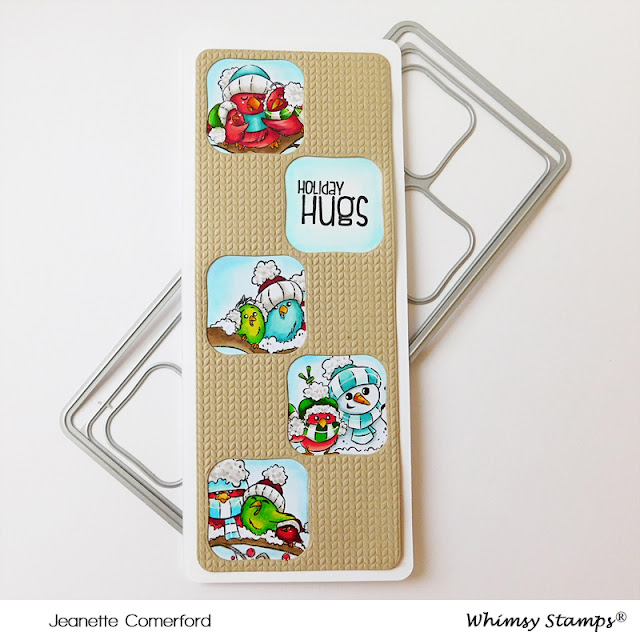
Happy Monday! We had a bit of a storm last night with freezing rain and snow. So now it looks like a real Winter Wonderland outside!
I have this cozy looking card to share with you today. Here is how I made it!
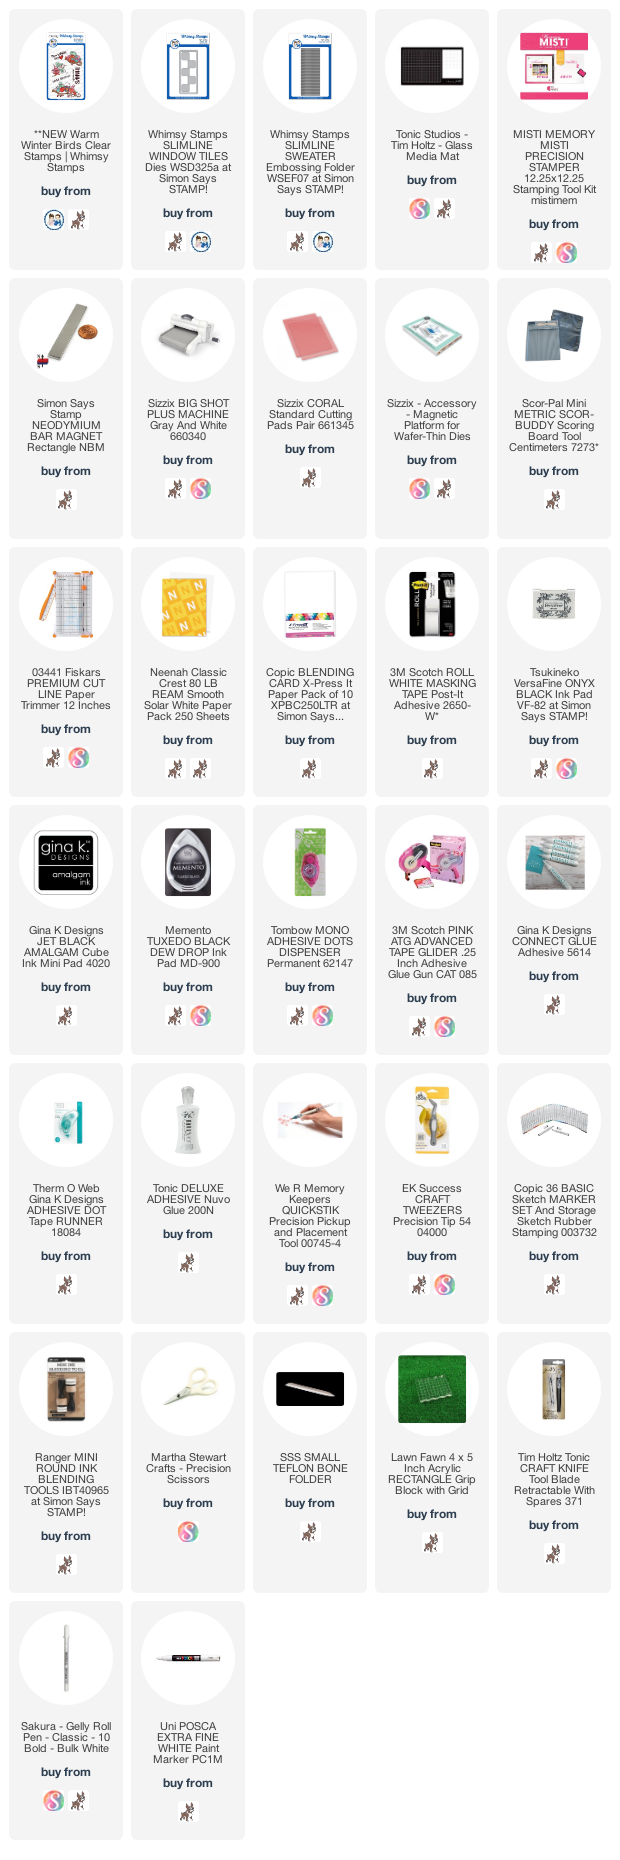
I embossed a piece of kraft cardstock with the Slimline Sweater Embossing Folder and then die cut it with the smaller of the die in the Slimline Window Tiles Die Set. I then used the bigger die in the set to die cut a mat for my card out of some white cardstock.
I stamped the images from the Warm Winter Birds Clear Stamp Set onto some Copic X-Pressit Paper using some copic friendly black ink and then colored the images using these Copic Markers:
R05, R24, R46, R59, YR23, Yr31, YR07, YG21, G24, G28, BG70, BG72, BG11, B00, E43, E44, C00, C1, C3, 0
I then carefully cut the images out using the square outlines on the die as my guide. I then assembled the card and adhered all the pieces to my cardbase.
Thanks for stopping by! I hope this card made you smile!
Hugs Jeanette xxo
Happy Wednesday and Happy December! I CANNOT believe we are in the last month of this year....and what a year it has been.
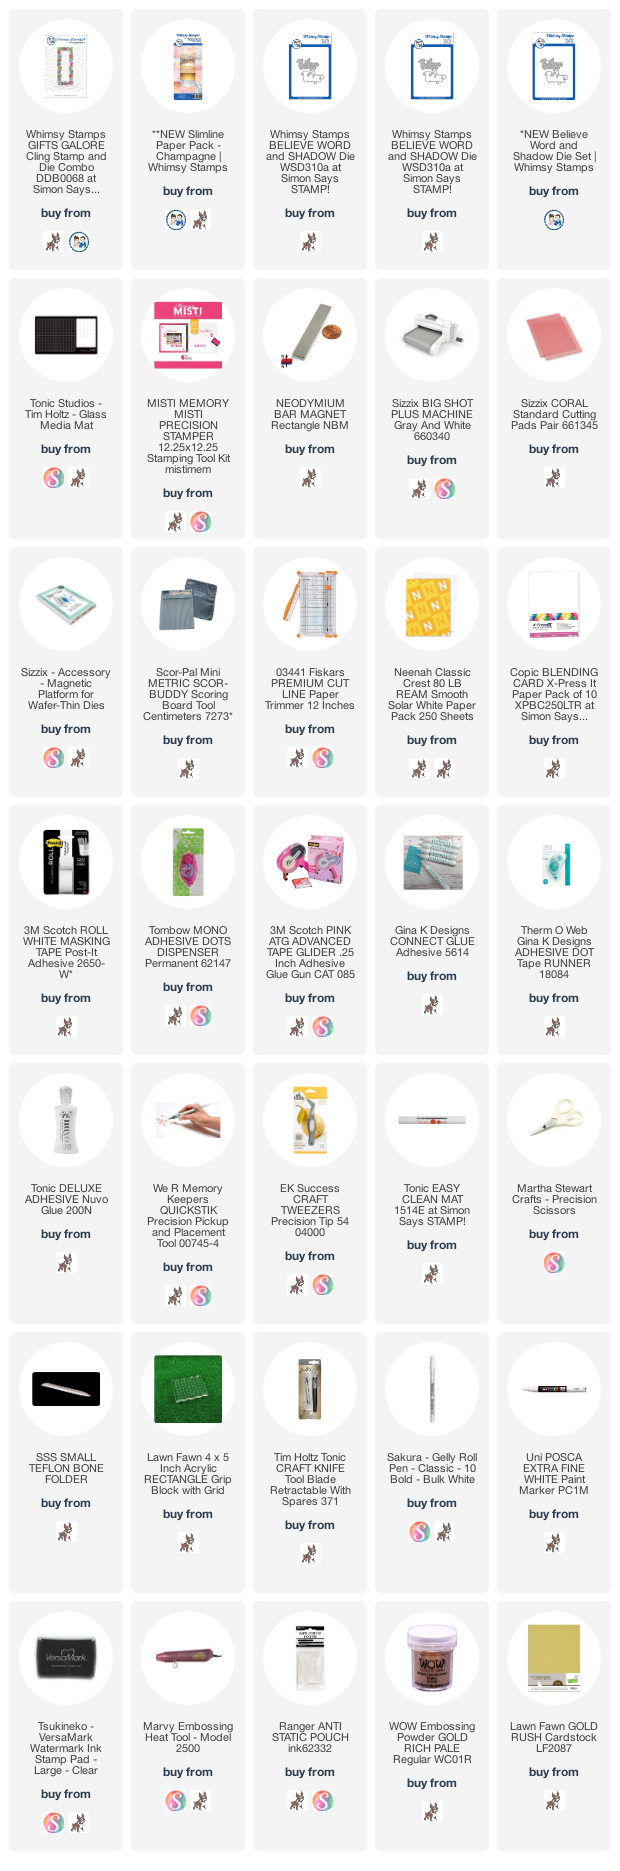
A new release from Whimsy Stamps launches today and here is one of the cards that I made:
The background of my card is a paper from the Champagne Slimline Paper Pack.
I then stamped the Gifts Galore Stamp onto some vellum with Versamark ink and then heat embossed using Gold Powder. I then fussy cut out the center all around the presents.
*** For a limited time, when purchasing the Gifts Galore Stamp, FREE IRREGULAR DIE INCLUDED. This outline die does not perfectly line up with the stamp and therefore we are including it for free. You can use a partial die cutting technique to line up the die better or die cut and then fussy cut the excess or just use the stamp without the die***
I then die cut out the Believe Word die out of some gold matt cardstock.
Another festive card made!
Thanks for stopping by!
Hugs Jeanette xxo
Happy Monday! I am hoping that you all had a good weekend. We are in full Christmas mode here. My main tree is up and decorated and each room has a wee bit of Christmas decor in it. Now to clean up the aftermath of all that decorating and get to the piles of laundry!
The image was stamped onto Copic friendly paper using Ink on 3 Fadeout ink. This is a very helpful tool if you want to do some "no-line" coloring. The ink lines blend into your coloring. I used these Copic Markers for the coloring:
0, C00, C1, C3, R05, R24, R27, R59, G21, G24, G28
To create a frame for the scene, I used the Slimline Twisty Frame Die cut out of white cardstock. I then cut strips of red cardstock and adhered them to the back of the die cut.
The sentiment is from Vintage Poinsettia Clear Stamp set and was heat embossed with silver powder.
I am a little bit in love with these cute mice. They are cheeky, festive and look oh so happy to be bringing this candy cane to a favorite friend. Or.....maybe they are stealing it away to nibble on for themselves!!!
Happy Day! Thanks for stopping by!
Hugs Jeanette xxo
Happy Wednesday my crafty friends! Hope all is well with all of you. I have quite a few Christmas cards made that I have not as yet had a chance to share with you so I had better get cracking!
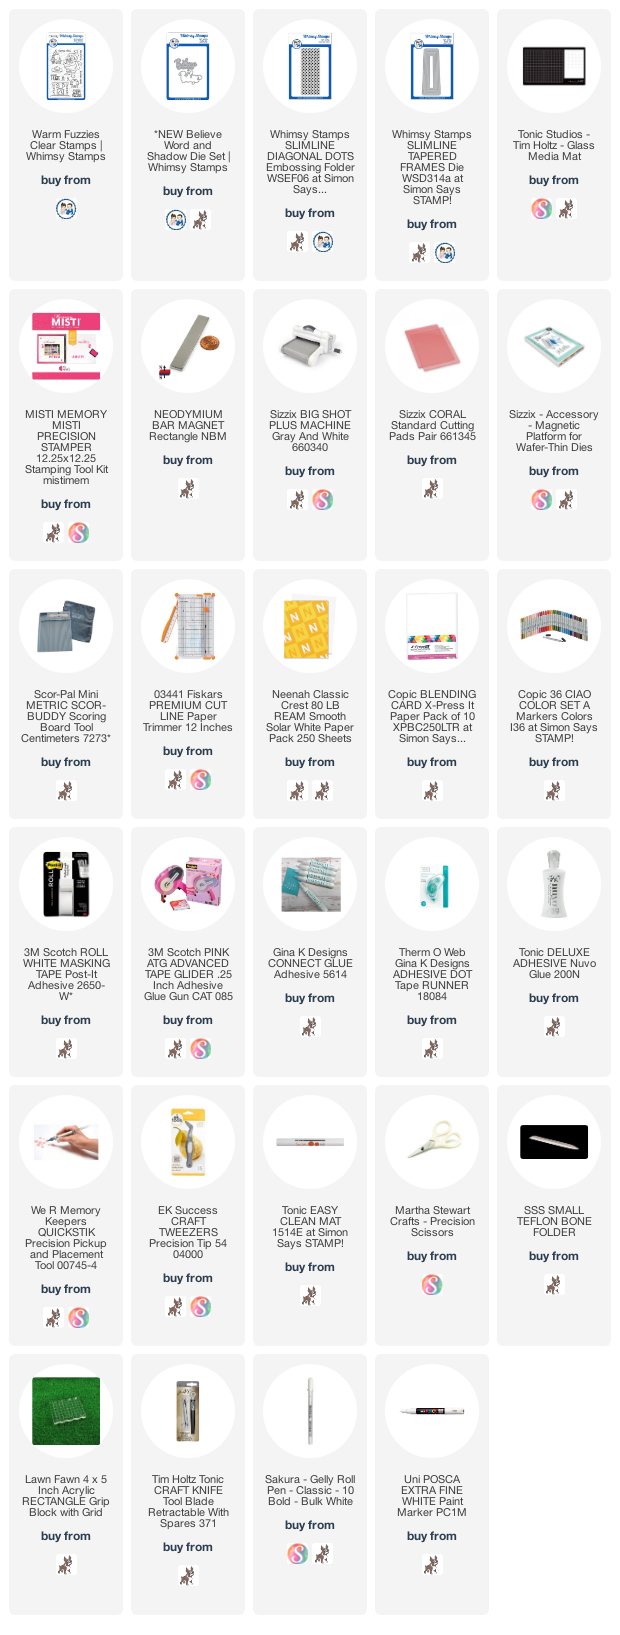
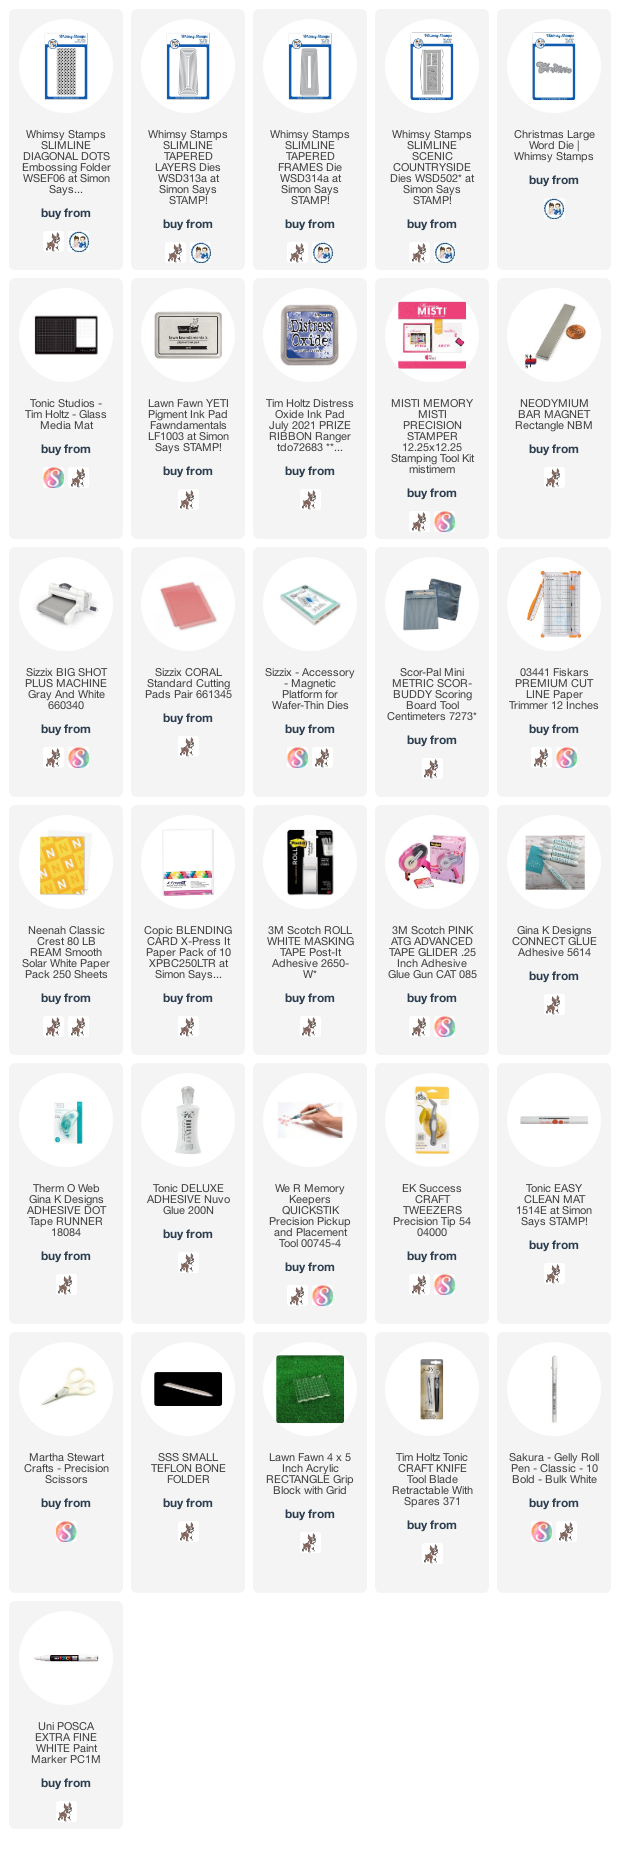
To create this classic red & white Christmas card, I die cut both white and red cardstock using dies from the Slimline Tapered Frames Die Set. I created the background by embossing white cardstock with the Slimline Diagonal Dots Embossing Folder and this was adhered to my slimline cardbase. Then, I adhered the frames, alternating the red and white cardstock.
The sentiment was die cut from red cardstock using the Believe Word Die and I added some highlights to the lettering with a white pen.
I stamped and colored the Santa from the Warm Fuzzies Clear Stamp Set. I only used a portion of the image as I just wanted it to fill the right hand side of my card.
Copic Markers used were:
E000, E00, E11, R20, C00, C1, C3, C7, C9, W00, W1, W3, R05, R14, R46, E43, E44, E47, BG72, BG75, YG23, YG63, G28
I love a clean and crisp classic card! Thanks for stopping by!
Hugs Jeanette xxo
Happy Saturday! Hope you are all doing well. What are you up to this fine weekend? Right now, I am surrounded my allllll my Christmas decor. It looks like an explosion of festive red, green and gold right now. I think my weekend is pretty much going to be decorating and getting this all tidied up!
Happy Monday my dear friends! It is getting quite nippy around these parts and this past weekend we finally put all the gardens to bed, covered up the roses, raked the leaves and bought my youngest a new pair of winter boots. I am now, quite ready to say that it can snow if it so wishes! We are READY!
I was really happy to be part of a collaboration between Whimsy Stamps and Brutus Monroe. There is a Instagram Hop that you can go visit. I have the whole hop list over on my account @inkspots
I had never tried any Brutus Monroe products and I had fun playing with some of their wonderful products. I was really happy with how my cards turned out! I had forgotten how fun creating my own backgrounds can be!
Happy Wednesday! Hope all is going well with you all. Are you getting your holiday cards done? I had hoped to have more done by now......hoping to get more done this week!
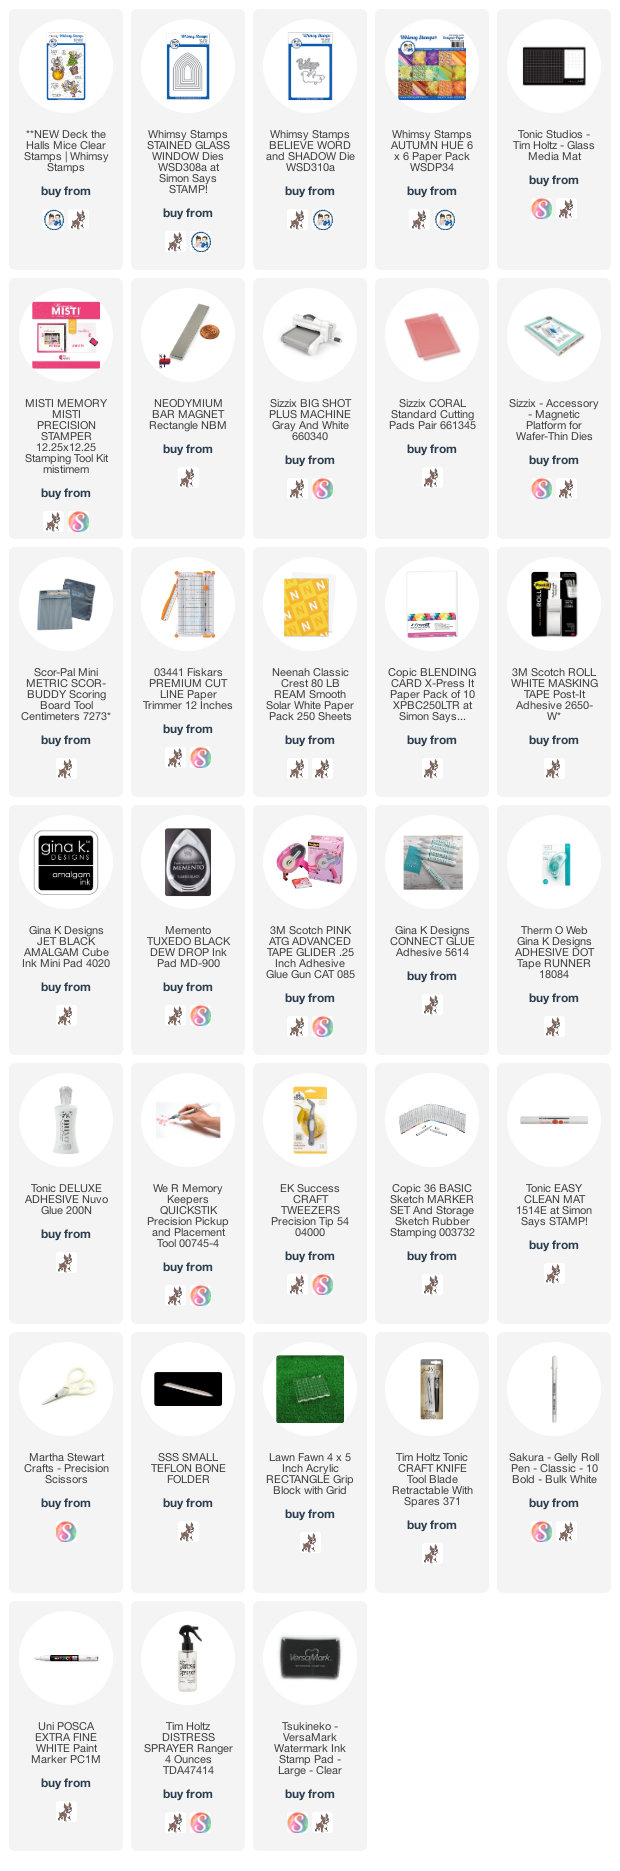
I do have a new one to share with you today and I have used new goodies from the newest mini release from Whimsy Stamps!
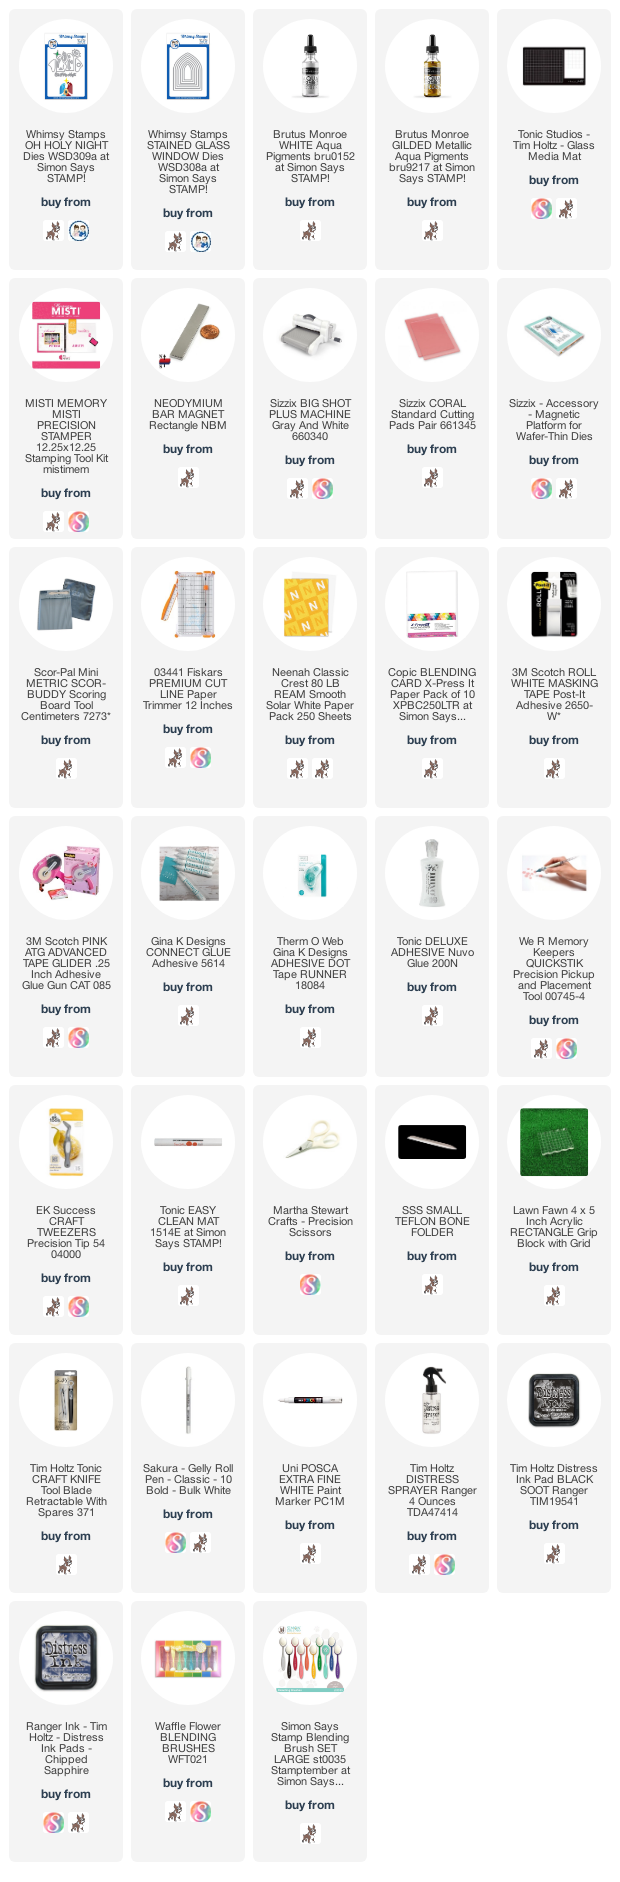
This cute (and somewhat intense mouse - has he been eating all the candy canes?) is from the new Deck the Halls Mice Clear Stamp Set. I colored him with copic markers and then cut out the image using one of the smaller dies in the new Stained Glass Window Die Set. I colored the background to match the patterned paper that I used for the mat for my card. The pack is the Autumn Hues one. Even though this is an autumn themed pack, I thought that this particular paper looked like what a close up of a Christmas tree looks like - diffuse and lit up.
I used the Believe Word and Shadow Die Set to cut out the sentiment from both vellum and the left-over patterned paper. I then adhered all the components to my card and added some white dot detail to the frame using a white gel pen.
Thanks for joining me today! Have a good one!
Hugs Jeanette xxo
Happy Monday, Happy November and Happy Release Day!
I am fully embracing November as it is my month where I get prepared for Christmas! Lots to do this month and a lot of it involves papercrafting, decorating, shopping and baking! My favorite things. Well, actually I don't like to shop in general BUT I do love holiday shopping for others!!!
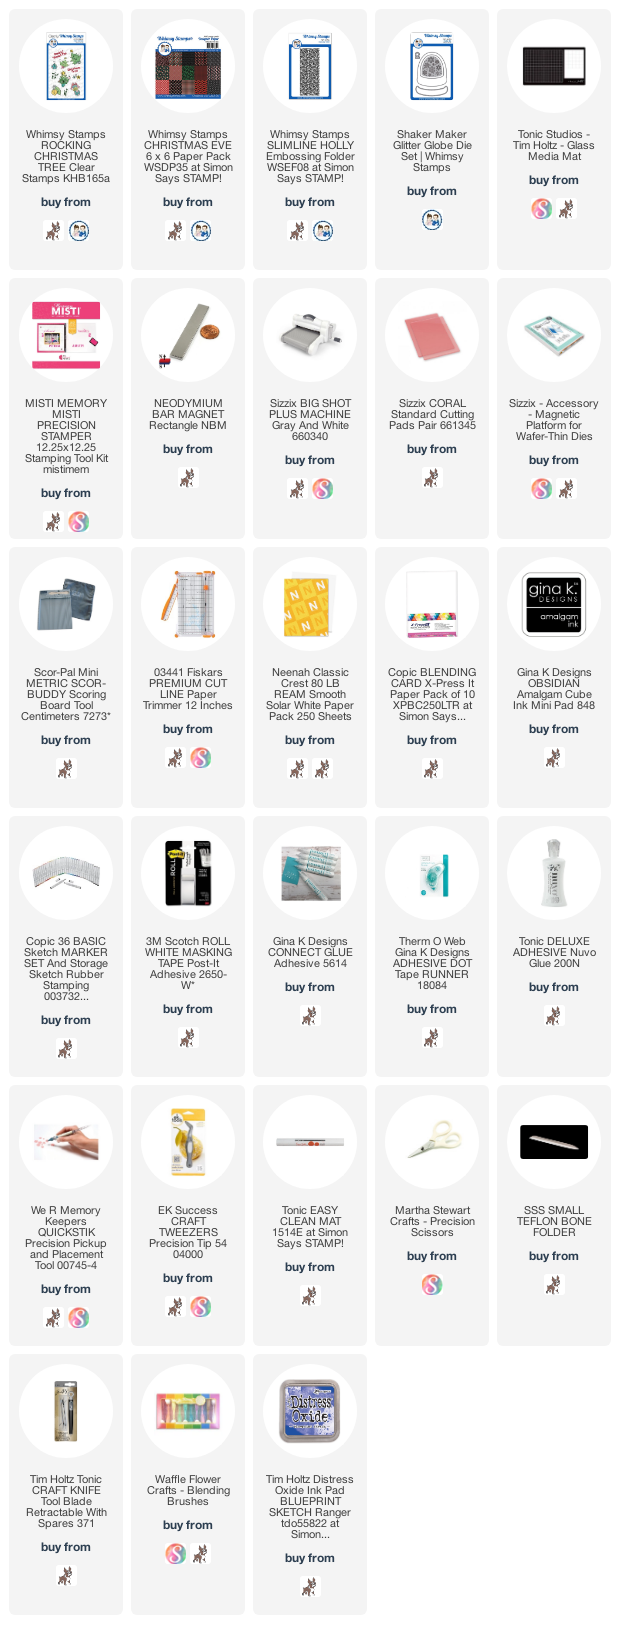
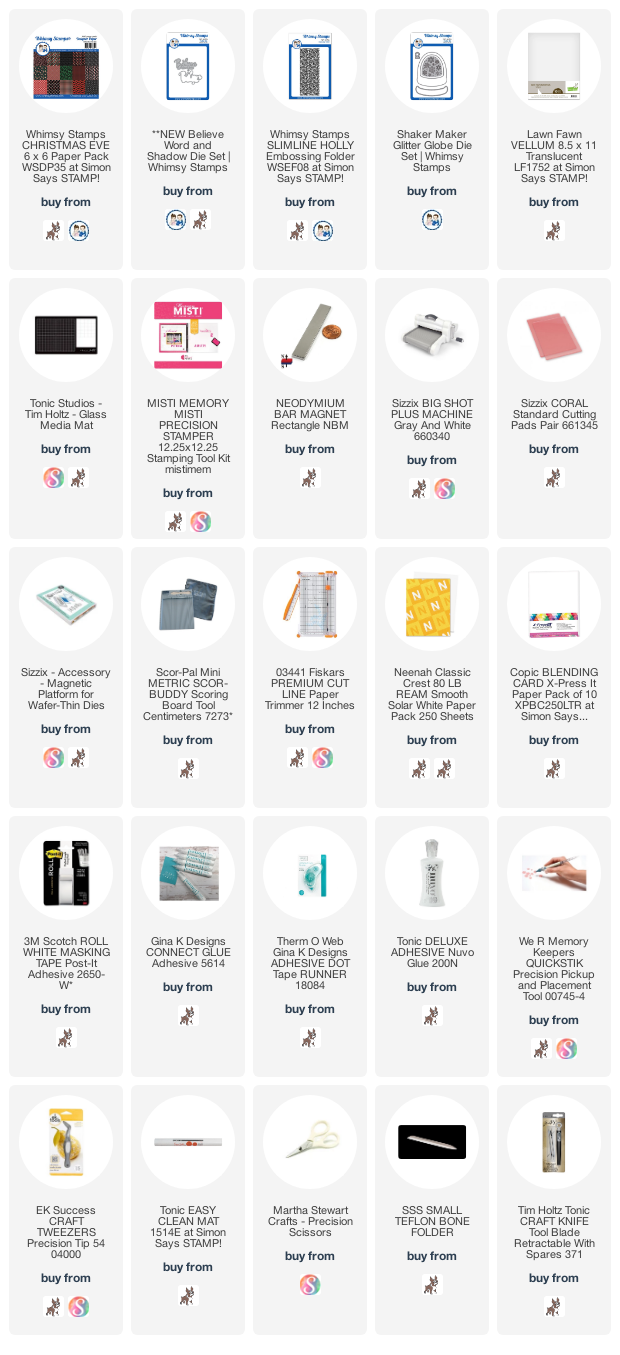
This is a simple card to make (hella difficult to photograph though). I started with an A2 base and used one of the papers in the new 6'x6" Christmas Eve Paper Pack as the background.
I embossed some white cardstock using the new Holly Slimline Embossing folder and cut that into a band for the card.
I die cut the components for my sentiment from vellum as well as some glittered silver paper using the new Believe Word and Shadow Die.
I added thin bands of the same glittered silver paper to the top and bottom of the embossed band and added some snowflakes made using the Shaker Maker Glitter Globe Die set (which I had out to use for another card - stay tuned - I am posting that one tomorrow).
All done. Simple and festive!
Thanks for stopping by. Enjoy your day!
Hugs Jeanette xxo
Happy Friday my friends! I have one last Halloween themed card to share with you but I think that I will keep that for Sunday which is the actual Spooky Day!
Today I will share a set of two cards that I created and know that I will be doing a mass produced run of these very soon so that I boost up my made Christmas card numbers! They are simple and festive and such fun to make!

Happy Thursday! How has your week been? Mine just whizzed by and I am shocked that we are already nearing the end of the week.
Happy Friday and Happy Weekend my friends! I have another watercolored card to share with you! I have been on a watercoloring kick as of late and I am loving it! It is a really relaxing process.
p style="text-align: center;">Have a great rest of the day and a great weekend!Hugs Jeanette xxo
Happy Wednesday! Hope that the week is going well for you all. The last mini release for October is live over at Whimsy Stamps and I have a new card to share with you all!
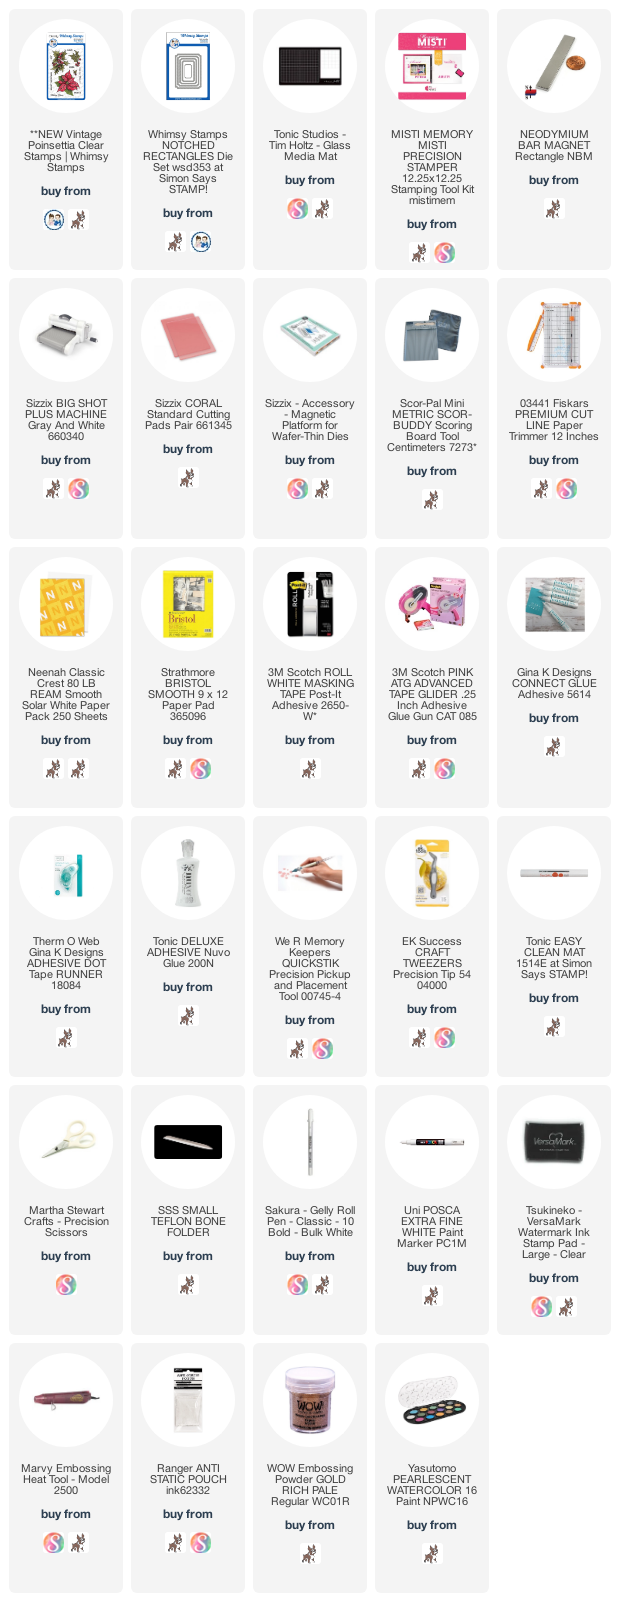
This beautiful poinsettia is one of the images in the new Vintage Poinsettia Clear Stamp Set. I knew right away that I wanted to emboss it with gold and then watercolor it. I love how it looks!
I pulled out my Luminarte Twinkling H20s and spent a lovely afternoon watercoloring. When you emboss the image first, it makes it so much easier to keep the colors running into one another as the embossing serves as a barrier. After the coloring was completely dry, I went in with a white gel pen to add some highlights to the background as well as to the center of the flower.
The sweet sentiment comes with the same stamp set and was also embossed in gold. I then cut out the image using the largest die in the Notched Rectangles Die Set. I created a red mat for it. This makes it pop against the all-white cardbase. I found a few red adhesive gems in my stash and popped them onto each corner and then, my card was DONE!
Thanks for stopping by. I hope that you enjoy the rest of your day and that you get a chance to get creative today!
Hugs Jeanette xxo