Tuesday, December 14, 2021
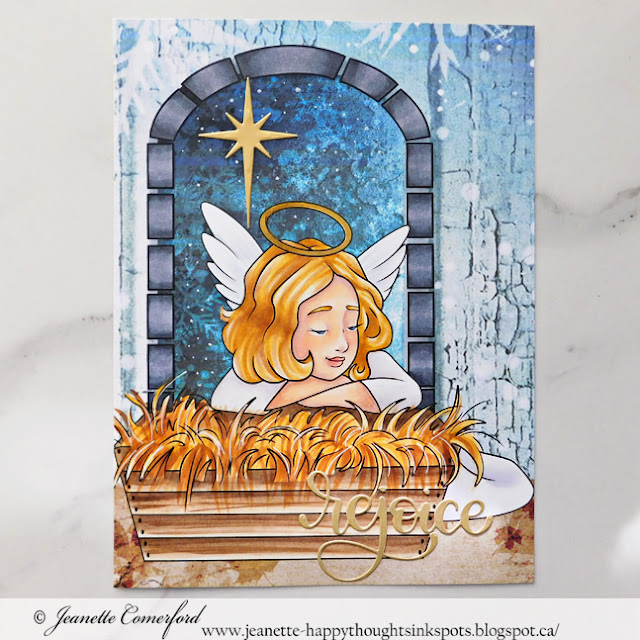
Rejoice
Tuesday, April 6, 2021
Springtime Paper Folder
Happy Tuesday! Hope you all had a lovely Easter weekend. I shared this over on the Whimsy Stamps Blog and I also wanted to share this Springtime creation here on my blog as well. I made a coloration video that shares how I used Copic Markers to color up this very sweet digital image. You will find it lower down in this post. If you want a tutorial on how I made this wallet, let me know in the comment section below!
I was inspired by the length of the papers in the Slimline Buttercup Paper pack to create a paper folder/wallet. I then decorated it with the very sweet Love Me Not Mae Digital image as my focal image and a die cut using the Slimline Woodland Cottage Die. This layout would also make an awesome slimline card.
I printed the image using my Epson printer onto Copic X-Pressit paper.
Here is the coloration video. You can view it on YouTube in HD HERE
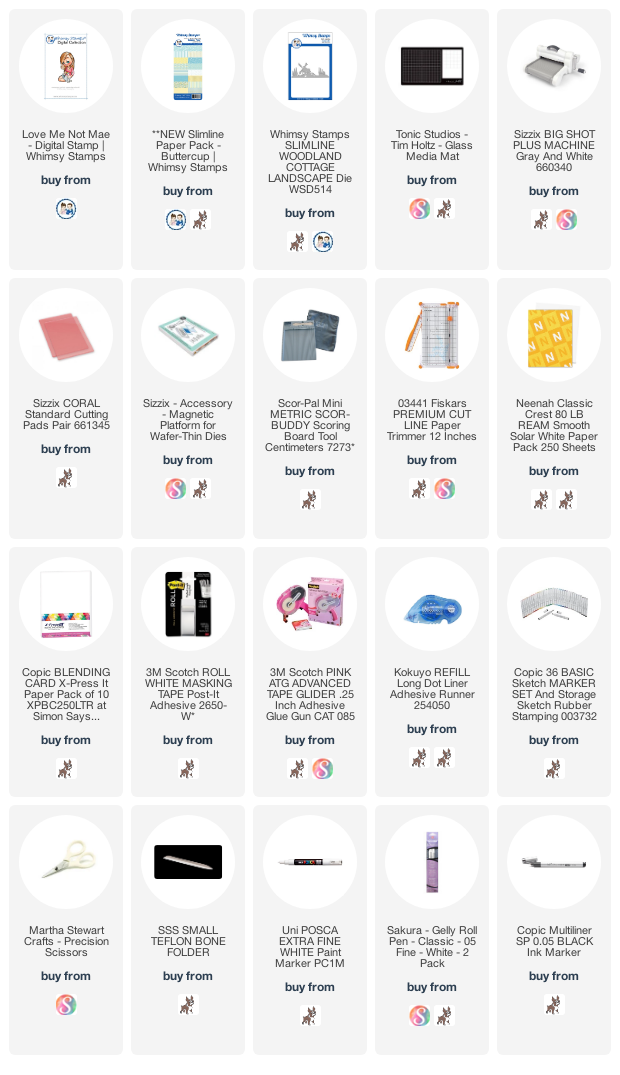
Supplies
Thanks so much for stopping by today!
Monday, February 18, 2019
Butterfly Kisses
Happy Monday! Hope your week is off to a good start. We are still buried in snow and covered in ice, so what better way to feel better than to create a cherry, bright and happy card? This sweet image is called Butterfly
Cinnamon and it is now a digital stamp over at Whimsy Stamps. It is super quick and easy to purchase, download, print and commence coloring! Which is exactly what I did!
To create the sentiment, I used the Smile Large Word Die and diecut it once using patterned paper and then 3 more times using some white cardstock. I glued each layer on top of each other and this created a custom chipboard-like sentiment that coordinates perfectly with the rest of my card. I really love how verstatile these word dies are!

Copic Markers available at Whimsy Stamps
Copic Markers Used:
Skin: E000, E00, E11, E04, R30, R20
Hair: E50, E81, E84, E87
Dress:
Shoes:R01, R05, R08, R14
Socks: R01, R05
Butterfly: YG00, YG23, YG25, G25, YR30, YR23, YR07
Thanks so much for stopping by today! I hope the rest of your week is a good one!
Hugs Jeanette xxo
Wednesday, November 15, 2017
Christmas Series 2017 | Day #5 Penguin Dreaming
Happy Wednesday my dear friends. It has been a few weeks since I was last here. I haven’t been posting these last few weeks because we had a fire in our home. Our sump-pump in the basement caught on fire. We are all fine and thanks to a water pipe that burst and put out the fire, our home is still here. The damage is only at the basement level and is mostly soot damage which is being taken care of by a company the insurance has brought in. Still, it has been a rough couple of weeks. The firemen told us that our battery smoke detector saved our lives. It was 2 am and were all fast asleep. The detector went off and woke us up. I don’t like thinking about what might have happened if we didn’t have it. So, I feel that I need to l spread the message. Make sure you have a working smoke detector on every level of your house, especially the level where you sleep.
Our kitchen reno is still on-going. The new kitchen was not affected by the fire but there have been many delays because of it. Everything is mostly done. Appliances are all hooked up and running and counters have been installed. We just have some finishing to be done and some modifications of cabinets. That is all supposed to move forward this coming Monday! Everyone has been amazingly kind and helpful and it makes a situation like this so much easier. Kindness truly matters!
I filmed this video right before all the craziness began. This week is the first week I have had any time to get back to my craft room and I knew that I had to get this video editted and this post UP! I created a 6x8” December Daily album page using digital papers, image and sentiment from Whimsy stamps. The glitter snowflake was created using a metal snowflake die from Whimsy! I am loving this cute little penguin.
Video Tutorial:
Click HERE to view in HD format
Supplies:
A Winter’s Night –Digital Paper
Christmas Time Digital Sentiments
Copic Markers Used :
Body : N5, N3, N7, N9, 0
Face/Belly: W3, W1, W0, 0
Beak: Y28, Y26, Y23, Y21, YR30
Feet : YR24, YR23, YR21
Hat : C3, C1, C00, 0, R46, RV09, R05, R17
Cheeks: PC924 - Crimson Red
Thanks for stopping by and I hope to get more projects accomplished in between all the comings and goings to getting our basement back to normal!
Hugs Jeanette xxo
Tuesday, July 4, 2017
Earth Angel | Art Journal Page
Happy Tuesday, Happy 4th of July and a belated Happy Canada Day! Hope that wherever you are, you are having a great day and a great start to the week.
It is no secret that I adore Elisabeth Bell’s illustrations. When I first started cardmaking and blogging, hers were some of the very first images that I purchased. As the years have gone by, I have designed for companies that carry her line of illustrations in the form of stamps and I was even a guest for her Digi Bells blog. So, in summary, I love, love her images. She graciously offers freebies to her subscribers and the image I used today was one of them. If you are interested in receiving her newsletter and freebies, you can go subscribe –> HERE.
When I saw this image, I knew that I wanted to create a page for my Art Journal album with it. I just love it. In fact, I am considering framing it instead of putting it in my album!
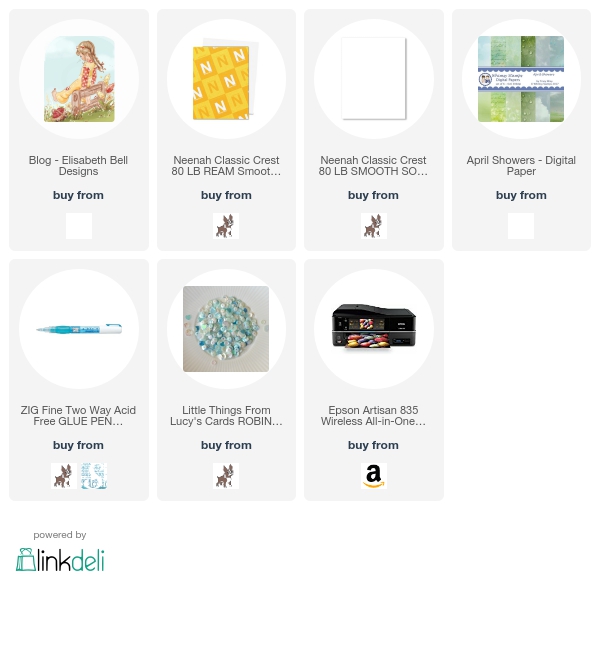
Since this was a digital image, I was able to merge the illustration onto some digital paper from Whimsy Stamps. They have the MOST beautiful digital papers and oodle of choices. If you want to see how I merge things, check out this video I made a while back –>HERE.
I tried a new combo for her hair. I wanted it to be a little bit more of the red side of things. I really wa happy with the way it turned out. I posted a sneak peek on Instagram and had loads of comment about the hair. So, I have made another Art Journal page with another of Elisabeth’s freebies (this time it is a mermaid) and I filmed the coloration process for you all! Stay tuned. It should be up soon. Once Editing Jeanette gets a chance to load it up!
Supplies:
Thanks for stopping by today. See you soon!
Hugs Jeanette xxo
Tuesday, May 9, 2017
Under the Sea | Whimsy Stamps May Digital Release
Happy Tuesday! Hope your week is going well! We are already in the month of May and I have no idea where the time is going. This household is gearing up for final exams, graduations and Confirmations. It is a whirl-wind of activity over here and I am trying to keep up!
Whimsy’s new May Digital release went live last week but I wasn’t able to play with any of the cuties until last weekend. I could not resist these two cute ocean critters and by using the new Under the Sea digital papers to create a one layerd scene, these cards were made super quick. I added the sentiment digitally as well so all I had to do was to break out my Copic makers and color!
If you want to know more about how I merge these images all together, you can check out my VIDEO HERE or THIS POST.
Digital Stamp: Winnifred Whale
Digital Paper: Deep Sea Papers
Digital Sentiment: Fish Sentiments
Copic Markers Used:
0, B60,B000, B00, B21, B23
Digital Stamp: Goldfish Gunther
Digital Paper: Deep Sea Papers
Digital Sentiment: Fish Sentiments
Copic Markers Used:
YR01, YR02, YR04, YR68, R08, BG11, 0
Thanks so much for stopping by! I hope you love these new digis as much as I do. There are more to see on the Whimsy website HERE. Check it out! I have two new videos almost ready to go so they will be posted SOON!
Hugs Jeanette xxo
Saturday, April 1, 2017
To the Moon and Back – Whimsy Stamps April Digi Release
Happy Saturday! I hope that your weekend is off to a wonderful start! Today is the first day of the Whimsy Stamps April Digital release and I have a sweet card and how-to video to share with you all!
If you have been following me for the last while, then you know that I really love to create single layer cards and album pages by combining digital images with digital papers and sentiments. I can size things exactly how I want and place them in the way that I want. You don’t have to lose dimension or interest by having a single layer. There are little touches that you can add to make your piece interesting.
By adding a subtle shading around the image, adding white highlights to the sky and adhering some shimmery enamel dots, the card comes to life. Watch my video bleow to see how all the steps come together!
Video Tutorial:
Click HERE to view in HD format
Supplies:
Digital Image: Over the Cow Moon available HERE
Copic Markers Used:
Cow body: E40, Colorless Blender 0
Cow Spots & Hair: E44, E47, E49
Snout, Ears, Udder: E000, E00, E93
Ribbon: E00, E93, E95, E97
Bell & Moon: YR30, YR31, Y21
Thanks for stopping by!
Hugs Jeanette xxo