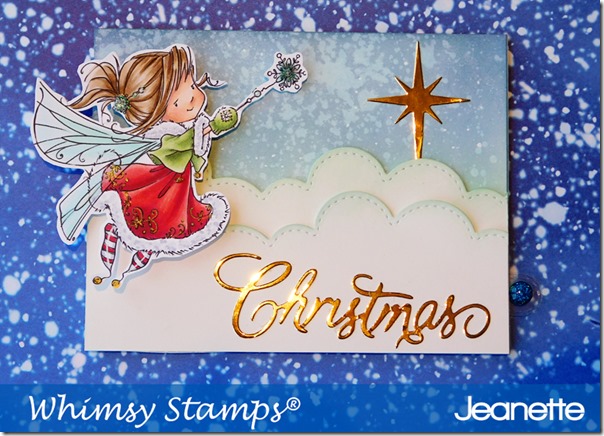
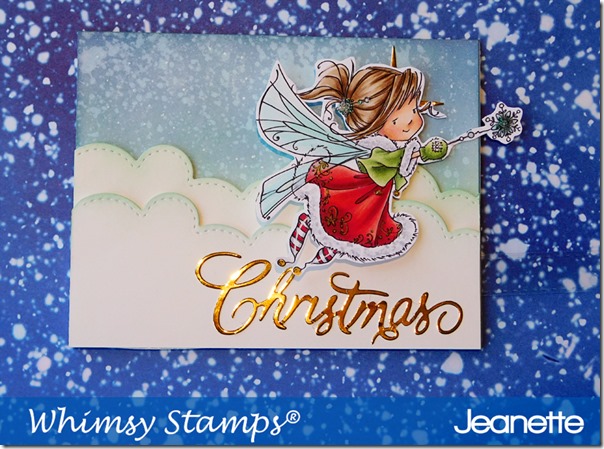
Happy Thursday! I have a brand new video and project to share with you today! Once again I have used Whimsy Stamps Kinetic dies to create an interactive component to my card. When I started to think about how I wanted this card to look, I pictured this sweet image; Snowflake Wishesflying through the clouds.
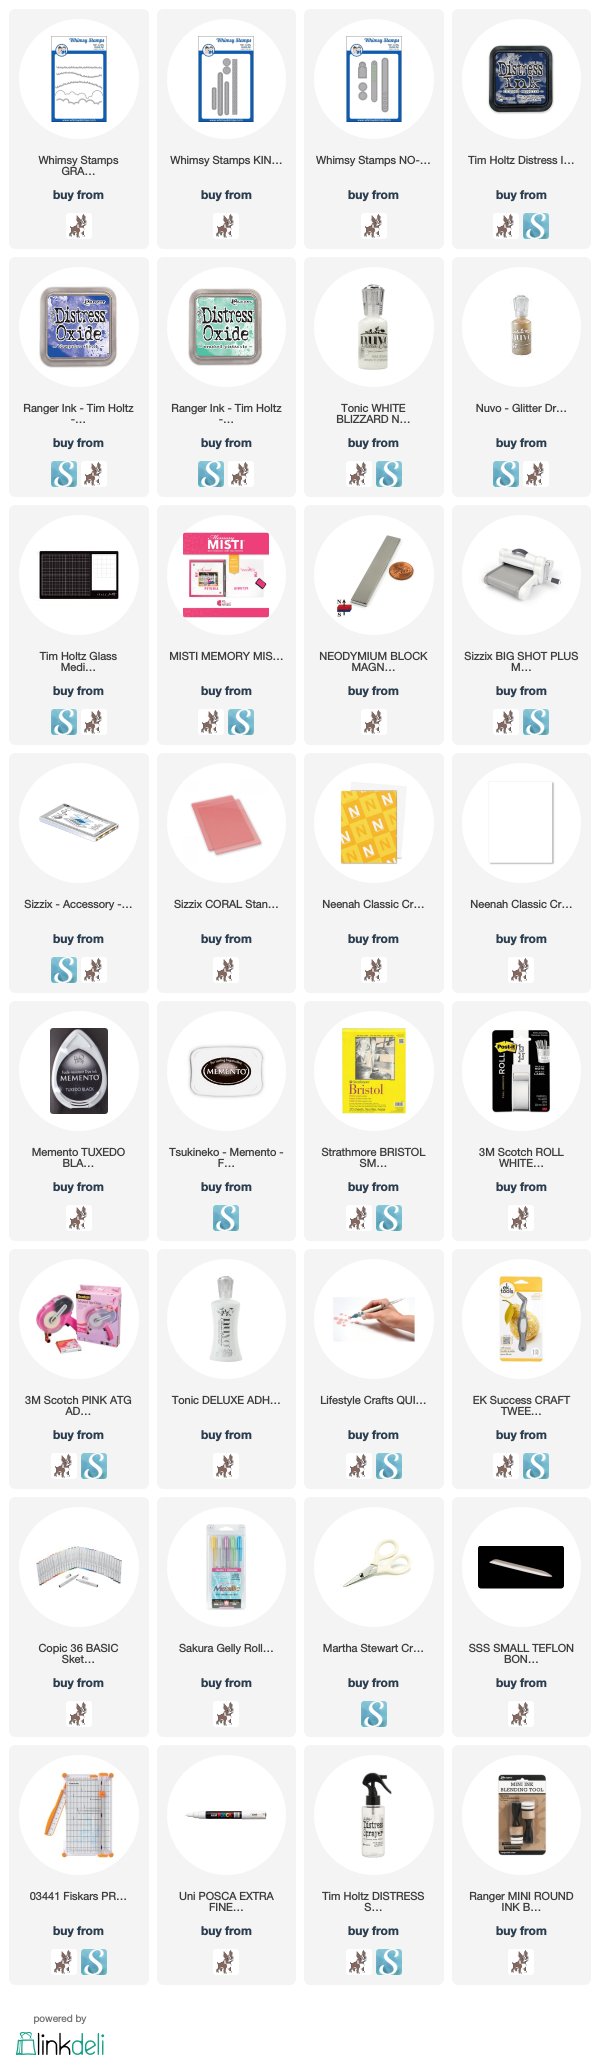
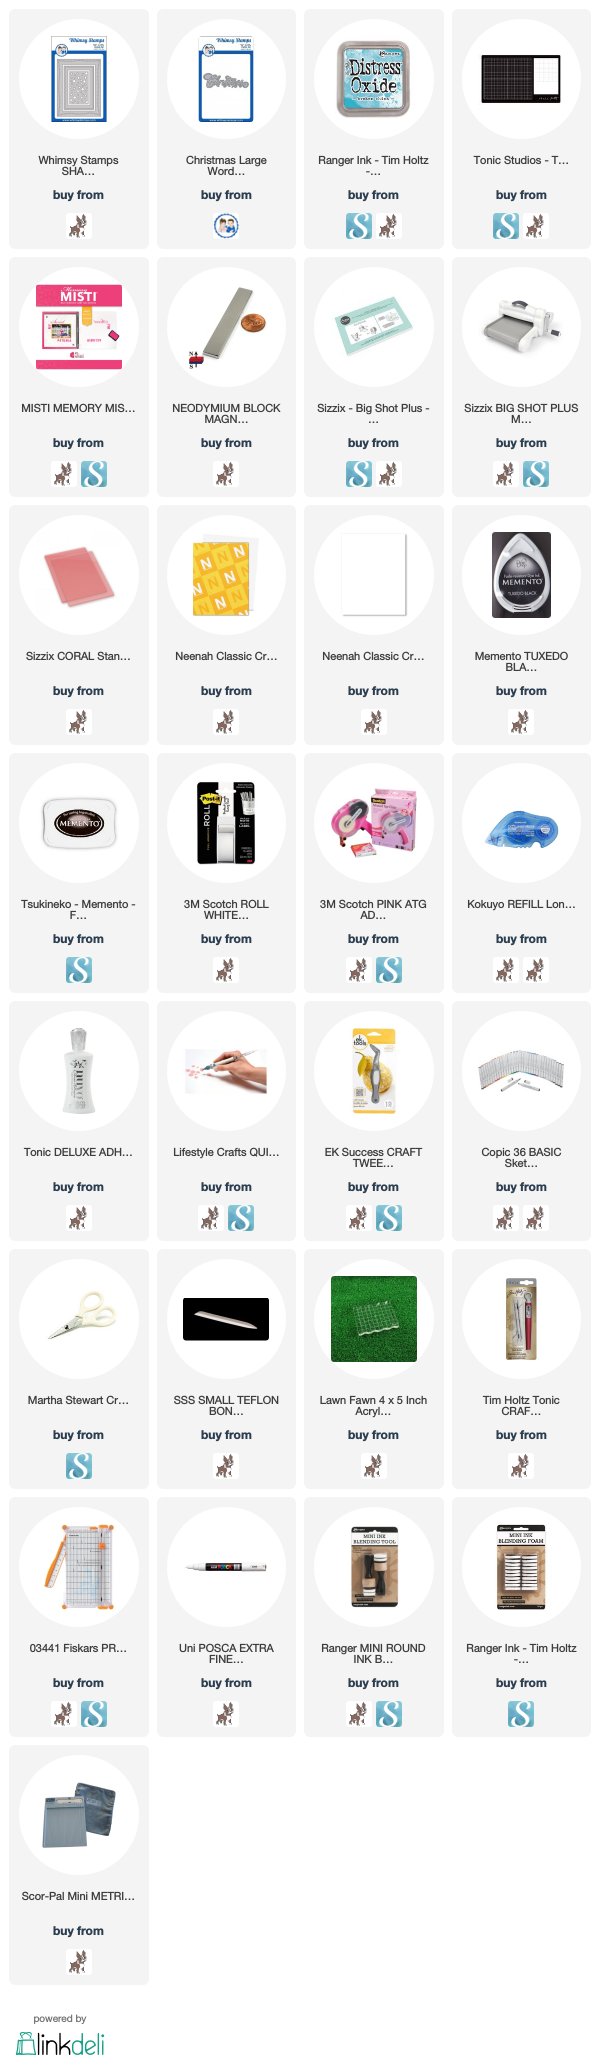
In the video, I will share the coloration of this image as well as share how I put the components together to create a slider for the image to move back and forth. It may seem complicated but it really isn’t! The cloud die was the perfect tool to create some panels to hide the slide components. I sponged the diecuts lightly with some distress inks.
The background was created with Distress inks that were sponged onto the cardstock and then furthure distressed by spritzting the surface with some water using the Distress sprayer. Adding the touch of shiny gold by using metallic foil paper really competed the card. The star was a last minute addition. The card needed something up in the sky so that it didn’t look so empty.
Little touches like adding white highlights to the image and adding glitter drops to small areas really elevates the final look of the project.
Happy Tuesday! I am so happy to be sharing the next video in my Christmas Series for 2018 and this one features another December Daily album page using the brand new rubber stamp: Christmas Friends!
I think that this duo is adorable and they both look so joyful with these huge stack of presents! This could so very easily be turned into a card if you don’t want to create an album page. Just modify the patterned paper sizes and you are good to go! Check out my video to see the coloration and creation of this project!
When I started this project, I pulled out the paper from Whimsy Stamps paper pack and only after completing the project did I reallize that they have sold out of this particular pack. No worries though. Whimsy has just realeased some digital papers that are very similiar in style and tone. You will find them listed with the supplies.
I added some enamel dots for an extra dose of sparkle. I really like how they look in the middle of these diecut snowflakes. These extra touches are what elevates your project and makes them special. They only take an extra minute or two but make a huge difference.
Thanks
for stopping by! If you don’t want to miss the rest of my Christmas Series and/or if you want to see more creations with the new October Whimsy Release, please subscribe to my blog and YouTube channel!
Happy Tuesday and Welcome to the first day in my Christmas 2018 Series. Now, I know that some of you are thinking that this is much, much too early for this BUT I know that if I don’t start early, I begin to feel increasingly worried that I will not get all my ideas created. Starting early lets me relax and enjoy and that, after all, is what it really is all about. If you are like me, read on. If not, stop by my blog later on and closer to the holidays and it will still all be here for you. All the projects will be tagged Christmas 2018.
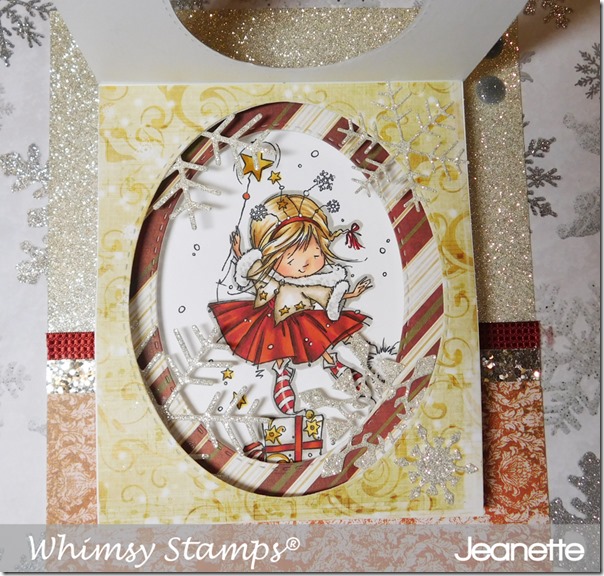
To kick off the series, I created an album page for my December Daily album. The pop-up or tunnel card adds an interactive detail to the album that I always love to incorporate. I had the inspiration to add a pop-up card to a page after seeing THIS video by Jennifer McGuire. She does, as always, an awesome job sharing how to create this card type. If you feel that you would rather simplify matters, a simple top folded card with an oval shape die-cut out of the front will also work really nicely! You can also just create the card and send it out at Christmas. It lays pretty flat when closed!
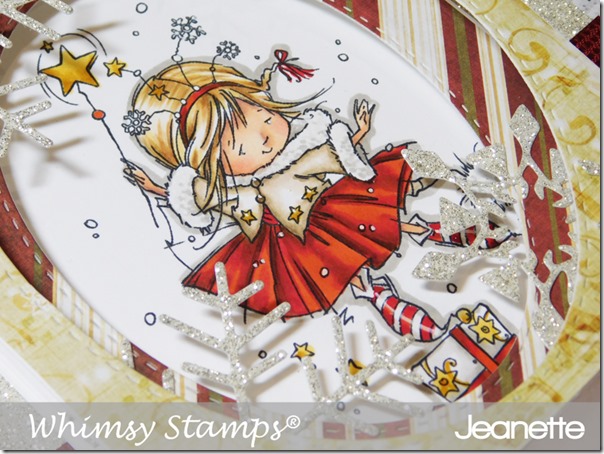
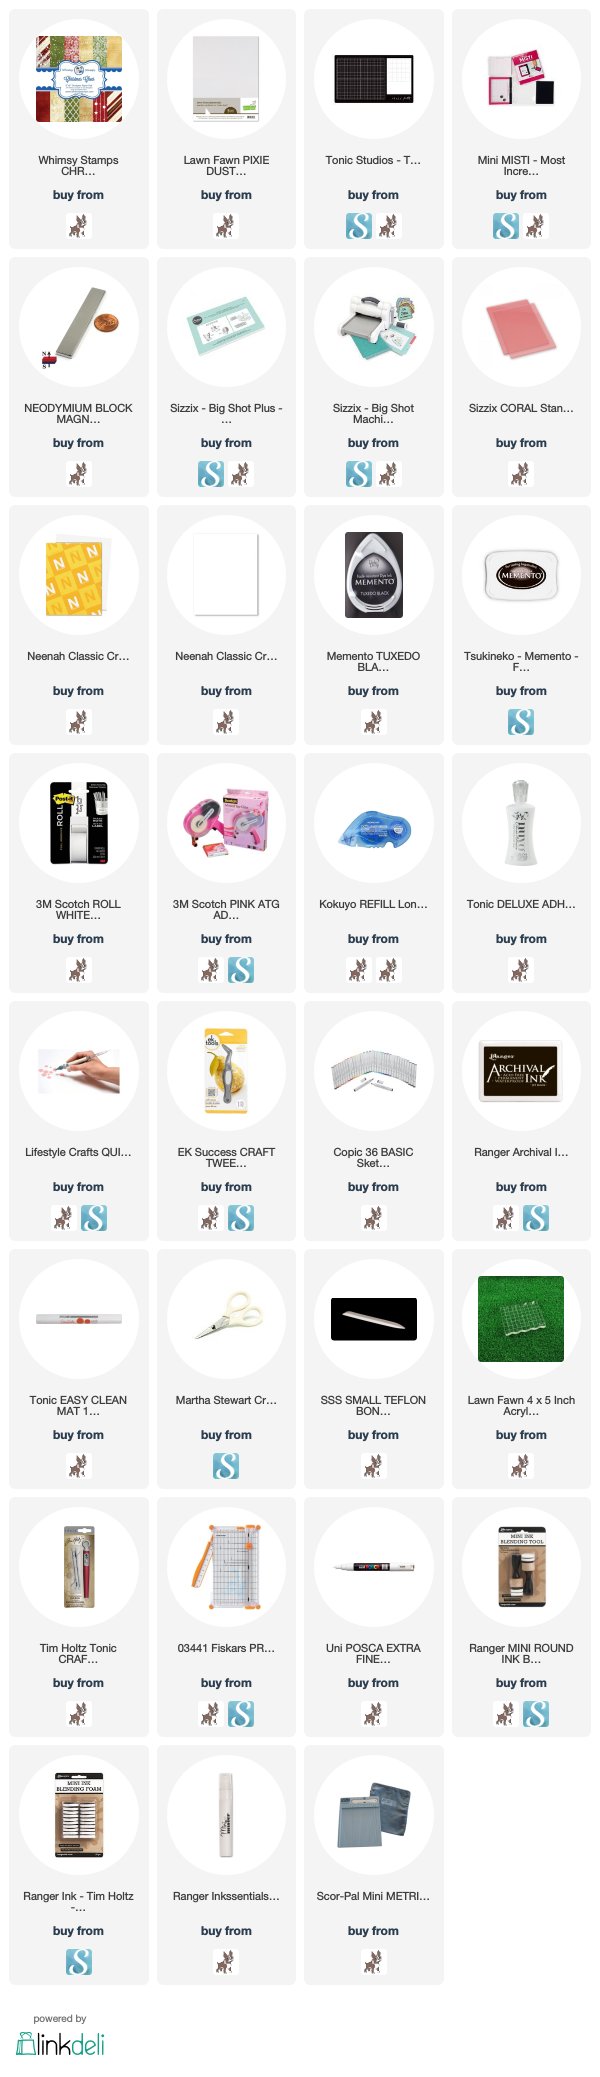
The starting off point for this page was of course the lovely image: Ruby’s Christmas Wish Rubber Stamp. I knew that I wanted to color her up in tones of red and pulled out the Christmas Cheer Paper Pack and choose a few papers that I wanted to incorporate into the album page. All my markers choices were referenced agaist the paper so that they were a good match. All the coloring is shown in my video (below) and the marker numbers are listed as I use them. You will also find them down at the bottom of my post.
The page itself measures 6” x 8” so that it will fit nicely into my December Daily album. I decided to use the glitter paper on the top portion to lighten up the page and to tie in to all the die cut snowflakes and the Christmas sentiment. A few bits of ribbon and glitter tape along the mid point of the page adds some interest AND hides where the patterned and glitter paper meet. I did also add a couple of dark grey glitter adhesive dots to the upper right of the page. I like how they balance everything out.
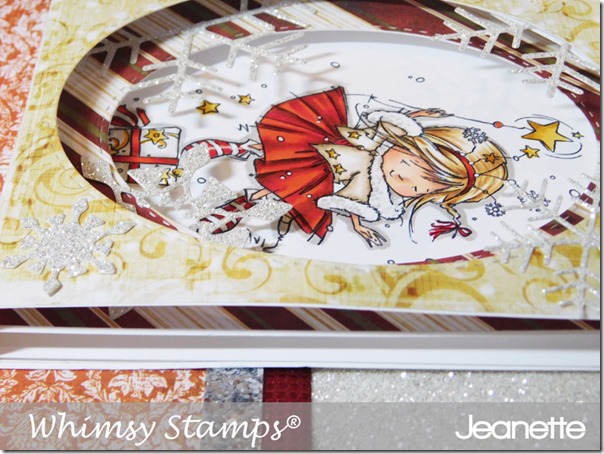
I love the pop-up or tunnel effect here. I think it will be an awesome little surprise in the album and I love the different layers with the twinkling snowflakes. In Jennifer’s video, she just uses cardstock for her layers but I used the patterned paper which was thick enough for the project. I used the Basic Stitched Oval Die Set to die cut all the oval shapes. It may seem daunting but if you follow along in my video, you will see that it is easy!
Here is a side view so that you can see how it looks when it is opened up. When closed, it lays pretty flat and won’t add too much bulk to your album.
I didn’t want to color the background behind the image but I did want to make sure it popped off the page, so I outlined the image with a light grey marker.
Thanks for stopping by! If you don’t want to miss the rest of this Christmas series, you can subscribe using the linky on my side bar OR you can subscribe directly to my YouTube channel so as not to miss a single video!