Happy day my lovlies! I haven’t posted in a bit because I was sick (again) I am having a really hard time shaking this cough and I fell ill just after Easter. At least I was able to celebrate with family and friends before getting sick again. So, while I am really not feeling 100%, I just had to spend a little time in my craft room and get inky.
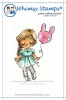
I fell in love with this sweet new image from Whimsy Stamps and wanted to create a card where it was really the focal point. I created a colored oval around the image but then left the rest of the card white. It is a fun technique and one that I have used before. My favorite part is peeling away the masks and seeing the dramatic change! In my video tutorial, I take you throught the steps to creating this look. The fun thing is, you can really create different colored shapes depending on the dies that you have on hand!
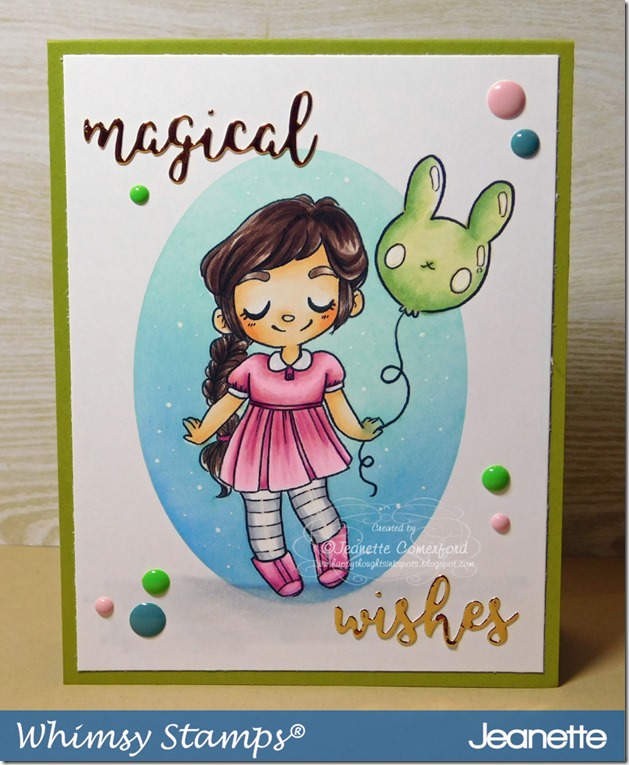
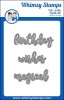
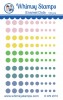
Whimsy Stamps is really knicking out of the park this year! Not only are there tons of fun and sweet images, there are a ton of new word dies and die sets that make adding a sentiment to your card extra fun. I have been a little addicted to die cutting sentiments out using gold foil paper. I don’t know if I am going to stop anytime soon because I just love how it looks. I did add a little white gel pen to highlight a few areas and create a little contrast on the ink blending, The final touch was to add some fun enamel dots from Whimsy’

Video Tutorial:
Click HERE to view in HD format
Supplies:
 |  |  |  |  |  |
 |  |  |  |  |  |
 |  |  |  |  |  |
 |  |  |  |  |
Copic Markers Used:
Skin: E50, E51, E53, E93, E95
Hair: E41, E74, E77, E79
Dress: RV10, RV32, RV34, RV63, RV66
Balloon: G20, G21, G24
Ground: C1, C3, 0
Thanks for stopping by!
Hugs Jeanette xxo

No comments:
Post a Comment