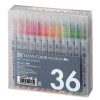
Showing posts with label Zig Real Brush Clean Color Markers. Show all posts

Friday, March 1, 2019

Bunny Hugs–Whimsy Stamps March Release

Happy Friday, Happy March 1st AND welcome to Whimsy Stamps new March release! It is spectacular and all the products amazing!  Today I wanted to share this circular card that I created.


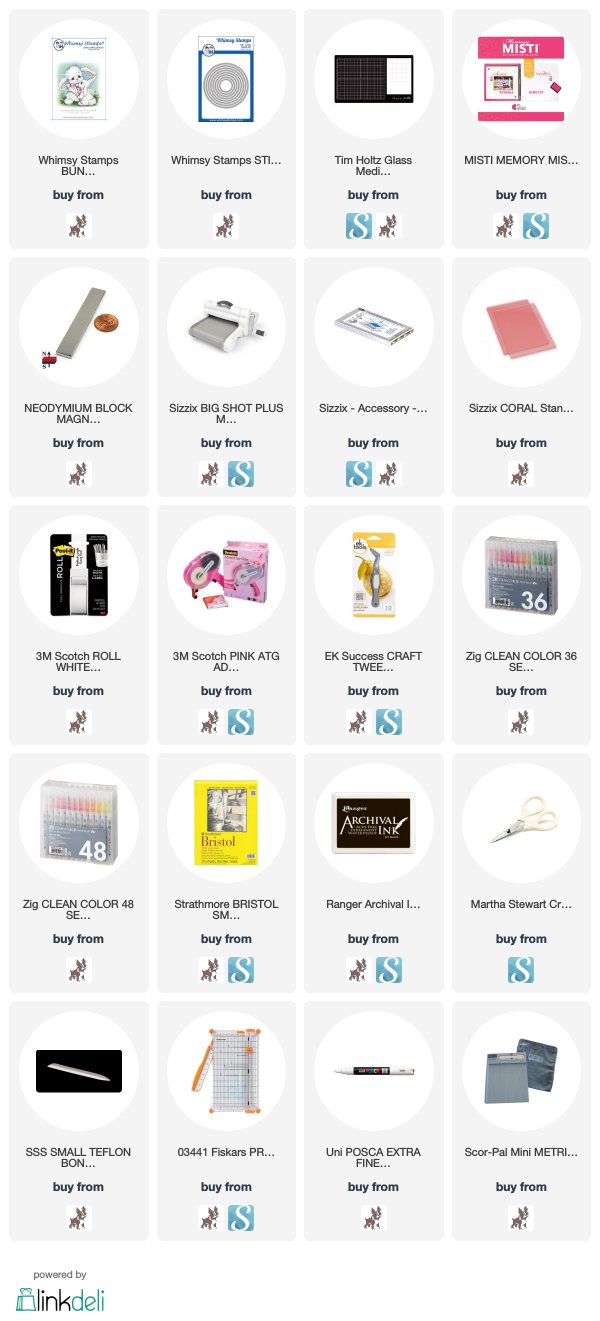
This sweet image is illustrated by Crissy Armstrong and is called Bunny Mom.  I stamped it with Archical Jet Black ink onto some Bristol Smooth cardstock and then colored it up with my Zig Real Brush Clean Color Markers.  I will list the ones that I used below.


I was SO happy to see the new Pierced and Stitched CIrcle Dies.  I really like the fact that there is both the stitched detail (you can see that on this card) and a pierced detail which appearts on the negative cut out of the cardstock.  So very clever and a really nice feature.  I took advantage of the many different sizes to create this matted, circular card.  I added a wee bit of gauzy, white ribbon and a little bit of detail on the cardstock with a white get pen.  A little sprinkling of  It’s A Party Enamel Dots was the final detail to finish this card.


*NEW Bunny Mom Rubber Cling Stamp

*NEW Pierced and Stitched Circles Die Set

*NEW It's a Party Enamel Dots

Archival Ink Pad - Full Size Jet Black


Zig Markers Used:
031 Cobalt Blue
036 Light Blue
041Light Green
045 Pale Green
053Yellow Green
302 Haze Blue
071 Flesh Color
220 Tea Rose
074 Light Beige
091 Light Gray
075 Brick Beige

Thanks so much for stopping by! I hope you have a great weekend and I will be back soon with more creations with the new Whimsy Stamps March Release!

Hugs Jeanette xxo

Tuesday, May 15, 2018

Hug Bunny | Whimsy Stamps Video + Zig Clean Color Markers


Happy Tuesday everyone!  Hope you are all having a great week! I have been crafting in between all the Spring cleaning, which means that I as sore and my nails are a wreck! LOL! It feels great to get the house all cleaned and fresh after what seemed like the longest winter in a long time.  I have even been out in the gardens and have a few pots planted. I am waiting until later this week to get the vegetable garden going although there are a few little surprises already growing in there. Last year’s kale, parsley and onions are all growing back and I think, there are the begininings of some lettuce. Is that even possible?!!

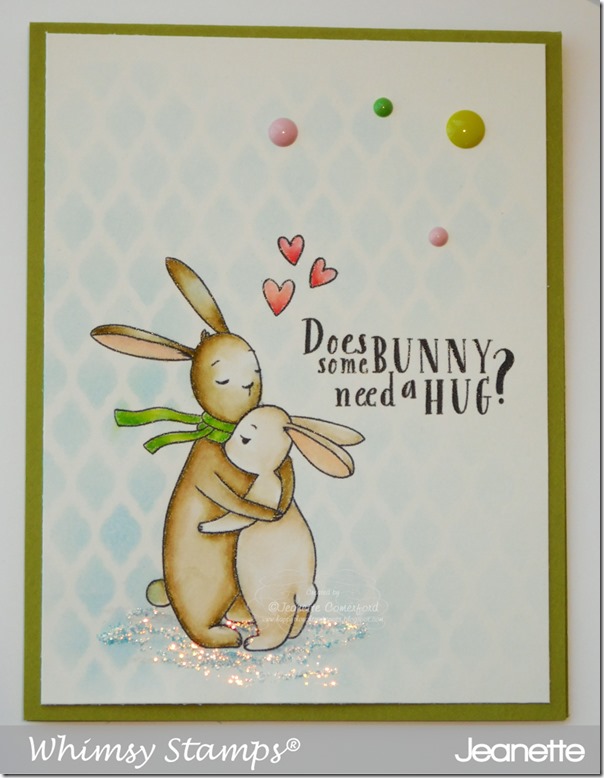
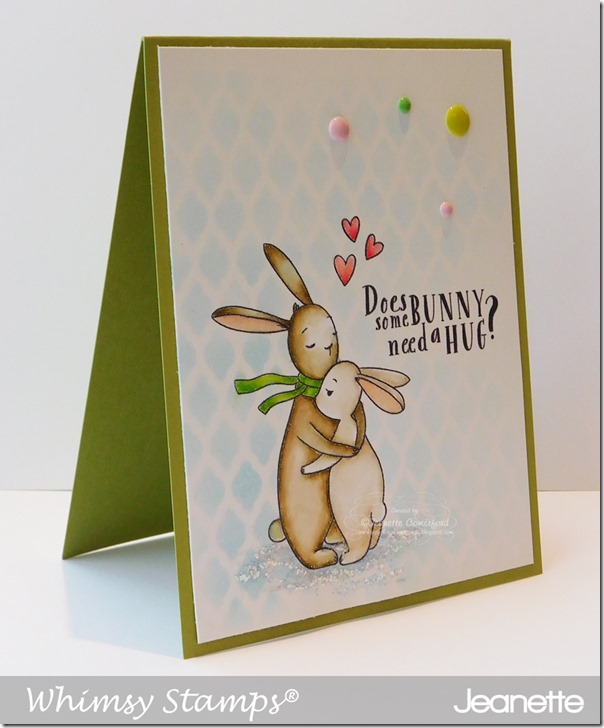
Alright, back to all things crafty. I am totally in love with this new clear stamp set from Whimsy: Hugs Bunny. It is all sweet and tender and all things. I saw one of the DT memebers had paired one of the images up with the Formal Lattice Stencil and I thought they looked so great together that I was inspired to use them together as well. Here is Whimsy DT Andreas card –>HERE

I watercolored the images with Zig Clean Color Real Brush markers because I love how soft yet how pigmented the colors are!  The video will take you through the coloration and I have listed all the markers used. I have also included the list at the bottom of this post! Let me know if you like when I do this!

WIthout any more waffling, here is my card:

Video Tutorial:
Click HERE to view in HD format

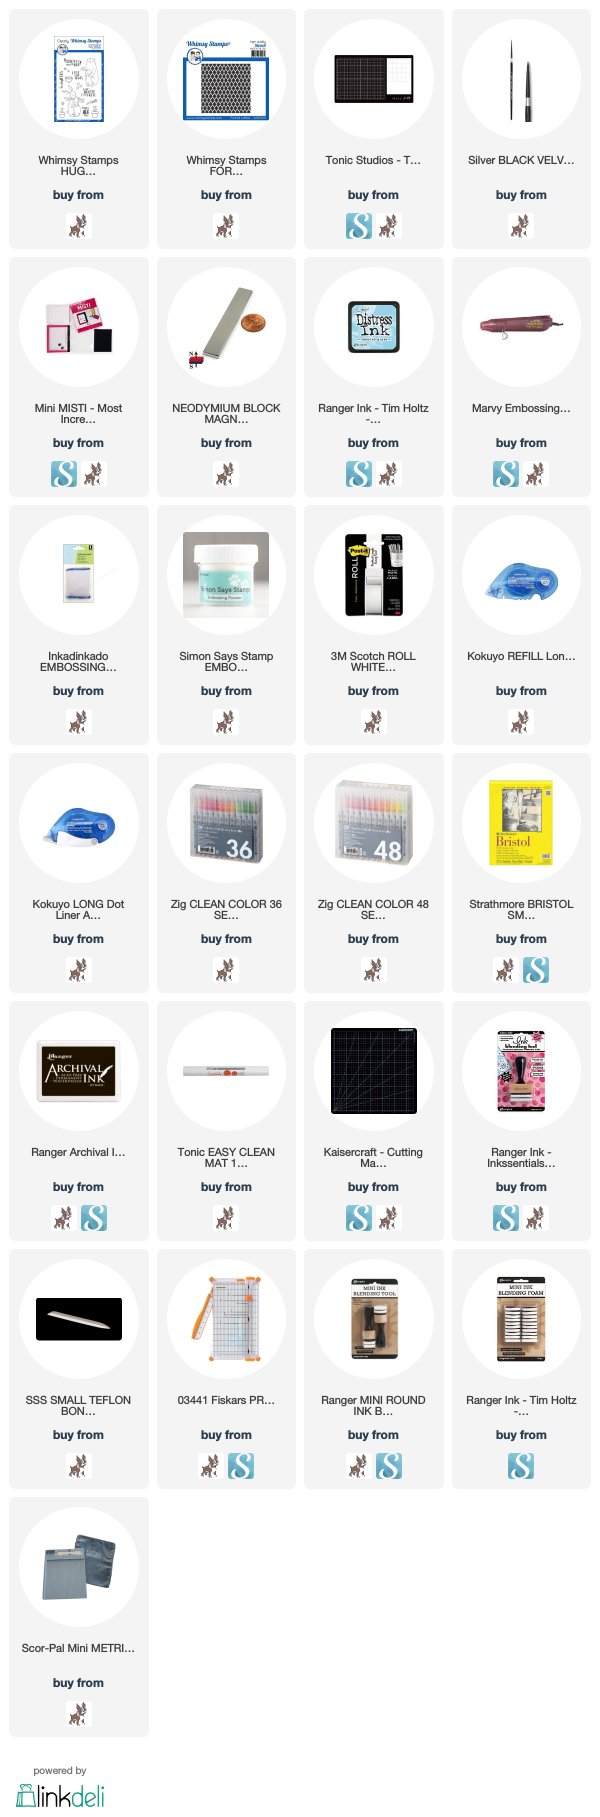
Supplies:

Whimsy Stamps

Hugs Bunny Clear Stamp Set

Hugs Bunny

Formal Lattice Stencil

Formal Lattice Stencil


hugs-bunny-colors


Thanks for stopping by!

Hugs Jeanette xxo
Monday, June 12, 2017

Mermazing Card Set | MFT stamps + Video Tutorial

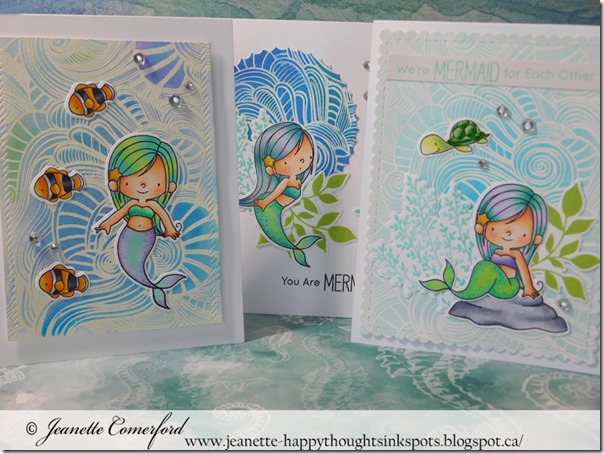
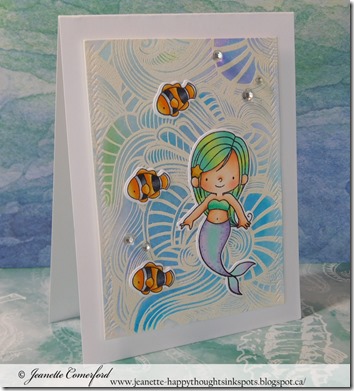
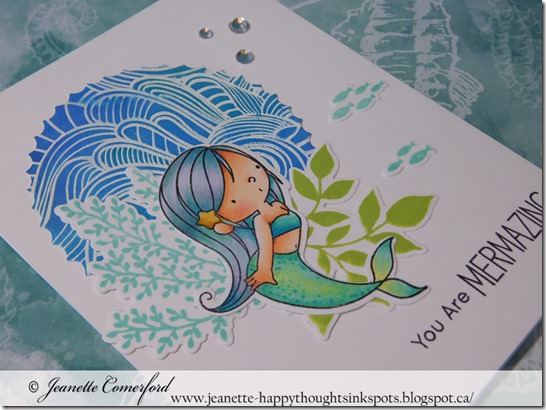
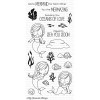
Happy Monday! I hope that you are having a great day and week so far! I have a new card set to share with you today that features some of the new May release from MFT Stamps! This project was so much fun to create! You will find a how-to video after the photos below and in it, I will take you through the coloration process for the images as well as show you how I created the backgrounds!

I am a HUGE fan of the Birdie Brown line from MFT Stamps and when I saw that there was a new Mermaid set, I just was giddy with excitement. I have paired up the Mermazing Set with the new Exquitiste Ocean set and I love how much versatility you get my changing up the different element combinations!

I have listed all the Copic markers that I used for each image below. Although the colors stayed roughly the same for each mermaid, a few change ups and different coloring orders made each mermaid unique!


Video Tutorial:
Click HERE to view in HD format

Supplies:

 Mermazing Copic Colors Used :

Mermaid #1

Skin: E000, E00, E02, E04, R20, R30

Hair: BV000, BG32, BG34, BV11, BG05

Bikini Top: BV000, BV11, BV13

Tail: YG00, BG11, BG32, BG05

Star: YR23, Y23


Mermaid #2

Skin: E000, E00, E02, E04, R20, R30

Hair: BV11, BG32, BV13, BG05, BG11

Bikini Top: BG11, YG000, BG32

Tail: BG11, YG00, 0, BG32, BG05(dots)

Star: YR23, Y23


Mermaid #3

Skin: E000, E00, E02, E04, R20, R30

Hair: YG00, BG32, YG000

Bikini Top: BG11, YG00, BG32

Tail: BG11, BV11, BV13

Star: YR23, Y23


Rock: C3, C1, C5

Turtle: YG000, YG00, YG11, YGI3

Fish: YR04, YR23, C7, C5, C3


Zig Markers Used:

Background #1:  031 Cobalt Blue, 036 Light Blue, 303 Shadow Mauve

Background #2:  031 Cobalt Blue, 036 Light Blue, 080 Violet, 041 Light Green

Background#3: 032 Persian Blue, 031 Cobalt Blue, 042 Turquoise Green, 036 Light Blue, 080 Violet


Inks Used:

Hero Arts Shadow Ink - Tide Pool

SSS Dye Ink - Jellybean


Thanks for stopping by!

Hugs Jeanette xxo

LinkWithin

Related Posts with Thumbnails